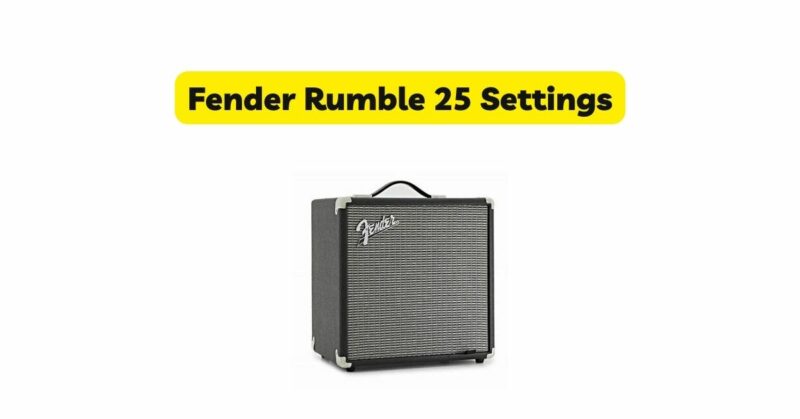
The Fender Rumble 25 is a compact yet powerful bass amplifier that has gained popularity among bass players of all skill levels. Packed with features and a versatile sound, this amplifier offers a wide range of settings to help you shape your tone. In this comprehensive guide, we will delve into the details of the Fender Rumble 25 settings, providing insights and recommendations to help you unlock the full potential of this amplifier.
Understanding the Controls The Fender Rumble 25
- Input: The input jack is where you connect your bass guitar to the amplifier. Ensure a secure connection for optimal signal transfer.
- Volume: The volume control adjusts the overall output level of the amplifier. Start with a moderate setting and adjust it according to your desired playing volume.
- Bass and Treble: These controls enable you to shape the low and high frequencies of your sound. Experiment with different settings to find the right balance that suits your playing style and musical genre.
- Mid: The mid control allows you to boost or cut the midrange frequencies. This control plays a crucial role in shaping your tone, as the midrange frequencies provide clarity and presence to your bass sound.
- Contour: The contour control is a handy feature that provides a preset EQ curve specifically tailored for bass. It enhances the low and high frequencies while scooping the mids slightly for a more pronounced and modern sound.
- Overdrive: The Rumble 25 includes an overdrive circuit that adds grit and distortion to your bass tone. The overdrive control adjusts the amount of distortion applied to your signal. Experiment with different settings to find your desired level of overdrive.
- Gain: The gain control adjusts the input sensitivity of the amplifier. Higher settings add more distortion and saturation to your sound when using the overdrive circuit. Finding the right balance between gain and volume is crucial for achieving a controlled and dynamic overdrive sound.
- Aux Input and Headphone Jack: These features allow you to connect external devices such as music players or headphones for practicing or jamming along with tracks.
Settings for Different Genres
- Rock and Pop:
- Volume: Set it to your desired playing level.
- Bass: Increase slightly to add depth and weight to your sound.
- Treble: Adjust to taste for clarity and brightness without overpowering the low end.
- Mid: Boost the midrange slightly to cut through the mix and provide presence.
- Contour: Experiment with the contour control to find a modern and punchy sound.
- Overdrive: Start with a lower setting for a subtle crunch and adjust to taste.
- Funk and R&B:
- Volume: Set it to your desired playing level.
- Bass: Boost for a deep and groovy bass foundation.
- Treble: Adjust for a crisp and cutting sound without being too harsh.
- Mid: Increase to provide a pronounced attack and punch.
- Contour: Use the contour control to enhance the low end and add a modern touch.
- Overdrive: Use a moderate setting to add some grit and edge to your funky basslines.
- Jazz and Blues:
- Volume: Set it to your desired playing level.
- Bass: Increase slightly for warmth and richness.
- Treble: Adjust for a smooth and articulate sound.
- Mid: Find a balanced setting to bring out the natural tonal characteristics of your instrument.
- Contour: Use sparingly or keep it flat for a more traditional and vintage tone.
- Overdrive: Use a subtle amount of overdrive for a warm and bluesy touch when needed.
- Metal and Heavy Rock:
- Volume: Set it to your desired playing level.
- Bass: Boost for a powerful and heavy low-end response.
- Treble: Increase to add clarity and definition to your distorted sound.
- Mid: Scoop the mids slightly for a more aggressive and modern metal tone.
- Contour: Use the contour control to achieve a tight and focused sound.
- Overdrive: Dial up the gain for a high-gain distortion suitable for metal and heavy rock.
Additional Features
- Aux Input: The aux input enables you to connect external music players, such as phones or tablets, allowing you to play along with your favorite tracks or practice along with backing tracks.
- Overdrive and Gain: Experiment with different combinations of the overdrive and gain controls to find the sweet spot that suits your musical style. Adjust the gain for a cleaner or more saturated overdrive sound, and fine-tune the overdrive control to achieve the desired level of distortion.
- EQ Settings: While we have discussed general EQ settings for different genres, don’t hesitate to experiment and adjust the bass, treble, and mid controls to suit your personal preference and the specific characteristics of your bass guitar.
Presets
- Clean: A clean sound with no effects.
- Overdrive: A distorted sound with a lot of gain.
- Distortion: A very distorted sound with a lot of gain.
- Chorus: A sound with a shimmering effect.
- Flanger: A sound with a sweeping effect.
- Phaser: A sound with a pulsing effect.
- Tremolo: A sound with a wobbling effect.
- Vibrato: A sound with a warbling effect.
- Acoustic: A sound that simulates an acoustic bass guitar.
Conclusion
The Fender Rumble 25 is a versatile bass amplifier that offers a range of settings to help you shape your ideal tone. By understanding and experimenting with the various controls, you can unlock a world of sonic possibilities. Whether you play rock, funk, jazz, or metal, the Rumble 25 allows you to tailor your sound to suit your musical genre and personal style. Remember, these recommended settings are starting points, and it’s essential to trust your ears and adjust accordingly to achieve the desired sound. So, dive in, explore, and enjoy the process of finding your perfect settings with the Fender Rumble 25 amplifier.

