
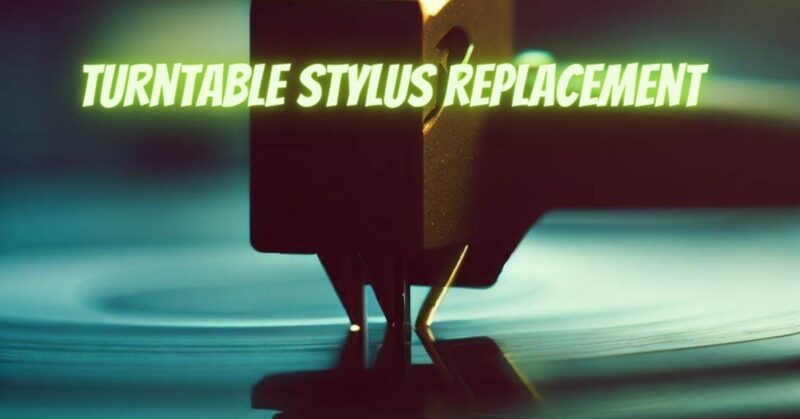
Over time, the stylus of a turntable can wear down due to regular use, resulting in degraded sound quality and potential damage to your vinyl records. However, replacing the stylus can restore your turntable’s performance and ensure accurate tracking of the record grooves. In this article, we present a comprehensive guide to turntable stylus replacement, offering essential information and step-by-step instructions to help you maintain the precision and fidelity of your vinyl playback.
- Signs of a Worn Stylus:
It’s important to recognize the signs indicating that your stylus requires replacement. Common signs of a worn stylus include distorted sound, excessive surface noise, skipped or stuck playback, and visible wear on the stylus tip. If you notice any of these signs, it’s time to consider replacing the stylus.
- Identifying the Correct Replacement Stylus:
Each turntable model requires a specific stylus that is compatible with its cartridge. It’s crucial to identify the correct replacement stylus for your turntable model. Refer to the turntable’s user manual or consult the manufacturer’s website to find the appropriate stylus part number or recommended stylus options.
- Stylus Replacement Procedure:
Replacing the stylus requires careful handling and attention to detail. Here’s a step-by-step guide to help you through the process:
a. Power off and unplug the turntable: Ensure the turntable is completely powered off and disconnected from any power source before starting the replacement process.
b. Remove the old stylus: If your turntable has a removable headshell, gently detach it from the tonearm following the manufacturer’s instructions. For non-removable headshells, locate the locking mechanism or release lever to detach the old stylus from the cartridge assembly.
c. Install the new stylus: Take the new stylus and align it with the cartridge assembly, following the manufacturer’s guidelines. Insert the stylus into the cartridge, applying gentle pressure until it clicks into place or locks securely.
d. Reassemble and test: If you removed the headshell, carefully reattach it to the tonearm. Ensure all connections are secure and aligned correctly. Power on the turntable and conduct a test playback to verify the proper installation and functionality of the new stylus.
- Stylus Care and Maintenance:
After installing the new stylus, it’s crucial to adopt proper care and maintenance practices to maximize its lifespan and ensure optimal performance. Regularly clean the stylus using a stylus brush or specialized cleaning solution to remove dust and debris. Avoid touching the stylus tip with your fingers and handle records with care to prevent accidental damage.
- Professional Assistance:
If you are uncertain or uncomfortable with the stylus replacement process, it is recommended to seek assistance from a professional technician or a reputable audio service center. They have the expertise and experience to ensure proper stylus installation and can also provide additional advice on maintenance and setup.
Conclusion:
Turntable stylus replacement is a vital part of maintaining the accuracy and sound quality of your vinyl playback. By recognizing the signs of a worn stylus, identifying the correct replacement, following the proper installation procedure, and implementing regular care and maintenance, you can enjoy optimal performance from your turntable and prolong the lifespan of your stylus. Whether you choose to replace the stylus yourself or seek professional assistance, the effort invested in stylus replacement will reward you with an enhanced vinyl listening experience and the preservation of your cherished record collection.