
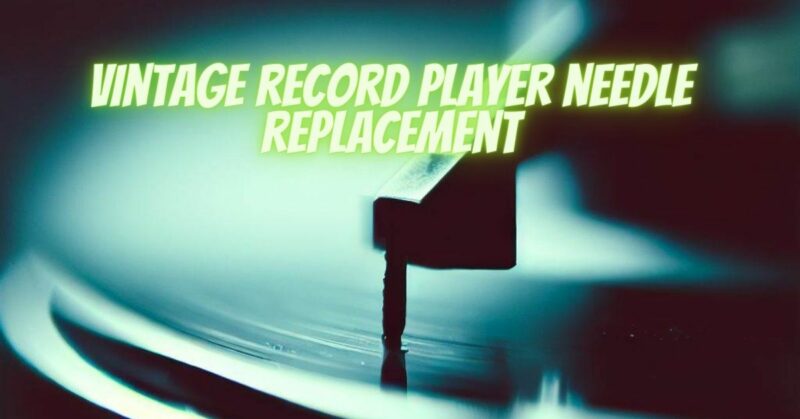
Vintage record players hold a special place in the hearts of many music enthusiasts, offering a unique and nostalgic listening experience. However, over time, the needle (also known as the stylus) on a vintage record player can wear out or become damaged, compromising the sound quality. If you own a vintage record player and are in need of a needle replacement, this article will guide you through the process of restoring the sound of your cherished vinyl collection.
- Understanding the Needle: The needle is a crucial component of the record player’s cartridge and is responsible for reading the audio information stored in the grooves of your vinyl records. Vintage record players typically use either a ceramic or a magnetic cartridge. It’s important to identify the type of cartridge your record player has before proceeding with the needle replacement.
- Identifying the Correct Needle: To find the correct replacement needle for your vintage record player, there are a few key steps you can take:
a. Determine the Model: Locate the model number or name of your vintage record player. This information can usually be found on the turntable itself or in the owner’s manual.
b. Research and Compatibility: Conduct research to find a reputable supplier or manufacturer that specializes in vintage record player needles. Look for compatibility lists or contact the manufacturer directly to ensure the replacement needle is compatible with your specific model.
c. Needle Specifications: Pay attention to the specifications of the replacement needle, including the stylus shape (conical, elliptical, or other), tracking force requirements, and the type of cartridge it is designed for (ceramic or magnetic).
- Replacement Process: Replacing the needle on a vintage record player generally involves the following steps:
a. Power Off and Safety: Ensure that the turntable is powered off and disconnected from any power sources to prevent accidents.
b. Removal: Depending on the design of your vintage record player, the needle may be removable by unscrewing it or sliding it out of the cartridge. Refer to the manufacturer’s instructions or consult a technician if needed.
c. Installation: Align the replacement needle with the cartridge according to the manufacturer’s instructions. Take care to insert it correctly, ensuring proper alignment and orientation.
d. Testing: Once the new needle is installed, carefully power on the record player and play a test record to ensure proper functioning. Listen for any distortions, skips, or uneven sound quality.
- Proper Care and Maintenance: To prolong the life of your new needle and maintain optimal sound quality, it’s important to follow these care and maintenance tips:
a. Cleanliness: Keep your records clean and free from dust and debris, as these can cause premature wear and damage to the needle.
b. Handling: Always handle the records and needle with care, avoiding any rough or forceful handling.
c. Regular Replacement: It’s recommended to replace the needle periodically, as general wear and tear can affect its performance. The frequency of replacement may vary based on your usage and the quality of your records.
Conclusion:
Replacing the needle on a vintage record player is a crucial step in restoring the sound quality and preserving the nostalgia of vinyl playback. By identifying the correct replacement needle, following the installation process carefully, and maintaining proper care and maintenance, you can ensure that your vintage record player continues to deliver a delightful listening experience for years to come. Rediscover the magic of your vinyl collection with a new needle, and let the music of the past fill your space once again.