
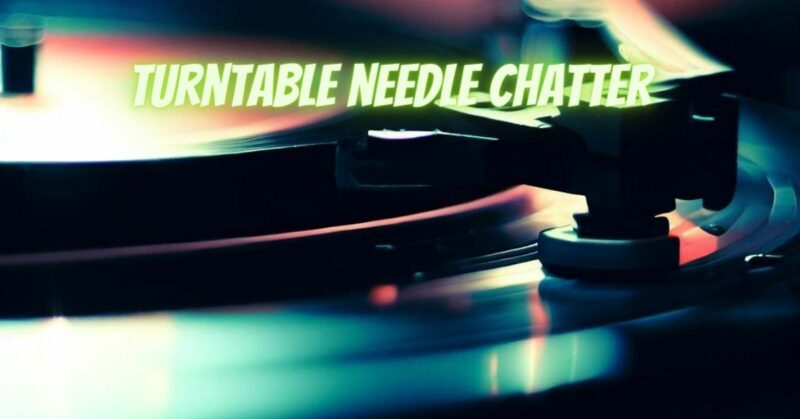
Turntable needle chatter, characterized by intermittent or continuous clicking or popping sounds during playback, can disrupt the smooth and enjoyable listening experience of vinyl records. This issue may be caused by various factors, including stylus misalignment, damaged or worn components, or improper turntable setup. In this article, we will explore common causes of turntable needle chatter and provide practical solutions to help you troubleshoot and address this unwanted noise.
- Check Stylus Alignment: Misaligned or improperly set stylus alignment can lead to needle chatter. Ensure that your stylus is correctly aligned according to the manufacturer’s instructions for your specific cartridge. Use a stylus alignment protractor or alignment gauge to accurately position the stylus in the cartridge body. Proper alignment helps ensure optimal tracking and minimizes needle chatter.
- Inspect Stylus Condition: A damaged or worn stylus can contribute to needle chatter. Regularly inspect the condition of your stylus under good lighting conditions. Look for signs of wear, chips, or unevenness. If the stylus appears damaged or worn, it is recommended to replace it with a new one. A fresh stylus ensures proper contact with the record grooves and reduces the likelihood of needle chatter.
- Check Cartridge Mounting: Verify that your cartridge is securely mounted to the tonearm. Loose or improper mounting can result in excessive vibration and needle chatter. Refer to the manufacturer’s instructions for the correct procedure to mount or adjust your cartridge. Ensure that all screws or fasteners are tightened to the appropriate specifications, providing a stable and rigid connection.
- Adjust Tracking Force and Anti-Skate: Improper tracking force or anti-skate settings can cause needle chatter. Check and adjust the tracking force according to the manufacturer’s recommendations for your cartridge. Use a tracking force gauge to ensure accurate measurement. Additionally, set the anti-skate mechanism to match the tracking force. Properly balanced tracking force and anti-skate help maintain stable stylus contact and minimize unwanted noise.
- Clean and Lubricate Moving Parts: Dirt, dust, or debris on moving parts of your turntable can contribute to needle chatter. Regularly clean and lubricate components such as the tonearm pivot points, cueing lever, and tonearm lift mechanism. Use a soft brush or cotton swab along with a suitable cleaning solution to remove dirt and grime. Apply a small amount of appropriate lubricant to ensure smooth operation and reduce friction.
- Check Turntable Isolation and Stability: Unwanted vibrations or instability in the turntable can amplify needle chatter. Ensure that your turntable is placed on a stable surface, isolated from external vibrations. Consider using dedicated turntable isolation platforms, shock-absorbing feet, or other vibration-damping solutions to minimize the impact of external vibrations on the turntable.
- Inspect Tonearm Wiring: Faulty or damaged tonearm wiring can contribute to needle chatter. Check the tonearm wiring connections for any loose or damaged wires. Make sure the connections are secure and properly soldered. If you notice any issues, consult a professional or refer to the manufacturer’s instructions for repair or replacement.
Conclusion:
Turntable needle chatter can be an undesirable distraction during vinyl playback. By following these troubleshooting tips and solutions, you can address the common causes of needle chatter and restore the smooth and enjoyable listening experience. Ensure proper stylus alignment, inspect the condition of the stylus, verify cartridge mounting, adjust tracking force and anti-skate, clean and lubricate moving parts, check turntable isolation and stability, and inspect tonearm wiring. By addressing these factors, you can significantly reduce or eliminate needle chatter and fully enjoy the rich sound quality of your vinyl records.
