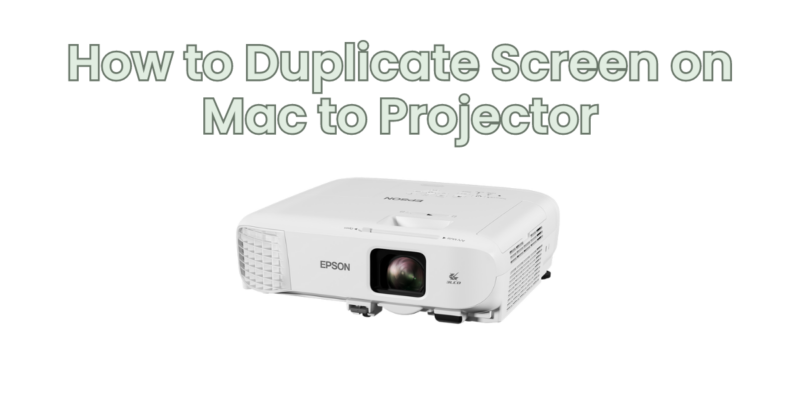
Duplicating your Mac screen onto a projector can be incredibly useful when giving presentations, sharing content, or enjoying multimedia on a larger display. By mirroring your Mac’s screen, you can ensure that what you see on your computer is replicated on the projector. In this article, we will provide a step-by-step guide on how to duplicate your Mac screen to a projector.
Step 1: Connect the Mac to the Projector Start by connecting your Mac to the projector using an appropriate cable (such as HDMI, VGA, or Thunderbolt). Ensure that both your Mac and the projector are powered on.
Step 2: Open System Preferences Click on the Apple menu in the top-left corner of your screen and select “System Preferences” from the drop-down menu. Alternatively, you can click on the “System Preferences” icon in the Dock.
Step 3: Access Displays Settings In the System Preferences window, locate and click on the “Displays” icon. This will open the Displays preferences panel, where you can configure your screen settings.
Step 4: Enable Mirroring Within the Displays preferences panel, navigate to the “Arrangement” tab. You should see a checkbox labeled “Mirror Displays.” Tick the box to enable screen mirroring.
Step 5: Adjust Display Arrangement (if necessary) By default, your Mac’s screen will be duplicated exactly onto the projector. However, if the physical placement of the projector relative to your Mac’s screen requires adjustments, you can drag and rearrange the display thumbnails within the Arrangement tab to match the physical setup. This ensures that the cursor moves seamlessly between the screens.
Step 6: Configure Resolution and Refresh Rate (if needed) In some cases, the projector may not automatically detect the optimal resolution or refresh rate. To adjust these settings, click on the “Display” tab within the Displays preferences panel. From there, you can choose the desired resolution and refresh rate for the projector. It’s recommended to select the native resolution of the projector for the best image quality.
Step 7: Verify the Duplicate Screen Once you have enabled screen mirroring and adjusted the display settings, you should see your Mac’s screen duplicated on the projector. Any actions performed on your Mac, such as opening applications, playing videos, or presenting slides, will now be visible on the projector in real-time.
Step 8: Adjust Audio Settings (if necessary) If the audio is not automatically routed to the projector, you may need to adjust the audio output settings. Click on the Apple menu, select “System Preferences,” and then click on the “Sound” icon. In the Sound preferences panel, navigate to the “Output” tab and select the projector or its corresponding audio device as the output option.
Step 9: Control the Duplicate Screen You can now interact with the duplicate screen on the projector as you would with your Mac’s screen. Use your Mac’s trackpad or mouse to navigate, open applications, and perform any actions needed for your presentation or content sharing.
Step 10: Disconnecting from the Projector When you are finished using the projector, remember to disconnect it properly. To do this, go back to the Displays preferences panel and uncheck the “Mirror Displays” box. Then, safely disconnect the cable between your Mac and the projector.
By following these steps, you can easily duplicate your Mac screen onto a projector, enabling seamless content sharing, presentations, or multimedia experiences. Whether you’re in a professional setting, classroom, or simply enjoying a movie night, mirroring your Mac’s screen to a projector offers a versatile and engaging visual experience.


