
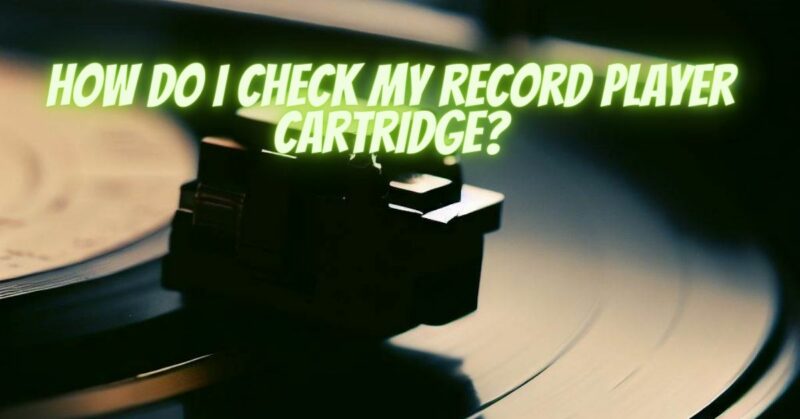
The cartridge of your record player is a critical component responsible for converting the physical grooves on your vinyl records into sound. Ensuring that your cartridge is in good condition and properly aligned is essential for maintaining optimal sound quality and prolonging the life of your records. This article provides a step-by-step guide on how to check your record player cartridge, offering insights into the process and tips for achieving accurate results.
1. Gather the Essentials:
Before you begin, gather the following tools and items:
- A magnifying glass or illuminated loupe
- A small brush or stylus cleaning brush
- A protractor for cartridge alignment (if necessary)
- A level surface
- A steady hand and a keen eye
2. Visual Inspection:
- Stylus Condition: Using a magnifying glass or illuminated loupe, examine the condition of the stylus (needle). Look for any signs of wear, damage, or bending. A damaged or worn stylus can cause poor sound quality and potential damage to your records.
- Alignment: If your record player requires alignment, check if the cartridge is aligned correctly. Misaligned cartridges can cause tracking errors and affect sound quality. Use a protractor to ensure precise alignment.
3. Tracking Force:
- Check the Tracking Force: The tracking force is the pressure exerted by the stylus on the grooves of the record. Use a tracking force gauge to measure the force applied by the cartridge. Refer to the manufacturer’s specifications for the recommended tracking force for your cartridge.
4. Vertical Tracking Angle (VTA):
- Inspect VTA: Vertical Tracking Angle (VTA) refers to the angle at which the stylus sits in the record groove. Incorrect VTA can lead to distortion and poor sound quality. Check if your cartridge’s VTA is aligned according to the manufacturer’s recommendations.
5. Alignment:
- Cartridge Alignment: Proper cartridge alignment ensures that the stylus sits accurately in the grooves across the record’s surface. Use a protractor to align the cartridge correctly, taking care to follow the manufacturer’s guidelines.
6. Cleanliness:
- Stylus Cleaning: Gently clean the stylus using a stylus cleaning brush. Remove any accumulated dust, debris, or particles that may affect sound quality.
7. Auditory Check:
- Sound Quality: Play a variety of records across different genres to evaluate the sound quality. Listen for any distortion, tracking errors, or other issues that could indicate a problem with the cartridge.
8. Regular Maintenance:
- Keep Records Clean: Regularly clean your records to prevent dust and debris from accumulating on the stylus and affecting sound quality.
- Stylus Care: After every few plays, inspect the stylus for accumulated debris and clean it gently using a stylus brush.
9. Consult the Manual:
- Manufacturer’s Guidelines: Consult your record player’s manual or the cartridge manufacturer’s guidelines for specific instructions on checking and maintaining your cartridge.
10. Seek Professional Help:
- Expert Assistance: If you’re unsure about checking your cartridge or if you suspect an issue, consider seeking help from a professional audio technician or turntable specialist.
Checking your record player cartridge is an essential step in ensuring the highest quality sound reproduction and protecting your vinyl records. By following these steps, you can confidently assess the condition of your cartridge, make necessary adjustments, and enjoy your vinyl collection to its fullest potential. Remember that proper maintenance and care will not only enhance your listening experience but also extend the life of your cherished records and equipment.