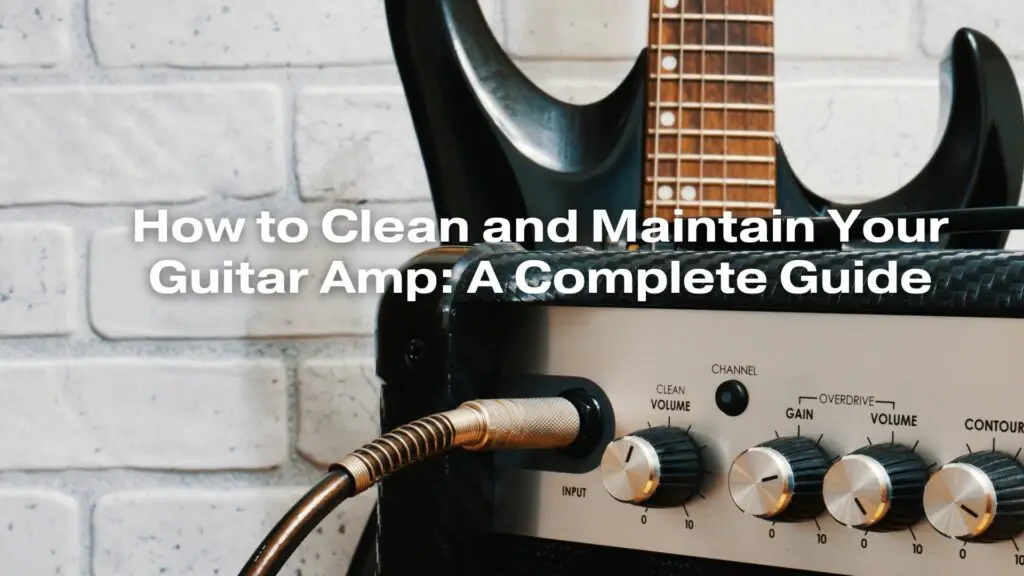
Your guitar amplifier is more than just a piece of musical equipment; it’s your vehicle to sonic expression. To ensure that it continues to perform at its best and remains a reliable partner in your musical journey, regular cleaning and maintenance are essential. In this comprehensive guide, we’ll walk you through the steps to clean and maintain your guitar amp, keeping it in top shape for years to come.
1. Safety First
Before you start cleaning or performing any maintenance on your guitar amp, always prioritize safety. Unplug the amplifier from the power source and allow it to discharge any stored electricity by leaving it unplugged for at least 30 minutes. Always ensure that the amp is switched off and completely powered down before proceeding.
2. Exterior Cleaning
a. Dusting:
Use a soft, lint-free cloth or a microfiber cloth to gently remove dust and dirt from the amp’s exterior. Pay attention to the control panel, inputs/outputs, and ventilation grilles.
b. Control Knobs and Switches:
Clean the control knobs and switches with a cotton swab or a small brush to remove built-up grime. For more stubborn dirt, use a specialized electronic contact cleaner. Be cautious not to apply too much pressure or moisture, as it could damage the components.
c. Tolex or Cabinet:
If your amp has a Tolex or vinyl-covered cabinet, you can clean it with a slightly damp cloth or a vinyl-specific cleaner. Avoid abrasive materials or excessive moisture, as they can damage the covering.
3. Interior Cleaning
Cleaning the interior of your guitar amp is a more delicate process and may require some technical knowledge. If you’re not comfortable with electronics, it’s advisable to consult a professional technician for this step. However, if you have the necessary skills and knowledge, proceed with caution:
a. Tube Amps:
- Remove the amplifier’s chassis carefully by unscrewing it from the cabinet.
- Use compressed air to blow away dust and dirt from the tubes, circuit boards, and components. Be gentle to avoid damaging any sensitive parts.
- If necessary, inspect the tubes and replace any that show signs of wear or are malfunctioning. Always match the tubes’ specifications and consult your amp’s manual for guidance.
b. Solid-State Amps:
- Carefully remove the amplifier’s back panel or, if needed, open the chassis.
- Use compressed air to clean dust and debris from the circuit boards and components.
- Inspect the circuit boards for any loose or damaged connections and re-solder or replace components as necessary.
4. Check the Speaker
Regularly inspect the speaker cone for any damage, such as tears or punctures. Ensure that it’s securely mounted and that the connections are intact. If you notice any issues, consider having a professional technician repair or replace the speaker.
5. Electrical Connections
Examine all the amp’s cables, including the power cord and speaker cable. Ensure that they’re in good condition and securely connected. Loose or damaged cables can lead to intermittent problems or electrical issues.
6. Maintenance Schedule
Establish a regular maintenance schedule for your guitar amp. How often you need to clean and maintain your amp may vary depending on factors like usage, environment, and the type of amplifier. As a general guideline:
- Monthly: Dust the exterior and check control knobs and switches for grime.
- Quarterly: Clean the exterior, check the speaker, inspect the cables, and perform basic interior cleaning.
- Annually: Perform a comprehensive cleaning of the interior, inspect tubes or solid-state components, and consult a professional technician for more in-depth maintenance.
Remember that proper maintenance can significantly extend the lifespan of your amplifier and ensure it continues to deliver the best sound quality. When in doubt, consult the manufacturer’s recommendations and guidelines for specific maintenance procedures. By investing time in caring for your guitar amp, you’ll protect your equipment and enjoy years of great music.

