
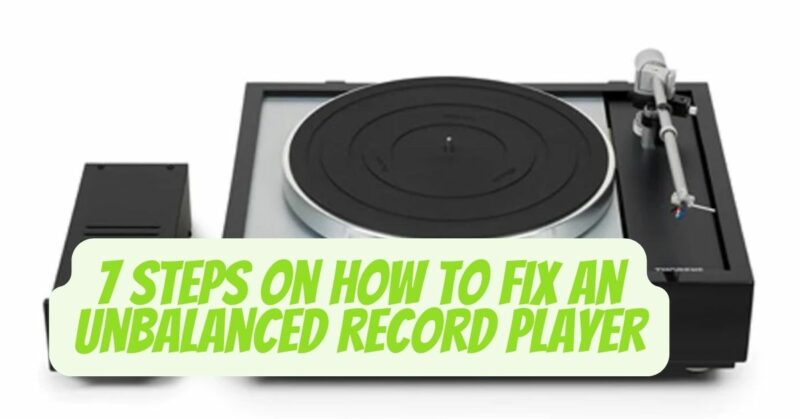
Vinyl records have made a comeback in recent years, and many people are rediscovering the unique sound and experience of listening to music on a record player. However, like any mechanical device, record players can become unbalanced over time, causing problems with sound quality and even damage to your vinyl collection. Here’s how to fix an unbalanced record player.
Step 1: Check the Level
The first step is to make sure your record player is on a level surface. An unbalanced surface can cause the turntable to wobble, resulting in a distorted sound. Use a spirit level to check the levelness of your record player. Adjust the feet or base of the turntable as necessary to ensure it is perfectly level.
Step 2: Check the Platter
The platter is the circular platform that the record sits on. It should be level and free from any warping or damage. If the platter is uneven, you may need to replace it. A warped or damaged platter can cause the record to wobble, resulting in a distorted sound.
Step 3: Check the Tonearm
The tonearm is the long arm that extends from the turntable and holds the stylus. The tonearm should be level and free from any damage or warping. If the tonearm is uneven, you may need to replace it. A damaged tonearm can cause the stylus to skip or jump across the record, causing damage to your vinyl collection.
Step 4: Check the Stylus
The stylus is the needle that sits on the end of the tonearm and makes contact with the record. It should be clean and free from any damage. If the stylus is dirty or damaged, it can cause the sound to be distorted or scratchy. You may need to replace the stylus if it is dirty or damaged.
Step 5: Adjust the Counterweight
The counterweight is the weight on the back of the tonearm that balances the stylus. It should be adjusted correctly to ensure the stylus makes proper contact with the record. Consult your turntable’s manual to determine the correct weight for your stylus. Adjust the counterweight as necessary to achieve the correct weight.
Step 6: Adjust the Anti-Skate
The anti-skate is a small dial on the side of the turntable that adjusts the lateral force on the stylus. It should be adjusted correctly to prevent the stylus from skipping or jumping across the record. Consult your turntable’s manual to determine the correct setting for your stylus. Adjust the anti-skate as necessary to achieve the correct setting.
Step 7: Test the Sound
Once you have made all the necessary adjustments, test the sound quality of your record player. Play a record and listen for any distortion or skipping. If the sound quality is still not correct, you may need to repeat some of the previous steps or seek the assistance of a professional technician.
In conclusion, fixing an unbalanced record player requires careful attention to detail and a willingness to experiment with various adjustments. By following these steps, you can ensure that your record player is functioning properly and that you are getting the best possible sound from your vinyl collection.