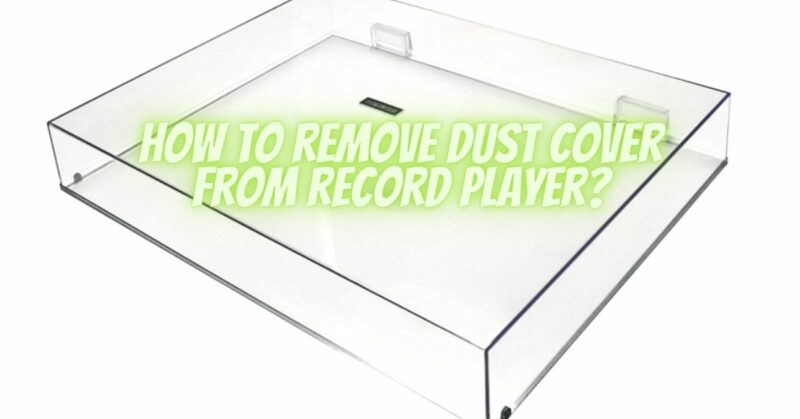
Removing the dust cover from your record player is a necessary task for cleaning and maintenance. The dust cover can become dirty, scratched, or damaged over time and may need to be removed for repairs or replacement. In this article, we will provide a step-by-step guide on how to remove the dust cover from your record player safely.
Step 1: Turn off the Record Player
The first step is to turn off the record player and unplug it from the power source. This is a crucial step to ensure your safety during the removal process.
Step 2: Prepare Your Workspace
Find a clear and stable workspace to work on your record player. Ensure that the workspace is free of any potential hazards that may cause damage to your record player or the dust cover.
Step 3: Remove Any Obstacles
Remove any obstacles such as wires or cables that may obstruct the removal process. If you have any components or accessories on top of the dust cover, remove them carefully.
Step 4: Locate the Hinges
The next step is to locate the hinges that attach the dust cover to the record player. The hinges can be found on the back of the record player and are usually made of plastic or metal.
Step 5: Release the Hinges
To release the hinges, lift them upwards or downwards, depending on the model of your record player. If the hinges are screwed in, unscrew them from the record player’s base.
Step 6: Remove the Dust Cover
Once the hinges are released, gently lift the dust cover away from the record player. Be careful not to apply too much force as this may cause damage to the hinges or the record player’s base.
Step 7: Store the Dust Cover Safely
Store the dust cover in a safe and dry location away from direct sunlight and heat sources. You may also clean the dust cover before storing it using a soft cloth and a gentle cleaning solution.
Tips for Removing the Dust Cover
- Do not force the hinges as this may cause damage to the record player’s base or the hinges themselves.
- Use a soft and clean cloth to handle the dust cover to prevent scratches or damage.
- Keep the hinges and screws in a safe place to avoid losing them during the removal process.
- Avoid cleaning the dust cover while it is still attached to the record player as this may cause damage to the hinges or other components.
- Be patient during the removal process and take your time to ensure that you do not damage any components.
Conclusion
Removing the dust cover from your record player is a simple process that can be done with care and patience. By following the steps outlined in this article, you can safely remove the dust cover from your record player and clean or repair it as needed. Remember to turn off the record player and unplug it from the power source before beginning the removal process, and be sure to store the dust cover safely to avoid damage or scratches.


