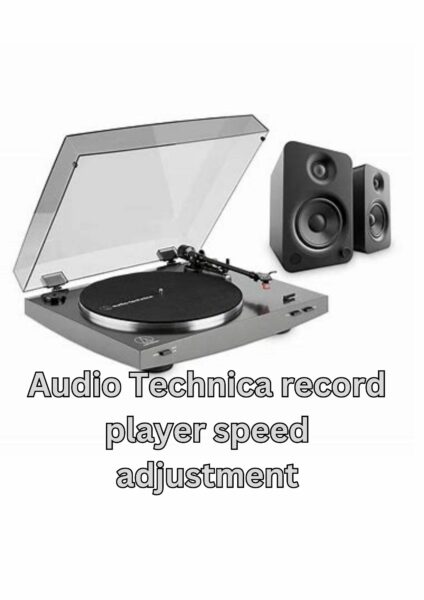
Vinyl records have made a remarkable resurgence in recent years, captivating both music enthusiasts and audiophiles alike. With their warm sound and nostalgic charm, vinyl records offer a unique listening experience. To truly appreciate the full potential of vinyl, it’s crucial to ensure that your record player is set up correctly. One critical aspect is speed adjustment, which plays a vital role in maintaining pitch accuracy and sound quality. In this article, we will delve into the intricacies of speed adjustment specifically for Audio Technica record players, guiding you through the process step by step.
Understanding Speed Adjustment
Before we dive into the details of adjusting the speed on an Audio Technica record player, it’s essential to understand the concept behind speed adjustment. Vinyl records typically come in two speeds: 33 1/3 RPM (rotations per minute) for albums and 45 RPM for singles. Accurate speed adjustment ensures that the record spins at the intended rate, maintaining pitch and fidelity.
Audio Technica offers a range of record players that are widely recognized for their excellent performance and precision. These turntables typically feature a belt-drive system, where a motor drives a belt connected to the platter. The platter, in turn, holds the record. To adjust the speed, you’ll need to locate the appropriate control on your Audio Technica record player, which may vary depending on the model.
The Process of Speed Adjustment
Step 1: Preparation
Before attempting any adjustments, make sure your record player is unplugged and turned off. This precautionary measure ensures your safety and protects the delicate components of the turntable.
Step 2: Locating the Speed Adjustment Control
Refer to the user manual or examine the turntable’s front or back panel to locate the speed adjustment control. On most Audio Technica record players, this control is conveniently placed near the platter or tonearm assembly.
Step 3: Verifying the Speed
To ensure accurate speed adjustment, you’ll need a dedicated tool known as a stroboscopic disc. These discs often accompany turntables or can be purchased separately. Place the stroboscopic disc on the platter and turn on the turntable. The disc features a pattern of concentric rings that, when viewed under a stable light source, will appear stationary if the turntable speed is accurate.
Step 4: Adjusting the Speed
With the stroboscopic disc in place and the turntable running, observe the pattern on the disc. If the rings appear to move clockwise or counterclockwise, it indicates that the speed is either too fast or too slow, respectively. Rotate the speed adjustment control slightly in the appropriate direction, making incremental changes until the pattern on the disc remains stationary.
Step 5: Fine-tuning and Calibration
Once you’ve achieved a stable pattern on the stroboscopic disc, it’s time for fine-tuning. Use your ears to assess the pitch accuracy and overall sound quality. If you notice any slight deviations, make small adjustments to the speed control until you achieve the desired result.
Step 6: Regular Maintenance
Regular maintenance of your Audio Technica record player is crucial to ensure consistent speed performance. Clean the turntable’s components regularly, including the belt and platter, and ensure that there are no obstructions or debris interfering with the mechanism. This maintenance routine will contribute to the long-term durability and optimal performance of your turntable.
Adjusting the speed on an Audio Technica record player is a fundamental skill for any vinyl enthusiast. With careful attention to detail and the aid of a stroboscopic disc, you can fine-tune your turntable to achieve accurate speed and impeccable sound quality. Remember to consult your specific Audio Technica record player’s user manual for any model-specific instructions.
Investing time in understanding and adjusting the speed of your Audio Technica record player is a worthwhile endeavor. It ensures that you experience the full richness and fidelity of your vinyl collection. The process may seem intimidating at first, but with practice, it becomes second nature. By following the steps outlined in this guide, you can confidently adjust the speed on your Audio Technica record player and enjoy a truly immersive listening experience. Take the time to fine-tune and calibrate your turntable, appreciating the subtle nuances and sonic details that vinyl has to offer.
Remember, the journey of a vinyl enthusiast is not just about owning records but also about experiencing music in its purest form. Proper speed adjustment is an integral part of that journey, allowing you to fully immerse yourself in the analog sound and embrace the nostalgia that comes with playing vinyl records.
So, dust off your vinyl collection, power up your Audio Technica record player, and embark on a sonic adventure. Adjusting the speed may be a small step, but it’s a crucial one that paves the way for an unforgettable and authentic listening experience. Happy listening!


