
In the pursuit of high-fidelity audio reproduction, integrating a digital-to-analog converter (DAC) with an amplifier can significantly enhance your audio experience. A DAC serves as the bridge between digital audio sources and the analog signals required by amplifiers. By converting digital signals into analog waveforms with greater accuracy, a DAC can unlock the full potential of your audio system. In this article, we will guide you through the process of connecting a DAC to an amplifier, ensuring optimal audio quality and seamless integration.
Part 1: Understanding the Role of a DAC
A digital-to-analog converter (DAC) is a crucial component that transforms digital audio signals into analog signals that can be amplified and reproduced by speakers. It converts the binary code of digital audio files into continuous waveforms, accurately representing the original sound. A high-quality DAC ensures precise conversion, minimizing distortion and noise, resulting in faithful audio reproduction.
Part 2: Selecting the Right DAC
Before connecting a DAC to an amplifier, it is essential to choose the right DAC for your audio setup. Consider factors such as audio format support, connectivity options, and budget. Some DACs are standalone units, while others are integrated into audio interfaces or amplifiers. Determine whether you need a portable DAC for on-the-go listening or a desktop DAC for a dedicated audio system. Ensure that the DAC you select offers the necessary digital audio inputs, such as USB, optical, or coaxial, compatible with your audio sources.
Part 3: Connecting the DAC to the Amplifier
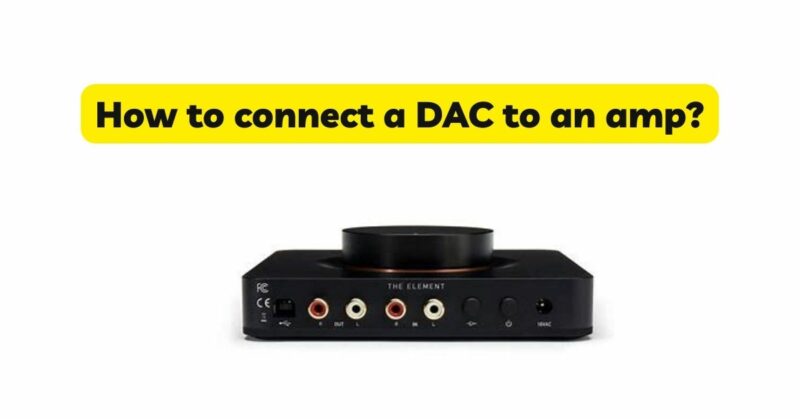
- Identify the Audio Outputs of the DAC: Most DACs provide analog audio outputs, typically in the form of RCA or balanced XLR connectors. Locate these outputs on your DAC. Some DACs may also offer a dedicated headphone output if you plan to connect headphones directly.
- Identify the Audio Inputs of the Amplifier: Examine your amplifier to identify the available audio inputs. Common options include RCA, XLR, or 3.5mm stereo inputs. Ensure that your amplifier has an input that matches the output connectors on your DAC.
- Choose the Correct Cables: Once you have identified the audio outputs on the DAC and the audio inputs on the amplifier, select the appropriate cables to connect them. For RCA connections, use RCA cables with plugs that match the connectors on both the DAC and the amplifier. For balanced XLR connections, use XLR cables with the appropriate male and female connectors.
- Connect the Cables: a. For RCA Connections:
- Connect one end of the RCA cable to the analog audio output of the DAC.
- Connect the other end of the RCA cable to the corresponding audio input on the amplifier.
- Repeat the process for any additional channels or outputs, ensuring correct channel assignment.
b. For XLR Connections:
- Connect one end of the XLR cable to the balanced audio output of the DAC.
- Connect the other end of the XLR cable to the corresponding balanced audio input on the amplifier.
- Repeat the process for any additional channels or outputs, ensuring correct channel assignment.
- Power On and Test:
- Once the connections are made, power on the DAC and the amplifier.
- Set the amplifier to the appropriate input source.
- Start playing audio through your selected source to test the connection and enjoy the enhanced audio quality.
Part 4: Troubleshooting and Tips
- Ensure that all connections are secure and properly seated to avoid any signal loss or noise.
- Check that the input selection on the amplifier matches the connected DAC output.
- Verify that the DAC and amplifier are both powered on and functioning correctly.
- Update drivers or firmware for the DAC if necessary, ensuring compatibility with your audio sources.
- Experiment with different cables to find the ones that provide the best audio quality, taking into account factors like shielding and build quality.
- Consider using a separate power source or power conditioner for the DAC and amplifier to minimize electrical interference.
- If using a headphone output from the DAC, connect the headphones directly to the DAC’s dedicated output or use a headphone amplifier for improved performance.
Conclusion: Connecting a DAC to an amplifier is a fundamental step in maximizing audio fidelity. By understanding the role of a DAC, selecting the right DAC for your needs, and following the proper connection process, you can elevate your audio experience to new heights. Whether you’re a music enthusiast or an audiophile, integrating a DAC with your amplifier opens the door to precise digital-to-analog conversion and superior sound reproduction. Embrace the seamless connection between the digital and analog worlds, and embark on a journey of sonic excellence that will breathe new life into your audio system.