
The Audio-Technica AT-LP120 is a popular and well-regarded turntable known for its exceptional performance and versatility. If you own an AT-LP120 and need to replace the needle (stylus), you can easily do so with a few simple steps. In this guide, we will walk you through the process of changing the needle on an Audio-Technica AT-LP120 turntable, ensuring a seamless replacement and optimal audio playback.
Before You Begin:
Before replacing the needle, ensure that you have the correct replacement stylus compatible with the AT-LP120 model. It is recommended to use Audio-Technica’s official replacement stylus or an equivalent high-quality aftermarket stylus designed specifically for the AT-LP120. Additionally, handle the needle with care, holding it by the body and avoiding any contact with the delicate tip.
Step 1: Power off and Unplug the Turntable:
Before proceeding, ensure that the turntable is powered off and unplugged from the electrical outlet. This ensures your safety and prevents any accidental damage while working on the turntable.
Step 2: Lift the Tonearm:
Gently lift the tonearm of the turntable and secure it in the raised position using the tonearm rest or a suitable support. This prevents the tonearm from accidentally moving while you replace the needle.
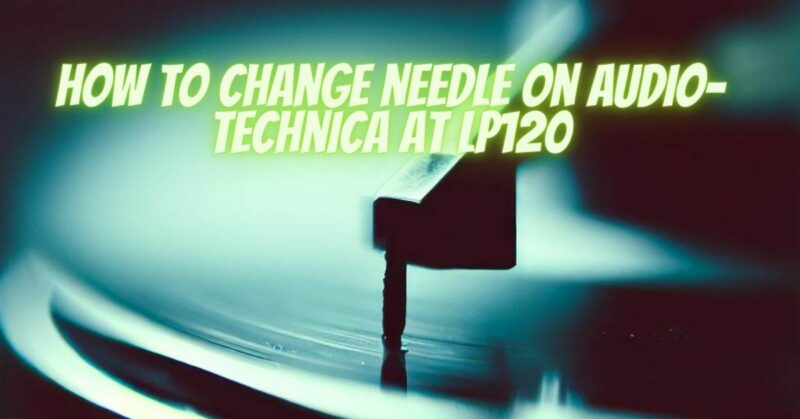
Step 3: Locate the Cartridge and Remove the Old Needle:
Locate the cartridge at the end of the tonearm. The needle is attached to the cartridge. Carefully remove the old needle by grasping it near the base and sliding it out of the cartridge. If the cartridge has a locking mechanism, release it to remove the old needle.
Step 4: Align and Install the New Needle:
Take the new needle and align it with the cartridge’s mounting area. Ensure that the needle is positioned correctly, matching the angle and orientation of the previous needle. Insert the new needle into the cartridge, applying gentle pressure until it clicks into place or is securely seated.
Step 5: Test the New Needle:
Lower the tonearm onto a record and power on the turntable. Listen carefully for clear and balanced audio output. If the sound is distorted or unbalanced, double-check the alignment and positioning of the new needle.
Step 6: Tracking Force Adjustment (if required):
The AT-LP120 has an adjustable counterweight to set the tracking force. Refer to the user manual for guidance on adjusting the tracking force to match the specifications of the new needle. Use a tracking force gauge to ensure the proper downward force on the record for optimal playback.
Step 7: Regular Maintenance:
To maintain the longevity and performance of your new needle, it is important to perform regular maintenance. Clean the needle regularly using a stylus brush or a specialized stylus cleaning solution. Inspect the needle for any signs of wear or damage and replace it as needed.
Conclusion:
Changing the needle on your Audio-Technica AT-LP120 turntable is a straightforward process that can enhance your vinyl listening experience. By following these step-by-step instructions and exercising care during handling, you can ensure proper installation and enjoy optimal audio playback. Remember to use the correct replacement stylus for the AT-LP120, test the new needle for balanced sound output, and perform regular maintenance to prolong the life of your needle and preserve the quality of your vinyl records.