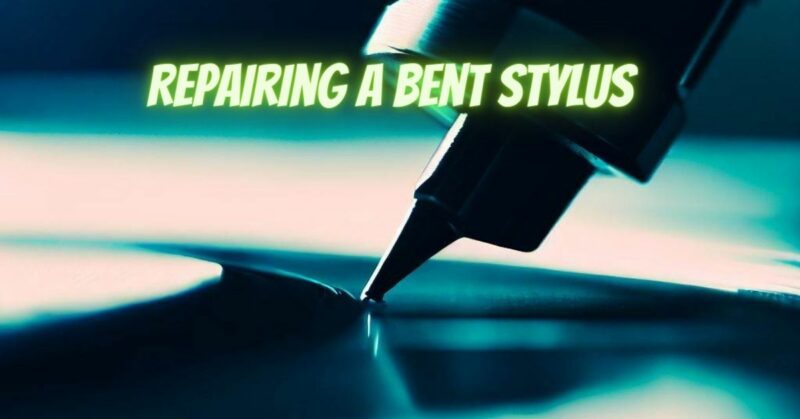
A stylus (needle) is a delicate part of a turntable that is responsible for tracking the grooves on your vinyl records and translating them into sound. Unfortunately, accidents can happen, and a stylus may become bent, affecting its performance and potentially damaging your records. However, in some cases, a bent stylus can be repaired without needing to replace it entirely. In this guide, we will walk you through the process of repairing a bent stylus on a turntable, helping you restore its functionality and preserve your vinyl collection.
Important Note: Repairing a stylus should be done with caution, and success may vary depending on the extent of the damage. If the stylus is severely bent or damaged, it is recommended to replace it with a new one to ensure optimal audio quality and avoid any potential harm to your records.
Step 1: Assess the Damage:
Examine the stylus carefully to determine the extent of the bending. If the bend is minor and doesn’t affect the integrity of the stylus tip, there may be a chance to repair it. However, if the bend is severe or the tip is damaged, it is advisable to replace the stylus.
Step 2: Remove the Stylus from the Cartridge:
Detach the stylus from the cartridge according to the manufacturer’s instructions. This may involve sliding it out or releasing a locking mechanism. Handle the stylus with care, avoiding any further stress on the bent portion.
Step 3: Straighten the Stylus:
Using a pair of fine-tipped tweezers or needle-nose pliers, gently attempt to straighten the bent portion of the stylus. Apply very subtle pressure, making incremental adjustments to avoid causing further damage. Be extremely cautious not to apply excessive force, as it may break the stylus or cause irreparable damage.
Step 4: Reinstall the Stylus:
Once you have straightened the stylus to the best of your ability, carefully reattach it to the cartridge following the manufacturer’s instructions. Ensure it is securely fitted and aligned properly.
Step 5: Test the Repaired Stylus:
Power on the turntable and lower the tonearm onto a record. Listen carefully for any distortion, skipping, or excessive noise. If the stylus tracks properly and the sound is clear without any noticeable issues, the repair has been successful. However, if you encounter persistent problems or notice a decline in audio quality, it is recommended to replace the stylus.
Step 6: Regular Maintenance and Care:
To prevent future damage to the stylus, it is important to practice proper maintenance and care. Keep the turntable clean and free from dust and debris. Regularly clean the stylus using a stylus brush or a specialized cleaning solution to remove any accumulated dirt or debris. Avoid mishandling or dropping the stylus, as this can cause bending or damage.
Conclusion:
Repairing a bent stylus on a turntable requires patience, caution, and a gentle touch. While minor bends can sometimes be rectified, it is important to exercise care and assess the extent of the damage before attempting a repair. If in doubt, it is always recommended to consult a professional or replace the stylus entirely to ensure optimal audio performance and preserve the lifespan of your vinyl records. Remember to prioritize regular maintenance and proper handling to prevent any future damage to your stylus.

