
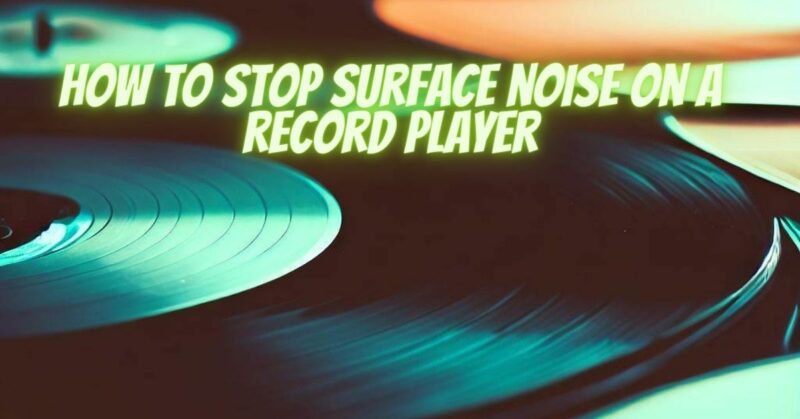
Surface noise, often referred to as crackling or popping sounds, can be an unwelcome distraction when enjoying your vinyl records on a turntable. While some level of surface noise is inherent to the medium, there are steps you can take to minimize its impact and enhance your listening experience. In this article, we will explore practical tips and techniques to help you reduce surface noise on your record player and get the most out of your vinyl collection.
- Clean Your Records: Surface noise is often caused by dirt, dust, and debris on your records. Cleaning them regularly is a crucial step in minimizing surface noise. Use a record cleaning brush or a carbon fiber brush to gently remove any dust particles from the record’s surface before each play. For deeper cleaning, consider using a record cleaning solution and a microfiber cloth to remove stubborn grime and contaminants.
- Keep Your Turntable Clean: A clean turntable helps maintain optimal playback conditions and reduces surface noise. Dust and debris can accumulate on the turntable platter, stylus, and tonearm, affecting the quality of the sound. Regularly wipe down the turntable surface with a soft, lint-free cloth and clean the stylus using a stylus brush or cleaning solution recommended by the manufacturer.
- Check and Adjust Tracking Force: Incorrect tracking force, the pressure exerted by the stylus on the record, can lead to excessive surface noise. Consult your turntable’s manual or specifications to determine the recommended tracking force for your cartridge. Use a tracking force gauge or scale to ensure precise adjustment. An improperly set tracking force can cause excessive wear on the record and produce unwanted noise.
- Check and Adjust Anti-Skate: Anti-skate is a mechanism that counteracts the tendency of the tonearm to move inward or outward while playing a record. Incorrect anti-skate adjustment can result in imbalanced tracking and increased surface noise. Follow your turntable’s instructions to properly set the anti-skate to match your tracking force and cartridge specifications. This helps maintain proper stylus alignment and minimize distortion and noise.
- Replace Worn-Out Styli or Cartridges: A worn-out or damaged stylus can significantly contribute to surface noise. Over time, the stylus can become worn, dull, or misaligned, affecting the quality of the playback. Consider replacing the stylus or cartridge if you notice a significant increase in surface noise or if it has been in use for an extended period. Make sure to choose a compatible replacement that matches your turntable and cartridge specifications.
- Optimize Room Conditions: External factors such as room acoustics, vibration, and static electricity can also introduce surface noise. Place your turntable on a stable surface to minimize vibrations and ensure proper isolation from external sources. Avoid placing speakers or other audio equipment too close to the turntable, as it can cause unwanted vibrations. Additionally, control the humidity levels in the room, as excessive moisture or dryness can affect vinyl playback.
- Store and Handle Your Records Properly: Proper storage and handling of your records can help prevent surface noise caused by scratches, warping, or static buildup. Store records vertically in protective sleeves to avoid unnecessary contact and keep them away from direct sunlight or extreme temperature fluctuations. When handling records, hold them by the edges and avoid touching the playing surface to prevent fingerprints and smudges.
Conclusion:
While eliminating surface noise entirely may be challenging, following these practical tips can significantly minimize its presence and enhance your vinyl listening experience. By maintaining a clean and well-adjusted turntable, properly cleaning your records, and optimizing your listening environment, you can enjoy your vinyl collection with reduced surface noise and immerse yourself in the true beauty of analog sound.