
In the era of digital music streaming, there’s something undeniably captivating about the warm, authentic sound produced by a record player. It’s a timeless experience that appeals to both audiophiles and casual listeners alike. However, to achieve the best sound quality and performance from your beloved turntable, one often overlooked yet critical aspect is the record player belt setup. In this article, we’ll dive into the world of turntable belts, exploring their significance, how to set them up correctly, and the transformative impact they can have on your vinyl listening experience.
The Role of the Belt:
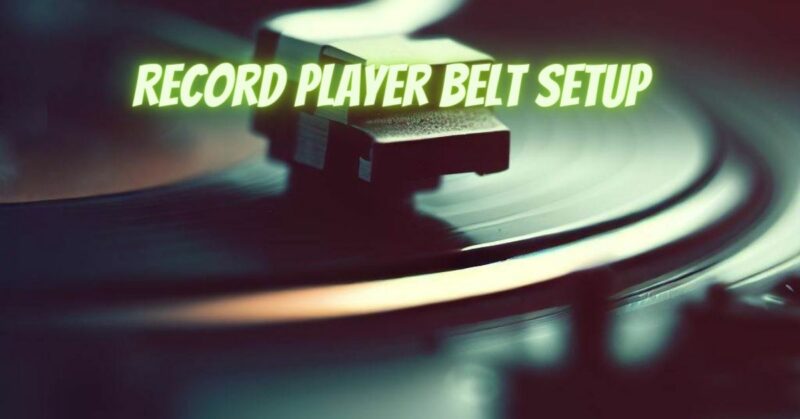
Hidden beneath the platter of a record player, the belt plays a vital role in transferring power from the motor to the turntable’s rotating platter. These belts are typically made of rubber or silicone and looped around the motor and platter. The elasticity of the belt helps maintain the correct speed at which the record spins, ensuring accurate playback and preventing unnecessary wear on your vinyl collection.
The Setup Process:
- Identify the Belt: Begin by locating the belt on your turntable. It is usually situated underneath the platter. Consult your turntable’s user manual or check the manufacturer’s website for specific instructions if needed.
- Remove the Platter: Gently lift the platter off the turntable, taking care not to damage the delicate stylus or tonearm. Some turntables may require you to unscrew a retaining clip or lift a center spindle to access the belt.
- Inspect and Clean: While the platter is removed, examine the condition of the belt. Over time, belts can deteriorate or stretch, compromising their functionality. If you notice any cracks, signs of wear, or if the belt feels loose, it may be time to replace it. Clean the platter and belt grooves using a soft cloth to remove any accumulated dust or debris.
- Loop the Belt: If your belt needs replacement, consult your turntable’s manufacturer or reputable audio retailers to find the correct size and type of replacement belt. To install the new belt, loop it around the motor’s pulley and stretch it over the outer edge of the platter, ensuring a snug fit. Be cautious not to twist or misalign the belt, as this can affect the playback speed.
- Test and Adjust: Once the belt is properly set up, reattach the platter, ensuring it sits securely on the spindle. Power on the turntable and observe the speed accuracy. Some turntables have built-in speed adjustment controls, while others require manual adjustments using a small screwdriver. Check the manual for precise instructions on calibrating the speed to either 33⅓ or 45 RPM, depending on your vinyl’s format.
The Impact on Sound Quality:
An optimally set-up turntable belt contributes to a richer, more immersive audio experience. When the belt maintains consistent tension and accurate rotation, it prevents speed fluctuations, minimizing wow and flutter distortion. This fidelity preservation allows for faithful reproduction of the music, presenting nuances, warmth, and depth that digital formats often struggle to capture.
Additionally, a correctly installed belt reduces vibrations and rumble, preventing unwanted resonances from reaching the stylus. This, in turn, safeguards your vinyl records from unnecessary wear and extends their lifespan.
Conclusion:
While the world of digital music continues to evolve rapidly, the charm and allure of vinyl records remain unmatched. Paying attention to the often-overlooked aspect of record player belt setup can elevate your vinyl listening experience to new heights. By following the simple steps outlined in this article, you can ensure that your turntable belt operates at its best, allowing you to fully immerse yourself in the beauty of analog sound. So, dust off your vinyl collection, adjust the belt, and let the harmonious dance of sound begin!