
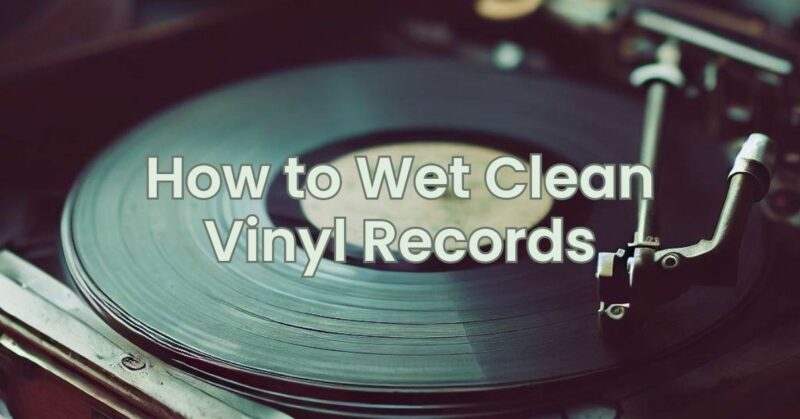
Wet cleaning is an effective method for deep cleaning vinyl records, removing stubborn dirt, dust, and grime from the grooves. Proper wet cleaning can significantly improve the sound quality and extend the life of your vinyl collection. In this article, we will guide you through the process of wet cleaning vinyl records, including the equipment needed, the steps to follow, and important tips to ensure a successful cleaning experience.
- Equipment Needed:
- Record cleaning machine or a dedicated record cleaning system
- Record cleaning solution (commercially available or DIY)
- Soft bristle brush specifically designed for vinyl records
- Distilled or filtered water
- Lint-free microfiber cloths or record cleaning pads
- Record drying rack or a clean, non-abrasive surface for air drying
- Steps to Wet Clean Vinyl Records: Step 1: Set up your cleaning station:
- Choose a clean, well-lit, and dust-free area to work on.
- Place your record cleaning machine or cleaning system on a stable surface.
- Ensure all equipment and materials are readily accessible.
Step 2: Prepare the cleaning solution:
- If using a commercially available record cleaning solution, follow the manufacturer’s instructions for dilution.
- If making a DIY solution, combine distilled or filtered water with a mild cleaning agent suitable for vinyl records. Avoid harsh chemicals or alcohol-based solutions.
Step 3: Apply the cleaning solution:
- Secure the vinyl record onto the cleaning machine or system according to the manufacturer’s instructions.
- Gently apply the cleaning solution to the surface of the record, covering the entire playable area.
- Let the solution sit on the record for a brief period to loosen the dirt and debris.
Step 4: Brush the record:
- Using a soft bristle brush, gently scrub the record in a circular motion, following the grooves from the center to the outer edge.
- Take care to avoid applying excessive pressure or causing any damage to the record surface.
- Repeat the process on both sides of the record.
Step 5: Rinse and dry the record:
- Rinse the record thoroughly with distilled or filtered water to remove any residual cleaning solution.
- Use lint-free microfiber cloths or record cleaning pads to carefully dry the record, again following the grooves.
- Alternatively, place the record on a record drying rack or a clean, non-abrasive surface and allow it to air dry completely.
Step 6: Inspect and store the clean record:
- Once the record is dry, visually inspect it for any remaining dirt or debris.
- If necessary, repeat the cleaning process for stubborn stains or contaminants.
- Store the clean record in a protective inner sleeve and place it back into its outer sleeve, ensuring a dust-free environment.
- Important Tips for Wet Cleaning:
- Always handle records by their edges to avoid leaving fingerprints or smudges on the playing surface.
- Use separate cleaning brushes or pads for each record to prevent cross-contamination.
- Avoid excessive moisture on the record label, as it may cause damage or fading.
- Do not stack wet records on top of each other to avoid warping or sticking together.
- Regularly clean your cleaning equipment and replace brushes or pads when necessary.
Wet cleaning vinyl records is an effective method for removing deep-seated dirt and maintaining the sound quality of your collection. By following the steps outlined in this guide and using the proper equipment and cleaning solution, you can safely and effectively clean your vinyl records. Remember to handle the records with care, allow them to dry completely before storage, and maintain a clean and dust-free environment. With regular wet cleaning, your vinyl records will continue to provide an enjoyable listening experience for years to come.
