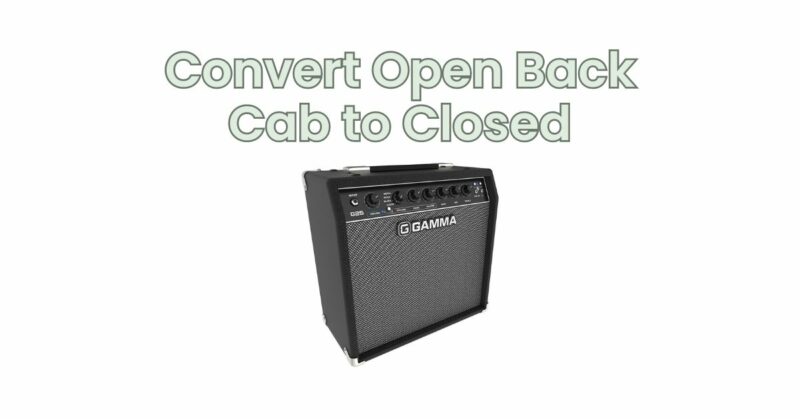
Guitar cabinets come in various designs, including open-back and closed-back configurations. Each design offers distinct tonal characteristics and sound projection. If you have an open-back guitar cabinet and wish to explore the tighter and more focused sound of a closed-back configuration, you have the option to convert your cabinet. In this article, we will guide you through the process of converting an open-back guitar cabinet to a closed-back setup, allowing you to tailor your cabinet’s sound to your preferences.
- Assess the Cabinet Design: Before starting the conversion process, it is essential to evaluate your guitar cabinet’s construction and determine its suitability for conversion. Ensure that the cabinet has a removable back panel or is designed in a way that allows for modifications. Also, consider the internal dimensions and available space within the cabinet to accommodate the necessary modifications.
- Gather Materials and Tools: To convert your open-back cabinet to a closed-back configuration, you will need the following materials and tools:
- Plywood or MDF panel for the new back panel
- Measuring tape and pencil
- Screwdriver or drill
- Screws or wood glue
- Acoustic foam or damping material (optional)
- Measure and Cut the New Back Panel: Measure the dimensions of the back opening on your guitar cabinet and transfer those measurements to the plywood or MDF panel. Use a saw or appropriate cutting tool to carefully cut the panel to the required size. Ensure a precise fit to cover the entire back opening.
- Attach the New Back Panel: Once the new back panel is cut, attach it to the cabinet using screws or wood glue. If using screws, mark the screw hole positions on the cabinet and drill pilot holes to prevent splitting. Securely fasten the panel to ensure a tight seal and prevent air leakage.
- Seal any Gaps: To achieve an airtight closed-back cabinet, seal any gaps or seams between the new back panel and the cabinet. This can be done using weatherstripping, foam tape, or a suitable sealant. The goal is to minimize air leakage, ensuring optimal sound isolation and containment within the cabinet.
- Optional: Damping Material: To control internal resonances and reflections, you may choose to line the inside of the cabinet with acoustic foam or damping material. This material helps absorb and dissipate unwanted vibrations, further enhancing the sound quality and reducing cabinet resonances. Attach the damping material to the internal walls of the cabinet using adhesive or mounting tape.
- Test and Fine-Tune: Once the conversion is complete, it’s time to test the closed-back cabinet configuration. Connect your amplifier and guitar to the cabinet and play to evaluate the changes in sound projection and tonal characteristics. You may find that the closed-back configuration provides a tighter and more focused sound compared to the original open-back setup. Make any necessary adjustments to the damping material or sealing to achieve the desired sound.
Conclusion: Converting an open-back guitar cabinet to a closed-back configuration allows you to explore different tonal characteristics and sound projection options. By following the steps outlined in this article, you can successfully convert your open-back cabinet to a closed-back setup. Remember to assess the cabinet design, gather the necessary materials and tools, measure and cut the new back panel, securely attach it, seal any gaps, and optionally apply damping material. Enjoy the process of fine-tuning your closed-back cabinet to achieve the desired sound that complements your playing style and musical preferences.


