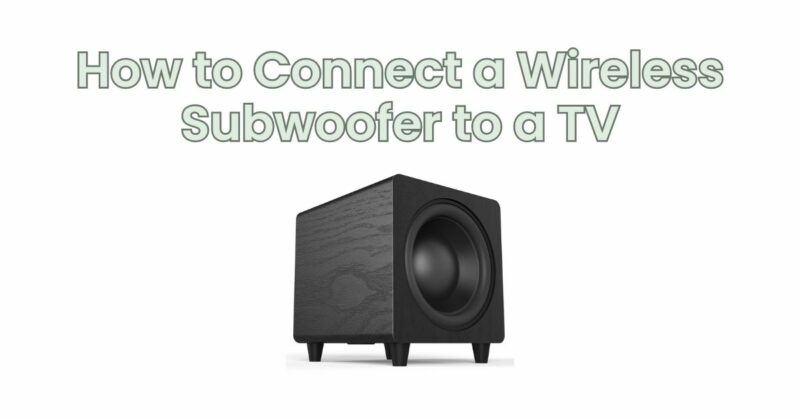
A wireless subwoofer provides the flexibility to position your subwoofer anywhere in the room without the constraints of wires. This convenience makes it an excellent choice for enhancing the audio experience of your TV setup. In this article, we will walk you through the process of connecting a wireless subwoofer to your TV, allowing you to enjoy deep, immersive bass without the hassle of cables.
Step 1: Check Compatibility Before proceeding, ensure that both your TV and the wireless subwoofer support the same wireless audio technology, such as Bluetooth or Wi-Fi. Check the product specifications or user manuals for compatibility information.
Step 2: Prepare the Subwoofer and TV Ensure that your wireless subwoofer is powered on and in pairing mode. Refer to the manufacturer’s instructions for the specific steps to initiate pairing mode. On your TV, navigate to the settings menu and access the audio or sound options.
Step 3: Enable Bluetooth or Wi-Fi on the TV In the audio settings of your TV, locate the wireless audio options. Enable the Bluetooth or Wi-Fi functionality, depending on the wireless technology supported by your subwoofer. Select the option to search or pair devices.
Step 4: Pair the Subwoofer with the TV On your TV, select the option to search for available devices. The TV will scan for nearby wireless devices, including your wireless subwoofer. When the subwoofer appears on the list, select it to initiate the pairing process. Follow any on-screen prompts or instructions to complete the pairing procedure.
Step 5: Adjust Audio Settings Once the pairing is successful, navigate to the audio settings on your TV and configure the sound output. Depending on your TV model, you may have the option to adjust the subwoofer volume level or customize audio settings for optimal sound balance.
Step 6: Test the Audio Play audio or video content on your TV to test the audio output. Ensure that the subwoofer is producing sound and that the bass response is noticeable and balanced with the TV’s speakers. Adjust the subwoofer volume or TV’s audio settings as needed to achieve the desired audio experience.
Step 7: Troubleshooting and Optimizing If you encounter connectivity or audio issues, consider the following troubleshooting steps:
- Ensure that the wireless subwoofer and TV are within range of each other. Obstructions or distance may affect the wireless signal.
- Check for firmware updates for both the TV and the wireless subwoofer. Updating the firmware can resolve compatibility issues and improve performance.
- If interference is a concern, try adjusting the placement of the subwoofer or minimizing the presence of other wireless devices in close proximity.
- Consult the user manuals or contact the manufacturer’s customer support for further assistance and troubleshooting guidance.
Conclusion: By following these steps, you can easily connect a wireless subwoofer to your TV, freeing yourself from the constraints of wires while enjoying deep, immersive bass. Confirm the compatibility of your devices, pair the subwoofer with your TV, and adjust the audio settings to achieve optimal sound balance. Once connected, sit back, relax, and indulge in an enhanced audio experience that brings your movies, shows, and music to life with powerful, wireless bass integration. Enjoy the convenience and flexibility of a wireless subwoofer and elevate your TV audio to new levels of enjoyment.


