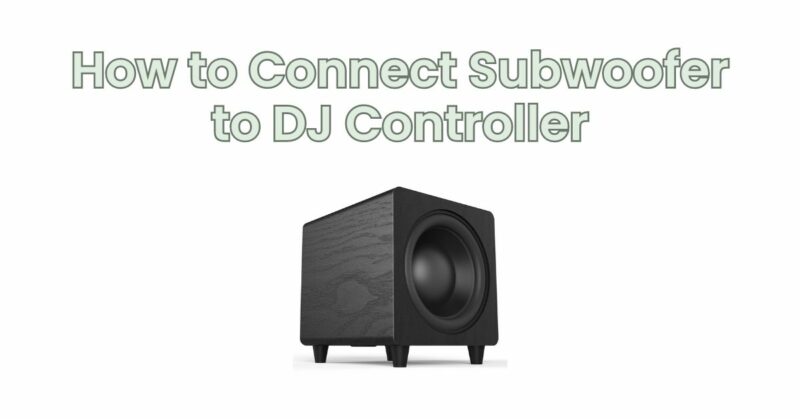
For DJs and music enthusiasts, a subwoofer can significantly enhance the bass response and low-frequency impact of the music. If you’re a DJ using a controller, integrating a subwoofer into your setup can take your performances to the next level. Connecting a subwoofer to your DJ controller allows you to deliver powerful and thumping bass that gets people moving on the dance floor. In this article, we will guide you through the process of connecting a subwoofer to a DJ controller, enabling you to create a dynamic and immersive sound experience.
Step 1: Check Compatibility and Ports Before starting, ensure that your DJ controller and subwoofer have compatible connection options. Most DJ controllers provide a variety of output options, such as RCA, XLR, or 1/4-inch TRS. Check the user manual or product specifications of your DJ controller and subwoofer to verify compatibility and available input/output ports.
Step 2: Determine the Output Options on the DJ Controller Identify the output options on your DJ controller that can be used to connect the subwoofer. These outputs are typically labeled as “master out,” “booth out,” or “balanced out.” Consult the user manual or product specifications of your DJ controller to locate the appropriate ports.
Step 3: Choose the Correct Cables Select the appropriate cables based on the available ports on your DJ controller and the input options on your subwoofer. Common cable options include RCA, XLR, or 1/4-inch TRS cables. Ensure the cables are of sufficient length to reach from the DJ controller to the subwoofer.
Step 4: Connect the Cables Connect one end of the cable from the output ports on your DJ controller to the input ports on your subwoofer. Ensure a secure connection by firmly plugging in the cables. Match the connectors correctly, such as RCA-to-RCA or XLR-to-XLR.
Step 5: Adjust Subwoofer Settings Access the controls on your subwoofer and adjust the volume level, crossover frequency, and phase to optimize the subwoofer’s performance. Refer to the subwoofer’s user manual for specific guidance on optimal settings. Start with conservative settings and make adjustments based on the venue, crowd, and your personal preferences.
Step 6: Test and Fine-Tune Power on your DJ controller and subwoofer. Start playing music through your DJ controller and listen for the enhanced bass response from the subwoofer. Adjust the volume levels on both the DJ controller and the subwoofer to achieve a balanced sound. Fine-tune the subwoofer’s volume and other settings as needed to ensure the bass blends seamlessly with the rest of the audio.
Step 7: Positioning and Acoustics Experiment with the placement of your subwoofer to optimize the audio performance. Consider factors such as room acoustics and speaker placement guidelines to achieve the best sound reproduction. Position the subwoofer strategically to ensure even coverage and impactful bass delivery.
Conclusion: Connecting a subwoofer to a DJ controller allows you to add depth and power to your performances, taking the dance floor experience to new heights. By following the steps outlined in this article and ensuring compatibility between your DJ controller and subwoofer, you can seamlessly integrate the subwoofer into your setup. Enjoy the thumping bass and immersive sound experience that the subwoofer brings to your DJ performances. Experiment with settings, fine-tune the sound balance, and adjust the positioning of your subwoofer to achieve optimal audio performance. With the right connections and adjustments, your subwoofer connected to a DJ controller will deliver a punchy and captivating sound experience that will keep the crowdmoving and grooving all night long. Embrace the power of deep bass and elevate your DJ sets with the added impact and energy provided by a subwoofer. Let the music resonate through the dance floor, and create an unforgettable atmosphere that leaves a lasting impression on your audience.


