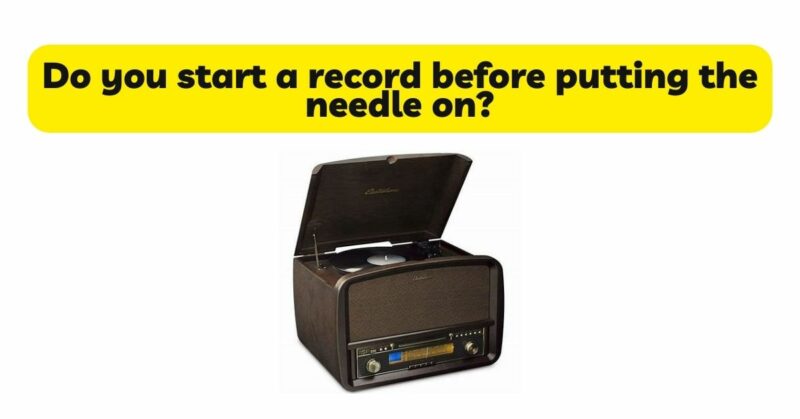
Playing vinyl records is not just about the music; it’s an experience that involves careful handling and attention to detail. When it comes to starting a record player, there is a common question about whether to start the record before placing the needle on it. In this article, we will explore the reasons behind the recommended sequence of starting a record player before placing the needle, discuss the potential risks of placing the needle on a spinning record, and provide guidelines for optimal record player operation.
- Understanding the Record Player Operation: Before delving into the sequence of starting a record player, it’s important to have a basic understanding of how it operates. A typical record player consists of a turntable, tonearm, cartridge, stylus (needle), and amplification system. The turntable rotates the vinyl record, while the tonearm, equipped with the cartridge and stylus, tracks the record’s grooves to produce sound.
- Reasons for Starting the Record Player First: The recommended sequence of starting the record player before placing the needle on the record serves several important purposes:
a. Minimizing Potential Damage: Placing the needle on a spinning record can result in accidental slips or sudden movements, potentially scratching or damaging the record. Starting the record player first allows for a controlled and stable surface for placing the needle.
b. Preserving Stylus Lifespan: Placing the needle on a stationary record can also cause unnecessary wear on the stylus, as it may come into contact with the grooves abruptly. Starting the record player first ensures a smooth and gradual lowering of the stylus onto the record, reducing the risk of damage and prolonging the stylus lifespan.
c. Reducing Needle Skipping: Placing the needle on a stationary record may lead to skips or jumps in playback, as the stylus needs the rotating motion of the record to properly track the grooves. Starting the record player first ensures that the record is spinning at the appropriate speed before the stylus comes into contact with the grooves, minimizing the chances of skipping.
- Optimal Sequence for Starting a Record Player: To ensure proper operation and protect your records and equipment, follow this recommended sequence for starting a record player:
a. Prepare the Record: Before starting the record player, ensure that the record is clean and free from dust or debris that could affect playback. Place the record on the turntable platter, ensuring it is centered correctly.
b. Start the Turntable: Power on the record player and start the turntable’s rotation. Depending on the record player model, this may involve pressing a button or engaging a lever to initiate rotation.
c. Lower the Tonearm: Once the turntable is spinning at the appropriate speed, gently lower the tonearm and stylus onto the rotating record. Use the cueing lever or button to control the descent of the tonearm, ensuring a smooth and gradual contact with the record surface.
d. Allow the Stylus to Settle: After lowering the tonearm, give the stylus a few moments to settle into the grooves before engaging playback. This allows the stylus to align properly and establish optimal tracking.
e. Engage Playback: Once the stylus has settled, engage playback using the appropriate controls on your record player. Enjoy the music while ensuring the tonearm and stylus remain securely in place.
- Additional Tips for Record Player Operation: To further optimize your record player’s performance and protect your vinyl records, consider the following tips:
a. Proper Record Handling: Handle your records with care, holding them by the edges and avoiding touching the playing surface. This helps prevent smudges, fingerprints, and unnecessary wear.
b. Regular Maintenance: Regularly clean and maintain your record player, including the turntable platter, tonearm, and stylus. Follow the manufacturer’s guidelines for cleaning procedures and ensure that all components are in good working condition.
c. Stylus Inspection: Periodically inspect the stylus for signs of wear or damage. A worn or damaged stylus can affect playback quality and potentially damage your records. Replace the stylus as needed according to the manufacturer’s recommendations.
d. Speed Selection: Ensure that the record player is set to the correct speed for the record being played. Most records are either 33 1/3 RPM (revolutions per minute) or 45 RPM. Setting the correct speed prevents pitch variations and distortion.
e. Environmental Considerations: Keep your record player away from sources of vibration, extreme temperatures, and humidity. These factors can impact performance and potentially damage records and equipment.
Conclusion: When starting a record player, it is recommended to start the turntable before placing the needle on the record. This sequence minimizes the risk of accidental scratches, reduces stylus wear, and helps ensure smooth playback without skipping. By following the proper sequence and adhering to best practices for record player operation and maintenance, you can enjoy an optimal listening experience while preserving the longevity of your vinyl records and equipment. Remember, taking a few extra moments to start the record player before placing the needle can go a long way in protecting your valuable music collection.


