
Operating a record player requires careful attention to detail, and one crucial aspect is correctly placing the needle, also known as the stylus, on the record. The needle’s placement determines how well it tracks the grooves and translates the audio information into sound. In this article, we will explore the importance of needle placement on a record player, discuss the proper technique for positioning the needle, and provide guidance on achieving optimal playback for your vinyl records.
- Understanding the Anatomy of a Record Player: Before discussing needle placement, let’s briefly review the essential components of a record player:
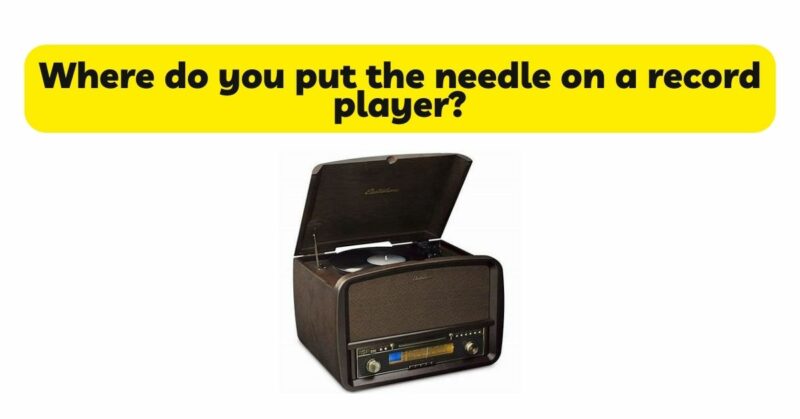
a. Turntable Platter: The turntable platter is the rotating platform that holds the vinyl record during playback.
b. Tonearm: The tonearm is a mechanical arm that extends over the platter and holds the needle/stylus.
c. Cartridge: The cartridge is the housing that contains the stylus and converts the vibrations from the grooves into an electrical signal.
- Needle Placement Technique: Proper needle placement ensures accurate tracking and prevents unnecessary wear on both the needle and the record. Follow these steps to achieve correct needle placement:
a. Cueing Lever or Button: Most record players have a cueing lever or button located near the tonearm. This lever allows for controlled lowering and lifting of the tonearm. Use this lever to gently raise the tonearm off its resting position.
b. Locate the Lead-In Groove: The lead-in groove is the spiral groove at the beginning of the record, located just before the actual music begins. Carefully position the tonearm above this groove.
c. Positioning the Stylus: Gradually lower the tonearm, guiding the stylus towards the record. Aim for the outer edge of the lead-in groove, just before the start of the first track. It is essential to ensure a smooth and controlled descent of the tonearm to avoid any sudden drops that may damage the stylus or the record.
d. Tracking Angle: As the stylus comes into contact with the record’s surface, it should form an angle within the groove. This angle is typically between 20 to 30 degrees, allowing for optimal tracking and minimal wear. Avoid excessive tracking angle, as it can cause distortion or uneven wear on the stylus and grooves.
e. Automatic vs. Manual Cueing: Some record players have automatic cueing systems that lower the tonearm onto the record with the press of a button. If your record player has this feature, follow the manufacturer’s instructions to engage the automatic cueing mechanism properly.
- Considerations for Proper Needle Placement: To ensure accurate needle placement and improve playback quality, consider the following factors:
a. Record Size: Vinyl records come in different sizes, including 7-inch, 10-inch, and 12-inch. Adjust the position of the tonearm and stylus based on the record’s size to align with the appropriate grooves.
b. Overhang and Alignment: Overhang refers to the positioning of the stylus in relation to the tonearm pivot point. Proper overhang and alignment are critical for optimal tracking and accurate reproduction of the audio. Consult your turntable’s manual or the cartridge manufacturer’s instructions for recommended overhang and alignment procedures specific to your setup.
c. Vertical Tracking Force (VTF): The vertical tracking force refers to the downward pressure exerted by the stylus on the record’s surface. It is essential to set the VTF according to the cartridge manufacturer’s specifications. Incorrect VTF can lead to tracking issues or excessive wear on the stylus and record grooves.
d. Anti-Skate Adjustment: Many turntables feature an anti-skate adjustment mechanism to counterbalance the inward force exerted on the tonearm by the record groove. Proper anti-skate adjustment helps maintain balanced tracking. Follow the manufacturer’s instructions to set the anti-skate adjustment correctly.
- Additional Tips for Needle Placement: Consider the following tips to further optimize needle placement on your record player:
a. Cleanliness: Ensure that both the record and the stylus are clean before each use. Clean records reduce the risk of debris or dust particles affecting the stylus’s tracking ability.
b. Stylus Care: Take care of your stylus by avoiding unnecessary touching or mishandling. Keep it protected with a stylus guard when not in use to prevent accidental damage.
c. Turntable Leveling: Proper leveling of the turntable is essential for accurate needle placement. Use a bubble level to ensure that the turntable surface is flat and level, minimizing the risk of tracking errors.
d. Regular Maintenance: Regularly clean and maintain your turntable and cartridge according to the manufacturer’s instructions. Proper maintenance enhances the lifespan and performance of your equipment.
Conclusion: Proper needle placement is crucial for optimal playback on a record player. By following the steps outlined above and considering factors such as record size, overhang, alignment, vertical tracking force, and anti-skate adjustment, you can ensure accurate tracking and minimize wear on both the needle and the record grooves. Remember to maintain cleanliness, handle the stylus with care, level the turntable, and perform regular maintenance to preserve the longevity and performance of your vinyl playback system. With attention to detail and proper needle placement, you can fully enjoy the rich and immersive experience of vinyl records.
