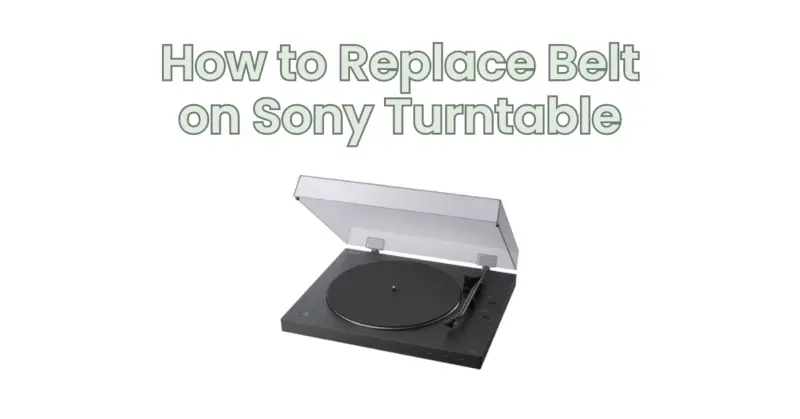
The belt is an essential component of a turntable as it drives the platter rotation, allowing for smooth playback of vinyl records. Over time, the belt may wear out or stretch, requiring replacement to maintain optimal performance. If you own a Sony turntable and need to replace the belt, follow this step-by-step guide for a successful belt replacement process.
Please note that the specific steps may vary slightly depending on the model of your Sony turntable. Always refer to the user manual and documentation provided by Sony for accurate and model-specific instructions.
Here’s what you’ll need:
- Replacement Belt: Obtain a new belt that is compatible with your specific Sony turntable model. You can find the appropriate belt online or contact Sony for assistance in locating the correct replacement part.
- Screwdriver: Depending on the model, you may need a screwdriver (usually Phillips or flathead) to remove screws securing the turntable’s platter or belt cover.
- Tweezers or Needle-Nose Pliers: These tools can be handy for handling the replacement belt and positioning it properly on the turntable.
Now, let’s proceed with the step-by-step guide:
Step 1: Power Off and Unplug the Turntable: Before starting the belt replacement process, ensure that the turntable is powered off and unplugged from the power source. This will prevent any accidental damage or electrical hazards during the belt replacement.
Step 2: Remove the Platter or Belt Cover: Locate and remove the platter or belt cover, depending on the design of your Sony turntable. Some turntables have a platter that rests on top of the main base, while others have a separate belt cover that needs to be removed to access the belt. Refer to the user manual or documentation for your specific model to identify and remove the necessary components.
Step 3: Locate the Belt and Remove the Old Belt: Once the platter or belt cover is removed, locate the belt on the turntable. It is usually visible around the motor spindle and the inner rim of the platter. Carefully remove the old belt from the turntable, taking note of its positioning and how it is threaded around the motor and pulley system. Use tweezers or needle-nose pliers if needed for easier removal.
Step 4: Prepare the Replacement Belt: Take the new replacement belt and ensure it is the correct size and type for your Sony turntable model. Check for any markings or instructions on the belt that indicate the correct orientation or installation direction. If necessary, consult the user manual or documentation for guidance on the proper positioning of the replacement belt.
Step 5: Thread the Replacement Belt onto the Turntable: Start by positioning the replacement belt around the motor spindle, ensuring it is properly seated. Next, thread the belt around the inner rim of the platter, following the same path as the original belt. Take your time to ensure the belt is properly aligned and seated on the pulley system, as an incorrect belt placement can affect the turntable’s performance.
Step 6: Test the Belt and Reassemble the Turntable: Once the replacement belt is in place, gently rotate the platter by hand to confirm that the belt is properly seated and moves smoothly. If the belt slips or feels loose, double-check its positioning and adjust as needed. Once you are satisfied with the belt’s installation, reassemble the turntable by replacing the platter or belt cover, ensuring that any screws or fasteners are securely tightened.
Step 7: Power On and Test the Turntable: Power on the turntable and test the belt’s functionality. Start the turntable and observe the platter’s rotation to ensure it spins smoothly and consistently. Listen for any abnormal noises or irregularities that could indicate an improper belt installation. If everything appears to be working correctly, you have successfully replaced the belt on your Sony turntable.
In conclusion, replacing the belt on a Sony turntable is a relatively straightforward process. By following these steps and referring to the user manual or documentation specific to your model, you can ensure a proper belt replacement and maintain the optimal performance of your Sony turntable. Enjoy your vinyl collection with confidence, knowing that your turntable is operating smoothly with a new belt in place.

