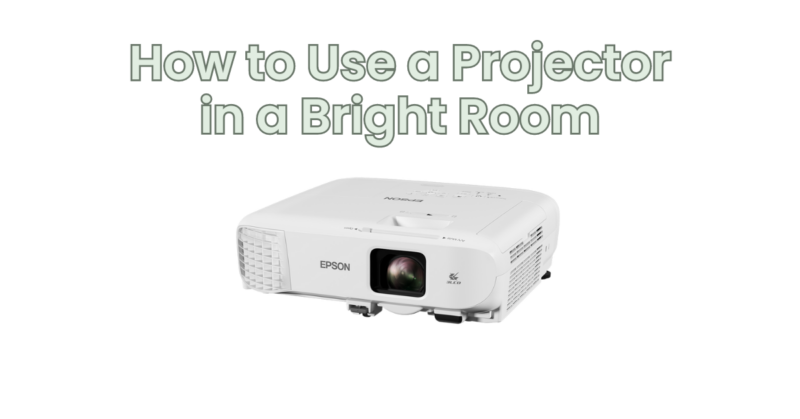
Using a projector in a bright room can present challenges due to the presence of ambient light, which can wash out the projected image. However, with the right techniques and considerations, it is possible to achieve satisfactory image visibility and enjoy a projection experience even in well-lit environments. In this article, we will provide tips and strategies on how to use a projector in a bright room effectively.
- Select a Bright Projector: Choose a projector with high brightness output. Look for models with higher lumen ratings, typically above 3,000 lumens or more. Higher brightness allows the projector to produce a brighter image, compensating for ambient light and improving visibility.
- Consider Ambient Light Control: Minimizing ambient light in the room is essential for enhancing image visibility. Here are some strategies for controlling ambient light:
- Close Curtains or Blinds: Reduce or eliminate direct sunlight by closing curtains or blinds. This helps minimize the amount of light entering the room and interfering with the projected image.
- Dim Artificial Lights: Reduce the intensity of artificial lights in the room. Dimming or turning off unnecessary lights helps create a more favorable viewing environment.
- Use Light-Blocking Materials: Consider using light-blocking curtains or shades to effectively block out ambient light and improve image contrast.
- Optimize Screen Selection: Choose a projection screen that is designed for use in well-lit environments. Consider the following options:
- High-Gain Screens: Screens with higher gain values reflect more light back to the viewer, increasing overall brightness. High-gain screens can help compensate for ambient light, improving image visibility.
- Gray Screens: Gray screens are designed to enhance contrast and reduce the impact of ambient light. They are effective in maintaining image quality in rooms with controlled lighting conditions.
- Position the Projector Strategically: Proper projector placement is crucial for maximizing image visibility. Consider the following tips:
- Avoid Direct Light: Position the projector away from direct light sources, such as windows or overhead lights, to minimize the impact of ambient light on the projected image.
- Adjust Projection Angle: Aim the projector slightly downward to prevent the light from reflecting back into the audience’s eyes. This helps reduce glare and enhances image clarity.
- Use Ceiling Mounts or Tripods: Ceiling mounts or tripods allow for flexible projector positioning and can help optimize the projection angle and distance.
- Adjust Image Settings: Fine-tune the projector’s image settings to optimize visibility in a bright room:
- Brightness and Contrast: Increase the projector’s brightness and contrast settings to enhance image visibility. However, be cautious not to overdo it, as excessive brightness or contrast may result in decreased image quality.
- Color Temperature: Adjust the color temperature settings to ensure accurate color reproduction and compensate for any color distortion caused by ambient light.
- Consider Time of Day: If possible, schedule your projector usage during times when natural light is less intense. Evening or early morning hours may provide more favorable lighting conditions for projection.
- Test and Experiment: Experiment with different projector settings, screen positions, and room lighting conditions. Make adjustments as needed to find the optimal setup that balances image visibility and quality.
In conclusion, using a projector in a bright room requires careful consideration of projector brightness, ambient light control, screen selection, projector placement, image settings, and the timing of usage. By implementing these tips and strategies, you can significantly improve image visibility and enjoy a satisfactory projection experience even in well-lit environments. Remember to experiment and fine-tune the setup to find the best configuration that suits your specific room and viewing conditions.

