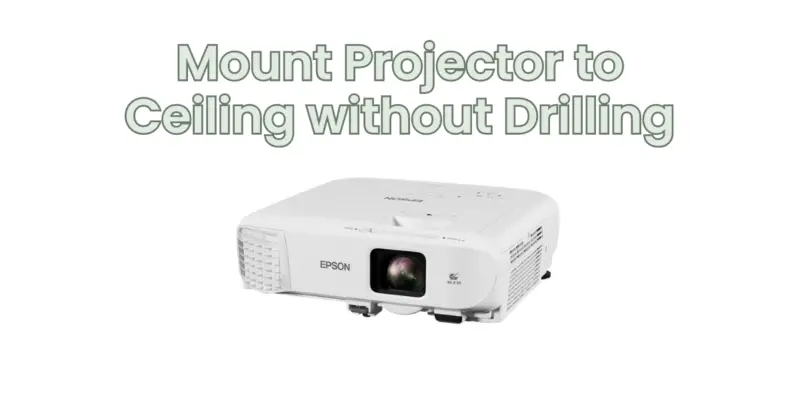
Mounting a projector to the ceiling can provide an optimal viewing experience and save valuable space in your room. However, drilling into the ceiling may not always be possible or desirable, particularly in rental properties or situations where you prefer not to make permanent modifications. In this article, we will explore alternative solutions and techniques for mounting a projector to the ceiling without drilling.
- Ceiling Mount with Adhesive Strips:
One option to consider is using adhesive strips designed for mounting objects. Look for heavy-duty adhesive strips that can support the weight of your projector. Clean the surface of the ceiling and the mounting plate on the projector thoroughly before attaching the strips. Follow the manufacturer’s instructions for applying and securing the adhesive strips to both the ceiling and the projector. Be sure to choose adhesive strips suitable for your ceiling type and weight requirements.
- Drop Ceiling Mount:
If you have a drop ceiling or a suspended ceiling with removable tiles, you can utilize a specialized drop ceiling mount. These mounts typically consist of a grid-like structure that fits into the ceiling tiles, providing a secure platform for mounting the projector. Install the drop ceiling mount by removing a ceiling tile and positioning the mount in place. Ensure that the mount is stable and properly aligned. Then, attach the projector mount to the drop ceiling mount according to the manufacturer’s instructions.
- C-Clamp Mount:
A C-clamp mount is a versatile option that doesn’t require drilling into the ceiling. It involves using a C-shaped clamp that attaches to a stable surface, such as a ceiling beam or a sturdy piece of furniture. Ensure that the chosen surface can support the weight of the projector. Attach the C-clamp securely to the stable surface and then attach the projector mount to the C-clamp. Adjust the projector’s position and alignment as needed.
- Tripod Stand:
If drilling into the ceiling is not an option, consider using a tripod stand specifically designed for projectors. These stands typically feature adjustable height and angle settings, allowing you to position the projector at the desired height and projection angle. Place the tripod stand on the floor and secure the projector to the mounting plate on the stand. Ensure that the tripod stand is stable and positioned correctly for optimal projection.
- Wall Mount with Extension Arm:
If ceiling mounting is not feasible, a wall mount with an extension arm can be an alternative solution. Install the wall mount according to the manufacturer’s instructions, ensuring that it is securely attached to a sturdy wall. Extend the arm to the desired length and angle, and attach the projector mount to the end of the arm. Adjust the projector’s position and alignment for the best projection.
Remember to consult the manufacturer’s instructions and guidelines for the specific mount you choose to ensure proper installation and weight capacity. It’s important to note that alternative mounting methods may have limitations, such as reduced stability or the need for additional adjustments to achieve optimal projection. Always prioritize safety and stability when selecting and using alternative mounting solutions.
In conclusion, mounting a projector to the ceiling without drilling is possible through alternative solutions and techniques. Options such as adhesive strips, drop ceiling mounts, C-clamp mounts, tripod stands, or wall mounts with extension arms offer flexibility for those who prefer not to drill into the ceiling. Consider the weight of your projector, the stability of the chosen method, and the specific requirements of your space when selecting the most suitable alternative mounting solution for your projector.


