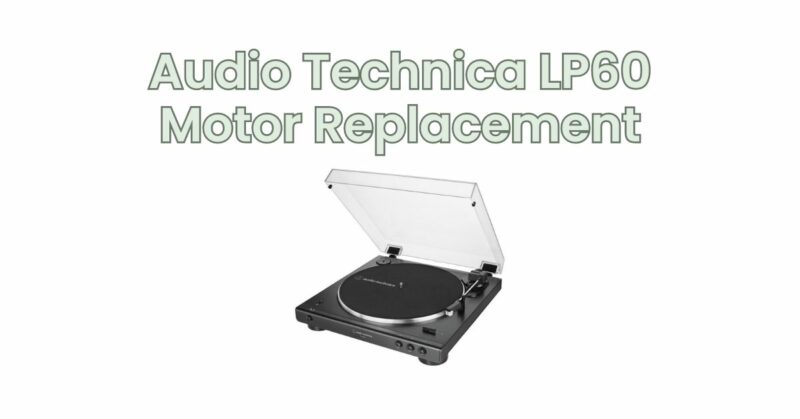
The Audio Technica LP60 turntable has gained popularity among vinyl enthusiasts for its affordability and ease of use. However, like any mechanical device, the LP60’s motor may eventually wear out or encounter issues. If you find that your turntable’s motor is no longer functioning properly, fear not! In this article, we will guide you through the process of replacing the motor in your Audio Technica LP60, allowing you to revive your beloved turntable and continue enjoying your vinyl collection.
- Diagnosing the Motor Issue: Before replacing the motor, it is essential to diagnose the problem accurately. If your LP60 turntable is not spinning at the correct speed or not spinning at all, it is likely that the motor is the culprit. Ensure that there are no other underlying issues causing the problem, such as a faulty power supply or belt. Confirm that the motor is indeed malfunctioning before proceeding with the replacement process.
- Acquiring the Replacement Motor: To replace the motor in your Audio Technica LP60, you will need a compatible replacement part. Contact Audio Technica’s customer support or visit their website to inquire about purchasing a genuine replacement motor for your specific LP60 model. It is crucial to use the correct motor to ensure compatibility and proper functioning.
- Gather the Necessary Tools: Before beginning the motor replacement process, gather the necessary tools. You may require a screwdriver, needle-nose pliers, and perhaps a small socket wrench or Allen key, depending on your LP60’s construction. Prepare a clean, well-lit workspace to perform the replacement procedure.
- Power Down and Disassemble: To access the motor, power down and unplug your LP60 turntable. Remove the dust cover and any other components that may obstruct your access to the motor. Be cautious when handling delicate parts and avoid exerting unnecessary force.
- Remove the Old Motor: Locate the motor assembly within your LP60 turntable. Carefully disconnect any wires or connectors attached to the motor, taking note of their positions to ensure correct reconnection later. Using the appropriate tools, remove any screws or fasteners securing the motor in place. Gently lift out the old motor, being mindful not to damage surrounding components.
- Install the Replacement Motor: Take your new motor and align it correctly with the designated position in your LP60 turntable. Secure it in place using the appropriate screws or fasteners. Reattach any wires or connectors to their respective terminals, ensuring a secure and proper connection.
- Reassemble and Test: Once the replacement motor is installed, carefully reassemble your LP60 turntable, making sure all components are properly aligned and secured. Double-check that all connections are tight and secure. Plug in the turntable, power it on, and test the motor by initiating a play command. Verify that the platter spins smoothly at the correct speed.
- Fine-Tuning and Calibration: After motor replacement, it may be necessary to fine-tune and calibrate your turntable’s speed. Consult the LP60’s user manual for instructions on adjusting the speed controls. Use a calibration tool or a reliable reference recording to ensure that your turntable is playing at the correct speed and delivering accurate sound reproduction.
Conclusion: By following these steps and replacing the motor in your Audio Technica LP60 turntable, you can revive your beloved vinyl player and continue enjoying your favorite records. Remember to exercise caution and refer to the LP60’s user manual or seek assistance from Audio Technica’s customer support if you encounter any difficulties during the motor replacement process. With a functioning motor, your Audio Technica LP60 will once again provide you with hours of delightful music playback and keep your vinyl collection spinning smoothly.


