Record players, with their analog charm and warm sound, have experienced a resurgence in popularity. As with any mechanical device, parts can wear out or become damaged over time. The needle, also known as the stylus, is a critical component of a record player and can undergo wear and tear, impacting sound quality and record playback. This raises the question: Can you replace just the needle on a record player? In this article, we will explore the possibility of replacing the needle alone, discussing the factors to consider and the steps involved in ensuring a successful needle replacement.
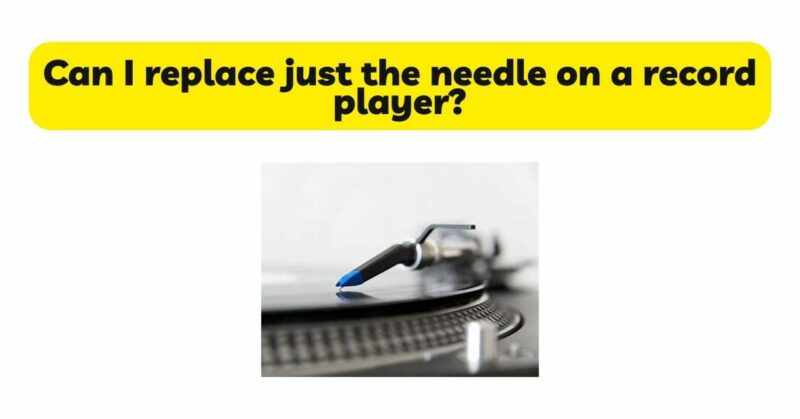
Understanding the Needle and Cartridge Relationship: To grasp the concept of replacing the needle on a record player, it is important to understand the relationship between the needle and the cartridge. The needle is a tiny component at the tip of the cartridge, which is mounted on the tonearm of the record player. The cartridge houses the needle and contains the electrical components responsible for converting the physical movements of the needle into electrical signals, ultimately producing sound.
- Compatibility: One of the crucial factors in replacing the needle is ensuring compatibility with the existing cartridge. The cartridge and needle must be compatible in terms of their design, electrical specifications, and mounting mechanism. Cartridges vary in shape, size, and connection type, and it is important to find a replacement needle that matches the specifications of the original cartridge.
- Cartridge and Needle Type: There are two main types of cartridges: moving magnet (MM) and moving coil (MC). Each type has different electrical characteristics and requires a specific type of needle. It is essential to determine the type of cartridge your record player uses before searching for a replacement needle.
- Universal vs. Proprietary Needles: Some manufacturers offer universal replacement needles that are compatible with a wide range of cartridges. These universal needles are designed to fit multiple cartridge models, simplifying the replacement process. On the other hand, certain cartridges may require proprietary needles, meaning they can only be replaced with the exact needle model specified by the cartridge manufacturer. It is important to identify whether your cartridge requires a proprietary needle or if a universal option is available.
- Needle and Stylus Profile: Needles come in various profiles to match different types of records and grooves. The most common profiles include conical, elliptical, and microline (also known as Shibata). The profile affects how the needle tracks the record grooves, with elliptical and microline profiles generally offering better tracking and sound reproduction. When replacing the needle, it is recommended to match the profile of the original needle to maintain compatibility and performance.
Steps to Replace the Needle:
- Identify the Existing Cartridge: Before replacing the needle, identify the make, model, and type of cartridge installed on your record player. This information is typically printed on the cartridge body or mentioned in the user manual. Understanding the cartridge details will help ensure the correct replacement needle is selected.
- Research and Purchase the Replacement Needle: Once you have identified the cartridge type and model, research and purchase a compatible replacement needle. Consider factors such as needle profile, compatibility with your cartridge type, and whether a universal or proprietary needle is required. Many specialized audio equipment stores and online retailers offer a wide selection of replacement needles.
- Power Off and Detach the Cartridge: Before proceeding with the replacement, power off your record player and detach the cartridge from the tonearm. Follow the manufacturer’s instructions or consult the user manual for your specific record player model to ensure proper detachment. Take care to handle the cartridge delicately, avoiding excessive force or damaging the delicate wires.
- Remove the Old Needle: With the cartridge detached, remove the old needle from the cartridge body. Depending on the cartridge design, the needle may need to be unscrewed or unclipped. Be cautious and gentle during this step to avoid bending or damaging any components.
- Install the New Needle: Take the new replacement needle and carefully align it with the cartridge body, ensuring it is seated properly and securely. Follow the manufacturer’s instructions for the specific cartridge and needle combination to ensure correct installation. Take care not to touch the delicate needle tip with your fingers or any other objects that could introduce debris.
- Reattach the Cartridge: Once the new needle is installed, reattach the cartridge to the tonearm following the manufacturer’s instructions. Ensure it is securely fastened and aligned correctly to maintain proper tracking and playback.
- Calibration and Testing: After replacing the needle, it is important to calibrate the tracking force and anti-skate settings on your turntable. Refer to the manufacturer’s instructions or consult the user manual to properly adjust these settings. Once calibrated, test the playback of a record to ensure proper tracking, sound quality, and overall performance.
Conclusion: While it is generally possible to replace just the needle on a record player, several factors need to be considered to ensure a successful replacement. Compatibility with the existing cartridge, identifying the correct type and profile of the replacement needle, and following the appropriate installation steps are essential for optimal performance and sound quality. By understanding these considerations and following the recommended steps, you can replace the needle on your record player and continue to enjoy your vinyl collection with improved sound reproduction and extended longevity.


