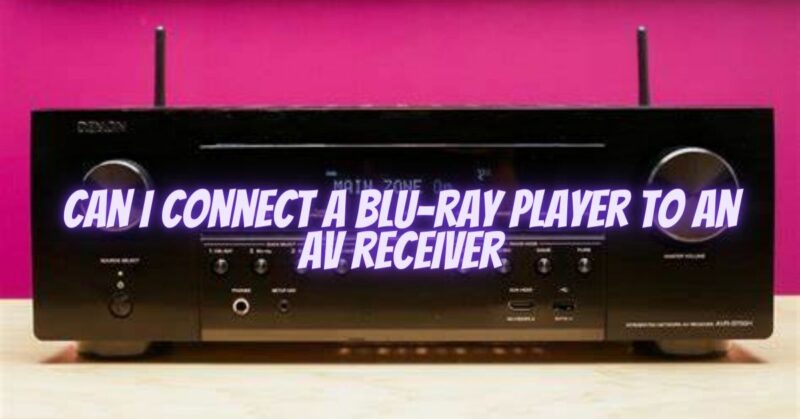
Blu-ray players have become a popular choice for high-definition movie playback, offering superior video and audio quality. To fully experience the immersive audio provided by Blu-ray discs, it is crucial to connect the player to an AV receiver. In this article, we will guide you through the process of connecting a Blu-ray player to an AV receiver, enabling you to enjoy exceptional sound and video performance in your home theater setup.
Step-by-Step Guide to Connecting a Blu-ray Player to an AV Receiver:
- Gather the Necessary Cables: Before you begin, ensure you have the appropriate cables for the connection. Most Blu-ray players and AV receivers support HDMI connections, so an HDMI cable will be the most common and convenient option. However, if your devices don’t have HDMI ports, you may need to use alternative connections such as component video cables or composite video cables, along with separate audio cables.
- Locate the HDMI Output on the Blu-ray Player: On the back panel of your Blu-ray player, locate the HDMI output port. It is usually labeled “HDMI Out” or “Output.” Depending on the specific model, there may be multiple HDMI outputs. Choose one of the HDMI outputs to connect to your AV receiver.
- Locate the HDMI Input on the AV Receiver: On the AV receiver, identify the HDMI input port that corresponds to the selected HDMI output on the Blu-ray player. The HDMI inputs on the AV receiver are typically labeled “HDMI In” or “Input.” Depending on your AV receiver, there may be multiple HDMI inputs, so choose an available one for the Blu-ray player connection.
- Connect the HDMI Cable: Take one end of the HDMI cable and insert it into the HDMI output port on the Blu-ray player. Ensure a secure connection by aligning the HDMI connector properly and gently pushing it in until it clicks into place. Avoid forcing the connection.
- Connect the Other End of the HDMI Cable: Take the other end of the HDMI cable and insert it into the HDMI input port on the AV receiver. Again, align the HDMI connector properly and gently push it in until it clicks into place.
- Power On the Blu-ray Player and AV Receiver: After making the HDMI connection, power on both the Blu-ray player and the AV receiver. Use the respective power buttons on each device or their accompanying remote controls. Ensure that the AV receiver is set to the correct input source associated with the HDMI input used for the Blu-ray player.
- Configure Audio Settings: Access the settings menu on the Blu-ray player and navigate to the audio settings. Configure the audio output settings to send the audio signal to the AV receiver through the HDMI connection. Select the appropriate audio formats, such as Dolby TrueHD or DTS-HD Master Audio, depending on your audio system’s capabilities.
- Test and Fine-Tune: Play a Blu-ray disc or other supported media on the player and verify that both the video and audio are being transmitted correctly to the AV receiver. Use the AV receiver’s remote control to adjust the volume and other audio settings as desired. Fine-tune the settings to achieve optimal audio performance.
Conclusion: Connecting a Blu-ray player to an AV receiver allows you to fully immerse yourself in the high-definition audio and video experience offered by Blu-ray discs. By following this comprehensive guide, you can successfully establish the connection using HDMI cables and ensure seamless transmission of audio and video signals between the devices. Enjoy the exceptional sound quality and immersive cinematic experience that Blu-ray discs have to offer through your connected AV receiver.

