
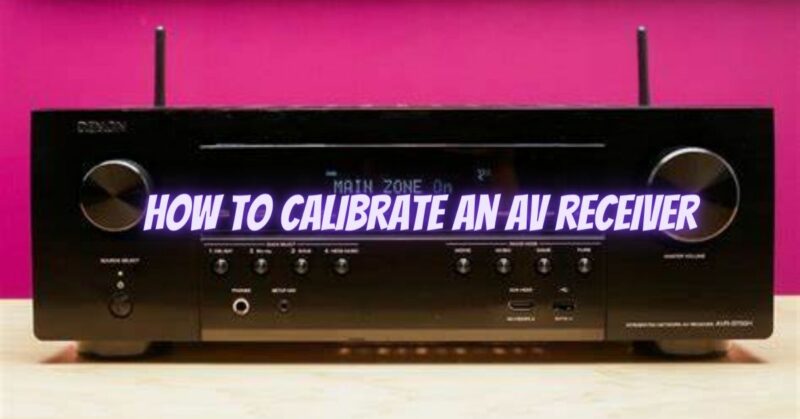
Calibrating an AV receiver is a crucial step in achieving optimal audio performance and immersive sound in your home theater system. Proper calibration ensures accurate speaker levels, precise audio timing, and optimal room acoustics. In this article, we will guide you through the process of calibrating an AV receiver, helping you unlock the full potential of your audio setup and enjoy a captivating home theater experience.
Step-by-Step Guide to Calibrating an AV Receiver:
- Prepare Your Environment: Before starting the calibration process, ensure that your room is quiet, free from external noise sources, and has the typical seating arrangement for your home theater. Close any doors or windows that may let in excessive ambient noise. This creates an optimal environment for accurate calibration.
- Set Up the Microphone: Most AV receivers come with a calibration microphone specifically designed for audio measurements. Connect the microphone to the AV receiver using the provided cable. Position the microphone at the primary listening position in your home theater, typically at ear level, using a microphone stand or tripod. Make sure the microphone is facing forward and not obstructed by any objects.
- Access the Calibration Menu: Using your AV receiver’s remote control or front panel, access the calibration menu or setup options. Look for an option such as “Auto Setup,” “Audio Calibration,” or “Speaker Setup.” Consult your AV receiver’s user manual if you’re unsure about accessing the calibration menu.
- Run the Auto Calibration: Select the auto calibration option in the menu to initiate the calibration process. The AV receiver will emit test tones through each speaker and use the microphone to measure the audio response in your room. It will analyze the measurements to determine the optimal speaker levels, distances, and other audio parameters.
- Follow On-Screen Prompts: Follow the on-screen prompts provided by the AV receiver during the calibration process. This may include instructions to keep the room quiet, move to different listening positions for additional measurements, or adjust settings specific to your AV receiver model. Ensure that you adhere to these prompts to achieve accurate calibration results.
- Review and Adjust the Calibration Results: Once the calibration process is complete, the AV receiver will display the calibration results on the screen. Review the speaker levels, distances, and other settings to ensure they align with your room and preferences. Most AV receivers allow manual adjustments to fine-tune the calibration results, so make necessary changes if needed.
- Speaker Level and Distance Adjustments: If you feel that the speaker levels or distances need further adjustment, access the manual settings within the calibration menu. You can manually increase or decrease the levels of individual speakers to achieve the desired audio balance. Adjust the distances if necessary to align with the physical placement of your speakers.
- Room Correction and EQ Features: Some AV receivers offer room correction and equalization features to address room acoustics and audio irregularities. These features can help optimize the audio performance by automatically adjusting frequencies and compensating for room-specific challenges. Consult your AV receiver’s manual or menu options to explore and enable these advanced features if available.
- Save and Apply Settings: After fine-tuning the calibration settings, save the changes in the AV receiver’s memory. This ensures that the calibrated settings are applied whenever you use the receiver. The process of saving the settings may vary depending on the AV receiver model, so refer to the user manual for specific instructions.
Conclusion: Calibrating an AV receiver is a vital step in achieving optimal audio performance in your home theater system. By following this step-by-step guide, you can ensure that your speakers are properly calibrated for accurate sound reproduction, precise timing, and ideal room acoustics. Take advantage of the auto calibration features, manually adjust levels and distances if needed, and explore additional room correction and equalization options. With a calibrated AV receiver, you can enjoy a captivating audio experience that brings your home theater to life.
