
Vinyl records have made a remarkable comeback, enticing music enthusiasts with their warm analog sound. If you have a turntable and an AV receiver, you may wonder how to integrate the two and enjoy your vinyl collection through your home theater system. In this article, we will guide you through the process of connecting a turntable to an AV receiver, enabling you to experience the nostalgic charm of vinyl records with the convenience of your modern audio setup.
Step-by-Step Guide to Connecting a Turntable to an AV Receiver:
- Gather the Necessary Cables: To connect your turntable to an AV receiver, you will need a few cables. Most turntables feature a pair of analog RCA output cables, typically color-coded as red (right channel) and white (left channel). Check if your AV receiver has an available set of analog RCA input ports. If not, you will need a phono preamp or a receiver with a dedicated phono input.
- Locate the Turntable Outputs: Identify the analog RCA output ports on your turntable. These are usually located on the back of the turntable and labeled as “Line Out,” “Audio Out,” or similar. Ensure that the turntable is powered off before proceeding.
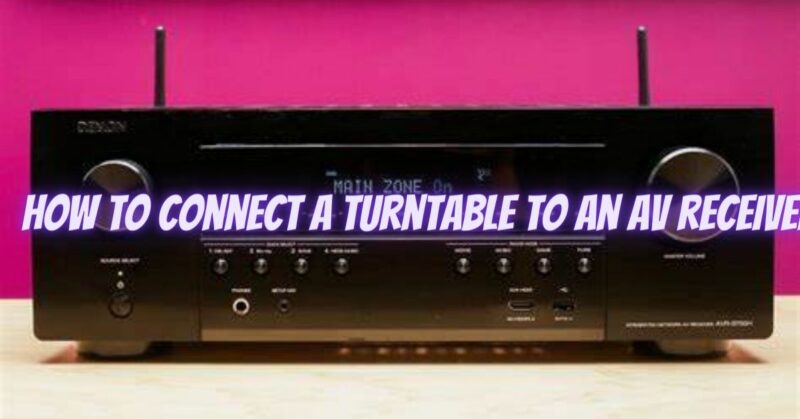
- Locate the AV Receiver Inputs: Locate the analog RCA input ports on your AV receiver. These are often labeled as “AUX,” “CD,” “Line In,” or similar. Alternatively, if your AV receiver has a dedicated phono input, locate that specific input port. Make note of which input you choose for connecting the turntable.
- Connect the Cables: Take the RCA cables from the turntable and insert them into the corresponding analog input ports on the AV receiver. Ensure that you match the red RCA plug to the red input and the white plug to the white input. Make sure the connections are secure but avoid overtightening.
- Optional: Phono Preamp: If your AV receiver does not have a dedicated phono input, you will need a phono preamp to amplify the turntable’s signal to line level. Connect the turntable’s RCA output cables to the phono preamp’s input ports, and then connect the preamp’s output ports to an available line-level input on the AV receiver.
- Power on the Equipment: Once the cables are securely connected, power on your turntable and AV receiver. Ensure that both devices are set to the correct input source. If using a phono preamp, power it on as well. Verify that your AV receiver is set to the input source you connected the turntable to (e.g., AUX, CD, Phono).
- Adjust the Audio Settings: Depending on your AV receiver, you may need to adjust the audio settings to accommodate the turntable input. If using a dedicated phono input, the AV receiver should apply the correct RIAA equalization and amplification automatically. For other inputs, you may need to select the appropriate audio source and apply any necessary adjustments (e.g., input level, audio mode).
- Play a Vinyl Record: Place a vinyl record on your turntable and start playback. Adjust the volume level on your AV receiver to a comfortable listening level. You should now hear the audio from your turntable playing through your AV receiver’s speakers.
Conclusion: Connecting a turntable to an AV receiver allows you to integrate the unique charm of vinyl records into your modern audio setup. By following this step-by-step guide, you can establish a seamless connection between your turntable and AV receiver, unlocking the rich analog sound of your vinyl collection through your home theater system. Enjoy the warm tones and nostalgia of vinyl while taking advantage of the convenience and versatility offered by your AV receiver.
