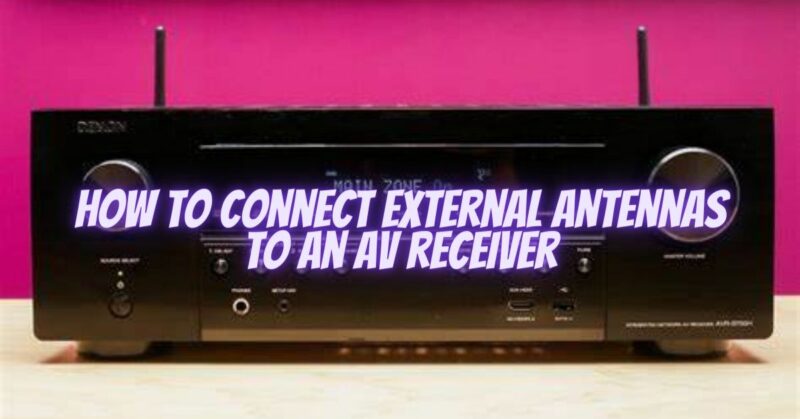
AV receivers play a vital role in home entertainment systems, providing centralized audio and video processing. To ensure optimal signal reception for AM and FM radio or terrestrial television broadcasts, it may be necessary to connect external antennas to the AV receiver. In this article, we will guide you through the step-by-step process of connecting external antennas to an AV receiver, enabling you to enhance reception and enjoy a clearer and more reliable audiovisual experience.
Step-by-Step Guide to Connecting External Antennas to an AV Receiver:
- Determine the Antenna Type: Before connecting an external antenna, identify the appropriate antenna type for your specific needs. For AM (Amplitude Modulation) radio reception, a loop antenna or a wire antenna is typically suitable. FM (Frequency Modulation) radio reception generally requires a dipole antenna or an outdoor FM antenna. For terrestrial television reception, a UHF or VHF antenna is commonly used, depending on the broadcast frequency in your area.
- Locate the Antenna Terminals: Locate the antenna terminals on the AV receiver. These terminals are usually labeled with abbreviations such as “AM,” “FM,” “TV,” “ANT,” or “Antenna.” Refer to the AV receiver’s user manual if you are unsure of the specific labeling or location of the antenna terminals.
- AM or FM Antenna Connection: For AM antennas, connect the loop antenna or wire antenna to the AM antenna terminal on the AV receiver. Ensure a secure connection by tightening any screws or fasteners on the terminal. For FM antennas, connect the dipole antenna or outdoor FM antenna to the FM antenna terminal. Ensure that the connections are secure and the antenna elements are extended or positioned properly.
- TV Antenna Connection: For terrestrial television reception, connect the UHF or VHF antenna to the TV antenna terminal on the AV receiver. If your AV receiver has separate terminals for UHF and VHF, ensure that you connect the appropriate antenna cable to the corresponding terminal. Again, make sure the connections are secure to avoid signal loss or interference.
- Adjust the Antenna Position: Once the external antenna is connected, it’s important to optimize its positioning for optimal reception. Experiment with the placement and orientation of the antenna to achieve the best signal strength and quality. For outdoor antennas, consider factors such as height, line-of-sight, and potential obstructions. For indoor antennas, try different locations and angles to minimize interference and maximize reception.
- Scan for Channels or Stations: After connecting the external antenna and positioning it, initiate a channel or station scan on your AV receiver. This process will allow the receiver to search for and store available channels or stations based on the received signal. Refer to the receiver’s user manual for instructions on how to perform a channel or station scan specific to your model.
- Test Reception and Fine-Tune: Once the scan is complete, test the reception of the desired radio stations or TV channels. Listen to radio broadcasts or tune into TV channels to verify signal strength and audio/video quality. If necessary, fine-tune the antenna placement or orientation to improve reception. Patience and experimentation may be required to achieve the best results.
Conclusion: Connecting external antennas to an AV receiver enhances signal reception for AM and FM radio or terrestrial television broadcasts, resulting in clearer and more reliable audiovisual experiences. By following this step-by-step guide, you can confidently connect the appropriate external antenna to the corresponding antenna terminals on your AV receiver. Optimize the antenna positioning, scan for channels or stations, and fine-tune as necessary to achieve optimal reception. Enjoy the benefits of improved signal strength and audiovisual clarity as you immerse yourself in your favorite radio broadcasts or television programs.


