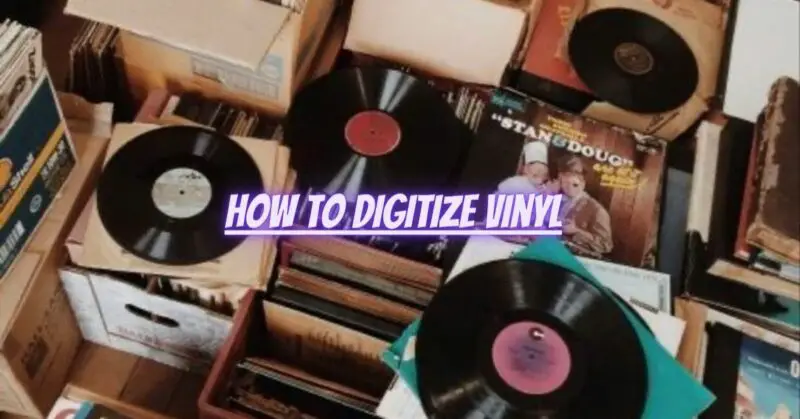
Vinyl records offer a unique and nostalgic listening experience, but they can also be fragile and susceptible to wear and tear over time. Digitizing vinyl records allows you to preserve their music in a digital format, ensuring long-term accessibility and enjoyment. In this article, we will provide a step-by-step guide on how to digitize vinyl records, allowing you to create digital copies of your cherished vinyl collection.
Equipment Needed:
- Turntable: A quality turntable with a built-in preamp or a separate phono preamp is essential for accurate playback.
- Computer: A computer with sufficient processing power and storage capacity to handle the audio recording and editing process.
- Audio Interface: An audio interface connects your turntable to the computer and ensures high-quality audio conversion.
- Recording Software: You’ll need audio recording software on your computer to capture and edit the audio from your vinyl records. There are many free and paid options available, such as Audacity, Adobe Audition, or Steinberg Cubase.
- Cables: Depending on your audio interface and turntable setup, you may need RCA cables or other connectors to connect the turntable to the audio interface.
Step-by-Step Guide:
- Set up your turntable: Ensure that your turntable is in proper working condition, the stylus (needle) is clean, and the cartridge is aligned correctly.
- Connect the turntable to the audio interface: Use RCA cables or any necessary connectors to connect the turntable’s audio output to the audio interface’s input.
- Connect the audio interface to the computer: Use a USB or Firewire cable to connect the audio interface to your computer.
- Set up recording software: Install and open your preferred audio recording software on your computer. Configure the audio settings to use the audio interface as the input source.
- Adjust recording levels: Before recording, set the recording levels to ensure the audio signal is strong but not distorted. Adjust the gain settings on your audio interface accordingly.
- Clean the vinyl record: Clean the record thoroughly to remove dust, dirt, and debris that can affect the audio quality. Use a record brush or a record cleaning kit to gently remove any contaminants.
- Start recording: Place the vinyl record on the turntable and start playing the desired track. Begin the recording in your software, ensuring you capture the entire track without any interruptions.
- Monitor and adjust settings: Keep an eye on the recording levels during the process to ensure they remain in the optimal range. Make adjustments if necessary.
- Split tracks (optional): If your vinyl record has multiple tracks, you can manually split them into separate files within your recording software for easier organization.
- Edit and enhance the recordings: Once the recording is complete, you can use your recording software to edit and enhance the audio if desired. This may involve removing pops, clicks, or background noise, adjusting levels, or applying equalization to improve the overall sound quality.
- Export the digital files: Save the recordings in a high-quality audio format, such as WAV or FLAC, to preserve the original audio quality. You can also convert them to MP3 or other compressed formats if desired.
- Organize and store the digital files: Create a logical folder structure on your computer or an external hard drive to store and organize your digitized vinyl files. Consider adding metadata like artist, album, and track names for easier cataloging and playback.
Conclusion: Digitizing vinyl records allows you to preserve and enjoy your vinyl collection in a digital format. By following this guide and using quality equipment and software, you can create high-quality digital copies of your favorite vinyl albums. Remember to handle your vinyl records with care, keep your turntable well-maintained, and take the time to clean them thoroughly before digitizing. With proper digitization, you can enjoy the nostalgic warmth of vinyl records while ensuring their long-term accessibility and preservation.


