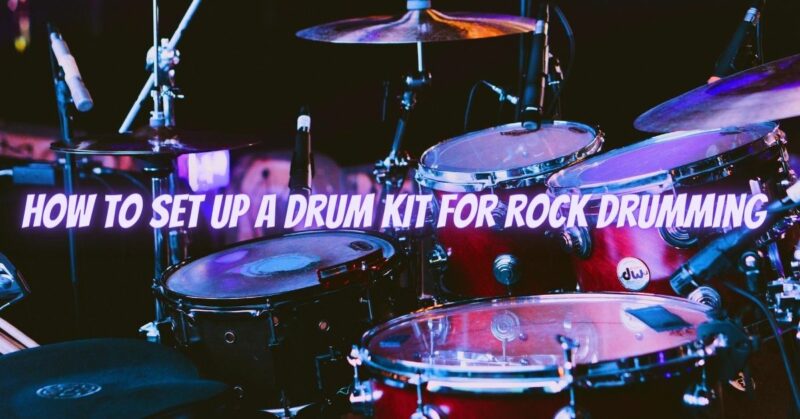
Setting up your drum kit properly for rock drumming is essential to achieving the powerful and energetic sound required for this genre. From the positioning of your drums to the selection of cymbals and the tuning of your drums, every aspect plays a role in creating a solid foundation and delivering impactful beats. In this article, we will guide you through the process of setting up your drum kit for rock drumming.
- Drum Placement: a. Kick Drum: Position the kick drum in the center of your setup, angled slightly towards you. Adjust the height so that the beater strikes the drumhead slightly above its center. b. Snare Drum: Place the snare drum between your legs, with the drumhead at a comfortable playing height. Angle the drum slightly towards you for optimal stick response. c. Toms: Arrange the toms above the kick drum, with the larger tom positioned to the left and the smaller toms progressing to the right. Adjust the height and angle of each tom to suit your playing style and reach comfortably. d. Floor Tom: Position the floor tom to the right of your kick drum, at a height and angle that allows easy access for fills and accents. e. Hi-Hat: Place the hi-hat stand to the left of your kick drum, positioning the top cymbal at a comfortable playing height. Adjust the angle to suit your foot technique. f. Cymbals: Position crash cymbals within reach to the right and left of your toms, typically at a height above the toms. Place the ride cymbal to the right of the floor tom, slightly angled towards you.
- Snare Drum Tuning: Tune your snare drum to achieve a balanced and punchy sound. Experiment with different tensions on the top and bottom drumheads to find the desired response and tone. Generally, a medium to high tension on the top head and a slightly looser tension on the bottom head provide a versatile rock drumming sound.
- Tom Tuning: Tune your toms to achieve a melodic and full-bodied sound. Aim for a medium to high tension on the top drumhead to enhance projection and sustain. Experiment with tuning each tom slightly lower than the previous one to create a downward pitch progression.
- Kick Drum Tuning: Tuning your kick drum is crucial to achieving a tight and punchy sound. Experiment with different levels of dampening inside the kick drum, such as using a pillow or a specialized kick drum dampening product. Adjust the tension of the batter (front) drumhead to achieve a controlled and focused sound with enough resonance.
- Cymbal Selection: Choose cymbals that deliver the power and presence required for rock drumming. Look for medium to heavy-weight crash cymbals that can produce a bright and explosive sound. Consider a ride cymbal that offers a clear, articulate ping and the ability to crash effectively. Hi-hats should provide a balanced mix of clarity, crispness, and stick response.
- Drumhead Selection: Select drumheads that cater to the specific needs of rock drumming. Choose coated drumheads for your snare drum to achieve a warm and focused sound with added durability. Clear or coated drumheads can be used for toms, depending on your preference for brightness or warmth. Consider using a double-ply bass drumhead to provide additional punch and durability.
- Drumstick Choice: Choose drumsticks that provide the right balance of weight, length, and durability for rock drumming. Opt for thicker sticks, such as 5A or 5B, which offer better control and durability for heavier playing. Experiment with different stick materials, like hickory or oak, to find the feel and response that suits your playing style.
- Hardware Stability: Ensure that all hardware, including drum stands, cymbal stands, and pedals, is stable and securely fastened. Rock drumming requires powerful and energetic playing, so sturdy hardware is essential to withstand the intensity of your performance.
- Personal Ergonomics: Adjust the drum throne height and position to ensure a comfortable and ergonomic playing posture. Maintain a slight bend in your elbows and wrists to prevent strain and promote fluid movement. Experiment with different adjustments until you find the setup that allows you to play with ease and minimal tension.
- Experiment and Personalize: Remember that drum setup is a personal preference, and what works for one drummer may not work for another. Feel free to experiment with drum positioning, cymbal placements, and other setup elements to find a configuration that suits your playing style and comfort.
Conclusion: Setting up your drum kit for rock drumming is a process that involves careful consideration of drum placement, tuning, cymbal selection, and personal ergonomics. Take the time to experiment with different configurations and explore various drumhead and cymbal options to find the sound and feel that best suits your rock drumming style. Remember that a well-configured and optimized drum kit will provide a solid foundation for your performances, allowing you to deliver powerful beats and contribute to the driving force of rock music.


