
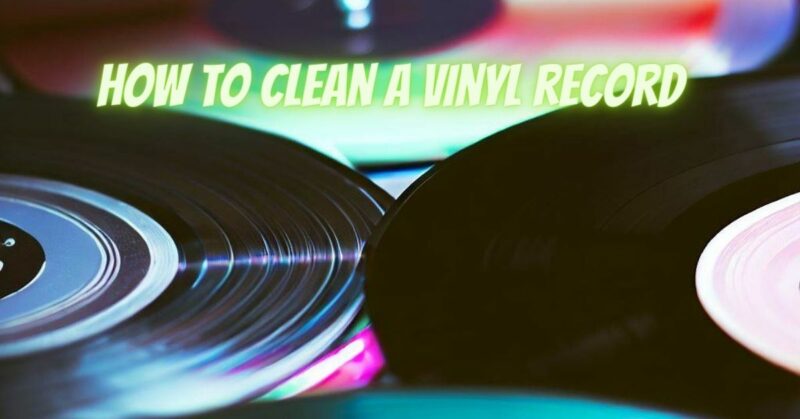
Regularly cleaning your vinyl records is essential for preserving their sound quality and longevity. Dust, dirt, and other contaminants can accumulate on the record surface, leading to pops, crackles, and a diminished listening experience. In this article, we will provide a step-by-step guide on how to effectively clean your vinyl records, ensuring optimal playback enjoyment.
Step 1: Gather the Necessary Supplies:
To clean your vinyl records, you will need the following supplies:
- Record cleaning solution: Choose a dedicated record cleaning solution that is safe for vinyl records and removes dirt and contaminants effectively.
- Carbon fiber brush or anti-static record brush: These brushes help remove loose debris and dust from the record surface.
- Microfiber cloth: Use a soft, lint-free microfiber cloth for gentle wiping and drying.
- Record cleaning machine (optional): For a more thorough and automated cleaning process, consider investing in a record cleaning machine.
Step 2: Pre-Cleaning Dust Removal:
Before applying any cleaning solution, remove loose dust and debris from the record surface using the following steps:
- Hold the record by its edges to avoid touching the playing surface.
- Gently brush the record with a carbon fiber brush or anti-static record brush, using circular motions from the center to the outer edges.
- Ensure the record is free from loose dust particles before proceeding to the next step.
Step 3: Applying the Cleaning Solution:
To deep clean the record and remove embedded dirt and contaminants, follow these steps:
- Lay the record on a clean, flat surface.
- Apply a small amount of the record cleaning solution to the record surface. Avoid excessive moisture that could damage the label or seep into the record sleeve.
- Spread the cleaning solution evenly across the record surface using a microfiber cloth or a dedicated record cleaning brush, moving in a circular motion.
- Be gentle to avoid applying excessive pressure or scratching the record.
Step 4: Cleaning the Record Surface:
With the cleaning solution applied, follow these steps to clean the record surface:
- Use a clean section of the microfiber cloth or a record cleaning brush to gently scrub the record’s grooves.
- Work your way around the entire record in a circular motion, ensuring thorough coverage.
- Pay particular attention to any visible spots or stubborn dirt.
- Be cautious around the record label, avoiding excessive contact with the cleaning solution.
Step 5: Drying the Record:
After cleaning, it’s important to dry the record completely before playing or storing it. Follow these steps:
- Use a clean, dry section of the microfiber cloth to gently wipe the record’s surface, removing any excess moisture.
- Allow the record to air-dry in a dust-free area, ensuring it is completely dry before returning it to its sleeve.
Step 6: Repeat for Multiple Records:
If you have multiple records to clean, repeat the process for each record individually, ensuring you use a fresh microfiber cloth or brush for each one.
Conclusion:
Regular cleaning is crucial for maintaining the sound quality and longevity of your vinyl records. By following these steps and using the proper cleaning supplies, you can effectively remove dust, dirt, and contaminants, enhancing your listening experience and preserving the integrity of your vinyl collection. Remember to handle records with care, use a gentle touch during the cleaning process, and ensure the records are completely dry before playing or storing them.
