
An amp head is a powerful and versatile component of a guitar amplifier setup, allowing for greater control over your tone and volume. Whether you’re a seasoned guitarist or a beginner exploring new sonic possibilities, understanding how to use an amp head is essential. In this comprehensive guide, we provide step-by-step instructions and valuable insights on how to effectively use an amp head to shape your guitar sound and achieve the desired results.
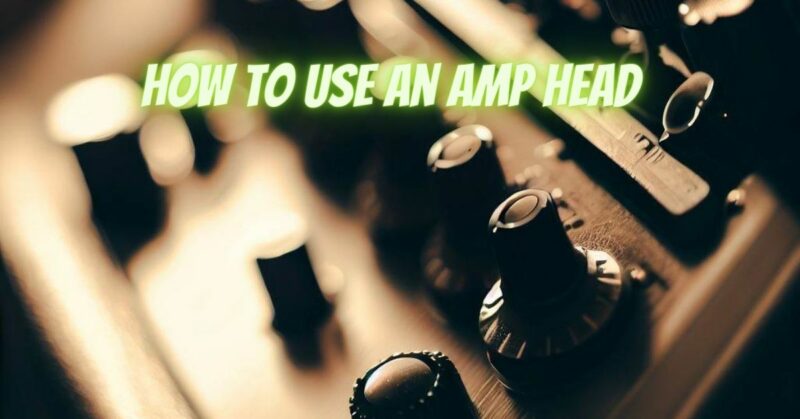
- Familiarize Yourself with the Controls:
- Begin by familiarizing yourself with the various controls on your amp head. These typically include knobs or switches for gain, tone, volume, and EQ settings.
- Consult the manufacturer’s manual for specific information about your amp head’s control layout and functions.
- Connect the Amp Head to a Speaker Cabinet:
- Ensure your amp head is powered off and unplugged before making any connections.
- Connect a speaker cable from the speaker output on the amp head to the input on your speaker cabinet.
- Ensure the impedance of the speaker cabinet matches the specifications outlined by the amp head manufacturer to prevent damage and ensure optimal performance.
- Power On the Amp Head:
- Once the connections are secure, plug in the amp head and power it on.
- Give the amp head a few seconds to warm up before proceeding.
- Set the Master Volume:
- Begin by setting the master volume control to a low level to avoid sudden loud sounds.
- Gradually increase the master volume as you play to achieve the desired level of volume.
- Adjust the Gain:
- The gain control on an amp head determines the level of distortion or overdrive in your guitar tone.
- Experiment with different gain settings to find the right balance between clean and distorted tones.
- Lower settings produce cleaner tones, while higher settings introduce varying degrees of distortion.
- Fine-Tune the Tone Controls:
- The tone controls on the amp head, such as bass, midrange, and treble, allow you to shape the overall tonal characteristics of your guitar sound.
- Make adjustments to these controls to achieve the desired balance and frequency response.
- Experiment with different settings to find the sweet spot for your playing style and musical genre.
- Utilize the EQ Controls:
- Some amp heads feature additional EQ controls, such as presence, contour, or graphic equalizers.
- These controls enable further shaping of the tone, emphasizing or attenuating specific frequencies.
- Explore these EQ options to tailor your sound precisely to your preferences and the requirements of the music you’re playing.
- Effects Loop and External Devices:
- If your amp head has an effects loop, you can connect external effects pedals or processors for additional sonic possibilities.
- Experiment with different effects and their placement within the signal chain to achieve the desired soundscape.
- Experiment and Refine:
- As you become more comfortable with your amp head, don’t hesitate to experiment with different settings and configurations.
- Explore the sonic variations available by adjusting gain, tone, EQ, and effects to develop your unique sound.
- Safe Usage and Volume Considerations:
- When using an amp head, ensure you’re mindful of volume levels to protect your hearing and avoid disturbing others.
- Be cautious when increasing the volume and always monitor your surroundings to prevent unexpected loud sounds.
Mastering the use of an amp head is an exciting journey that allows you to shape your guitar sound and explore a wide range of tonal possibilities. By following these step-by-step instructions and experimenting with various settings, you can harness the power and versatility of your amp head to create the desired tones for your musical endeavors. Remember to consult the manufacturer’s manual for specific guidance related to your amp head model, and don’t be afraid to let your creativity guide you as you dive into the sonic landscape of your guitar amplifier.
