
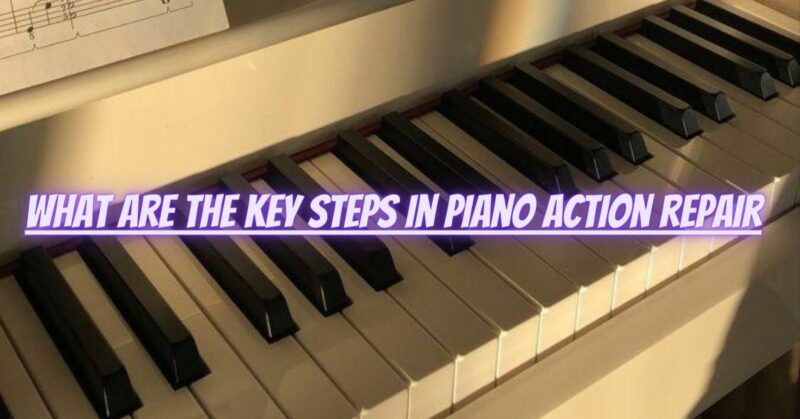
Piano action repair is a specialized task that requires knowledge and experience in handling the intricate components of the piano action. If you encounter issues with your piano action that necessitate repair, it is essential to follow the key steps outlined below:
- Diagnosis: Begin by diagnosing the specific issues with the piano action. Identify any sticking keys, noisy components, or uneven touch. Thoroughly inspect the action to determine the root cause of the problem.
- Gather Necessary Tools and Materials: Ensure you have the appropriate tools and materials for the repair, which may include screwdrivers, lubricants, key levelers, action regulating tools, and replacement action parts (if needed).
- Disassembly: Carefully disassemble the action, taking note of the position and orientation of the parts. Document the process or take pictures if necessary to aid in reassembly.
- Cleaning: Thoroughly clean all the action components, removing any dust, debris, or old lubricants. Cleaning is essential for the smooth functioning of the action.
- Repair or Replace Damaged Parts: Identify any damaged or worn-out parts and determine whether they need repair or replacement. Commonly affected parts include hammer felt, dampers, and bushings.
- Regulation: Regulate the piano action to ensure that all parts are properly aligned and adjusted for even touch and responsiveness. This step involves shaping hammers, setting key dip, and adjusting the let-off and aftertouch.
- Lubrication: Apply appropriate piano action lubricants to the necessary points to reduce friction and ensure smooth movement of the action parts.
- Voicing (if needed): If the hammer felt is unevenly worn or produces an undesirable tone, voicing may be necessary. This process involves adjusting the hardness of the felt to achieve a consistent and pleasing tone.
- Reassembly: Carefully reassemble the action, making sure each component is correctly positioned and secured.
- Testing: After reassembly, thoroughly test the action to ensure that the issues have been resolved and the action functions smoothly. Play each key multiple times, checking for even touch and responsiveness.
- Final Adjustments: Make any final adjustments or fine-tuning to achieve the desired touch and tone.
- Tuning: Once the action repair is complete, tune the piano to ensure that the strings are at the correct pitch.
It is important to note that piano action repair is a complex task that requires a high level of skill and expertise. Attempting to repair the action without the necessary knowledge and experience can lead to further damage. For more complex or extensive repairs, it is best to seek the assistance of a qualified and experienced piano technician. Professional technicians have the expertise and specialized tools to diagnose and repair the action effectively, ensuring that your piano performs optimally and produces beautiful music.
