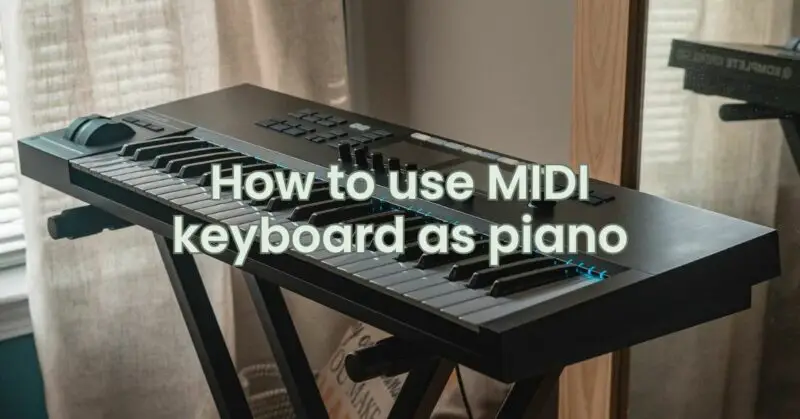
Using a MIDI keyboard as a piano is a fantastic way to harness the power of modern technology while retaining the authentic feel and sound of a traditional piano. MIDI keyboards offer a wealth of features and versatility, allowing you to access various piano sounds, effects, and settings, all in a compact and portable package. In this guide, we’ll walk you through the steps to use your MIDI keyboard as a piano, unlocking a world of expressive and immersive piano playing.
Step 1: Connect Your MIDI Keyboard:
Ensure your MIDI keyboard is properly connected to your computer or device via USB or MIDI cables. Refer to the user manual of your MIDI keyboard for specific connection instructions.
Step 2: Install MIDI Drivers (If Needed):
Most modern MIDI keyboards are class-compliant and do not require additional drivers for basic functionality. However, if your MIDI keyboard needs specific drivers to work with your operating system, install them following the manufacturer’s instructions.
Step 3: Choose a Piano Sound:
Before you can use your MIDI keyboard as a piano, you need to select a piano sound or virtual instrument. Many digital audio workstations (DAWs) and music production software come with a variety of piano sounds. Alternatively, you can use standalone virtual instrument plugins designed specifically for piano sounds.
Step 4: Open Your DAW or Music Software:
Launch your preferred music software or DAW on your computer. Create a new MIDI track, and set the input to your MIDI keyboard. This tells the software to receive MIDI data from your keyboard.
Step 5: Load the Piano Sound:
Load the selected piano sound or virtual instrument onto the MIDI track. In your DAW, you can typically do this by selecting the virtual instrument from a list of available plugins. If you are using a standalone piano plugin, open it as a separate application.
Step 6: Configure MIDI Channel (If Necessary):
Most MIDI keyboards automatically transmit MIDI data on channel 1, which is typically the default channel for many virtual instruments. However, some piano plugins may require a different MIDI channel. Refer to the user manual of your piano plugin to check and configure the MIDI channel if needed.
Step 7: Play the MIDI Keyboard as a Piano:
You are now ready to play your MIDI keyboard as a piano. Press the keys on your MIDI keyboard, and you should hear the piano sound from your selected virtual instrument. The velocity sensitivity of your MIDI keyboard will affect the dynamics and volume of the piano sound, just like an acoustic piano.
Step 8: Explore Piano Settings and Effects:
Modern piano plugins offer various settings and effects that allow you to customize the piano sound to your liking. Explore features like reverb, EQ, and different piano models to achieve your desired piano sound.
Step 9: Recording and Performing:
With your MIDI keyboard set up as a piano, you can now start recording your piano performances in your DAW. Use the recording and editing features to fine-tune your performance and create beautiful piano compositions.
Conclusion:
Using a MIDI keyboard as a piano opens up a world of possibilities for piano players and music producers. With the right piano sound and virtual instrument, you can achieve an authentic and expressive piano-playing experience, complete with customizable settings and effects. Whether you’re composing, recording, or performing live, your MIDI keyboard as a piano setup will empower you to explore and create beautiful music with convenience and versatility. So, connect your MIDI keyboard, dive into your favorite piano sounds, and let the creativity flow as you embark on a digital piano journey.


