
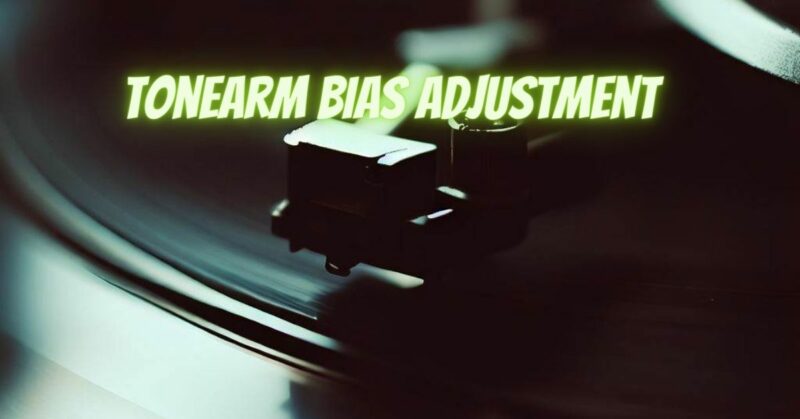
The tonearm is a critical component of a turntable, responsible for holding the cartridge and stylus, allowing it to track the grooves on vinyl records. Achieving precise tracking is essential for optimal sound quality and preserving your vinyl collection. One crucial aspect of tonearm setup is bias adjustment, also known as azimuth adjustment or azimuth alignment. In this article, we will delve into the significance of tonearm bias adjustment, its purpose, and the step-by-step process to ensure accurate tracking and superior vinyl playback.
Understanding Tonearm Bias:
Tonearm bias, or azimuth, refers to the angle at which the cartridge’s stylus sits within the groove of a vinyl record. Proper bias adjustment ensures that the stylus is perfectly perpendicular to the record surface, allowing it to trace the groove walls accurately. Misaligned bias can lead to tracking errors, channel imbalances, and subpar sound quality.
The Importance of Tonearm Bias Adjustment:
Accurate tonearm bias is crucial for several reasons:
- Tracking Accuracy: A properly aligned bias minimizes tracking errors, preventing excessive wear on your vinyl records and improving overall playback performance.
- Channel Balance: Bias adjustment also ensures balanced playback between the left and right channels, preventing one channel from sounding louder than the other.
- Sound Quality: Precise tracking reduces distortion and interference, resulting in clearer and more faithful reproduction of the music.
Step-by-Step Tonearm Bias Adjustment:
Before you begin, ensure that your turntable is set up correctly, and the tonearm is balanced. You will need a cartridge alignment tool (protractor) and a test record or high-quality vinyl album for this process.
Step 1: Set the Tracking Force:
Before adjusting the bias, ensure that the tracking force (stylus weight) is correctly set for your cartridge. Refer to the cartridge’s specifications or the turntable’s manual for the recommended tracking force. Use a digital scale or the turntable’s built-in tracking force gauge to adjust the weight accordingly.
Step 2: Obtain a Cartridge Alignment Protractor:
A cartridge alignment protractor is a tool specifically designed to help align the cartridge correctly on the tonearm. There are various types available, such as Baerwald, Stevenson, and Loefgren, each with its own alignment geometry. Choose one that matches the geometry recommended by your turntable’s manufacturer or the cartridge manufacturer.
Step 3: Align the Cartridge:
Place the cartridge alignment protractor on the turntable platter, ensuring it is centered and secured. Carefully position the tonearm over the protractor, so the cartridge stylus lines up with the alignment points on the protractor. Use the turntable’s tonearm adjustment features to make fine adjustments until the cartridge aligns precisely with the protractor’s reference points.
Step 4: Check the Azimuth Alignment:
Now that the cartridge is correctly aligned, it’s time to check the azimuth alignment. To do this, play a high-quality vinyl record or a test record with a well-recorded mono signal. Listen carefully for any imbalance or distortion in the sound.
Step 5: Adjusting Azimuth:
If you notice any channel imbalance or distortion, the azimuth may need to be adjusted. Some tonearms have built-in azimuth adjustment mechanisms, while others may require specialized tools. Make small adjustments, rotating the cartridge slightly left or right until you achieve the best balance between the channels.
Step 6: Final Evaluation:
After making azimuth adjustments, listen to various tracks on different records to ensure that the sound is balanced and distortion-free. Fine-tune the azimuth as needed until you are satisfied with the overall performance.
Tonearm bias adjustment is a critical step in achieving accurate tracking and superior sound quality from your turntable setup. By following the step-by-step guide and using the right tools, you can ensure that your cartridge is perfectly aligned, minimizing tracking errors, and providing an immersive listening experience. Regularly checking and fine-tuning the tonearm bias will not only preserve your precious vinyl collection but also allow you to savor the warm, rich sound that vinyl enthusiasts cherish.
