
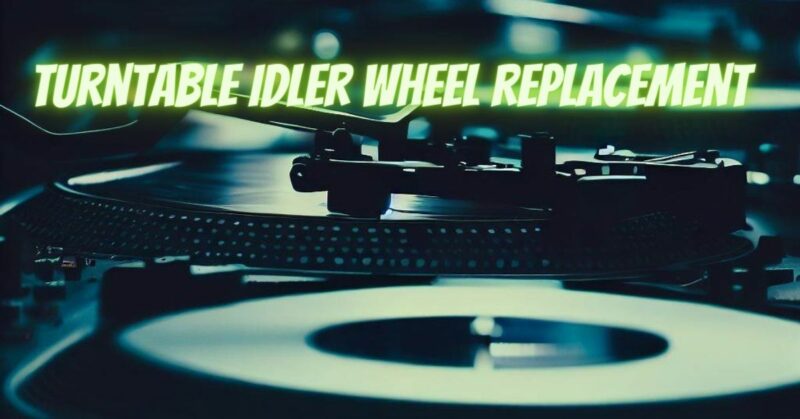
Vintage turntables hold a special place in the hearts of audiophiles and music enthusiasts, cherished for their warm analog sound and nostalgic charm. However, as these classic devices age, certain components may require attention and replacement. One such critical component is the idler wheel, a small but essential part responsible for transmitting power from the motor to the turntable’s platter. In this article, we explore the significance of the idler wheel, the signs that it might need replacement, and the steps to perform a successful idler wheel replacement.
The Role of the Idler Wheel
The idler wheel is a rubber or neoprene wheel that sits between the turntable motor and the platter. It serves as a mechanical coupling, transferring rotational energy from the motor to the platter, thus setting the vinyl record in motion. The idler wheel also regulates the platter’s speed and stability, ensuring accurate playback.
Signs of Idler Wheel Wear
Over time, the idler wheel’s rubber or neoprene material may deteriorate due to age, use, and exposure to environmental factors. As a result, you might encounter several signs indicating the need for idler wheel replacement:
- Inconsistent Speed: If the turntable struggles to maintain a steady and accurate speed, with pitch fluctuations during playback, the idler wheel might be slipping or unevenly worn.
- Noisy Operation: A worn-out idler wheel can create unwanted noise, such as grinding or squeaking sounds, during playback.
- Uneven Playback: If the platter spins erratically or shows uneven rotation, it could be a sign of an aging idler wheel that no longer provides smooth power transfer.
- Reduced Torque: As the idler wheel ages, it might lose its grip on the platter or the motor, leading to a decrease in torque, resulting in slow startup times or difficulties reaching the correct speed.
Steps for Idler Wheel Replacement
Replacing the idler wheel can breathe new life into your vintage turntable and restore its smooth and accurate operation. Here’s a general guide for performing an idler wheel replacement:
- Identify the Correct Replacement: Ensure you have the correct replacement idler wheel that matches the specifications of your turntable model. Consult the turntable’s user manual or seek guidance from specialized turntable repair shops or online forums.
- Power Off and Unplug: Before starting any maintenance or replacement work, always power off and unplug the turntable to ensure your safety and prevent damage to the equipment.
- Access the Idler Wheel: Remove the turntable’s platter and access the motor section to reach the idler wheel. Some turntables might require removing additional components or the bottom cover to access the idler wheel.
- Remove the Old Idler Wheel: Carefully detach the old idler wheel from its position. It might be secured with a retaining clip or screw, so pay close attention to its attachment mechanism.
- Install the New Idler Wheel: Place the new idler wheel in the correct position, ensuring it fits snugly. Reattach any retaining clips or screws securely.
- Reassemble and Test: Reassemble any removed components, put the platter back in place, and secure everything as it was before. Power on the turntable and test its performance. Ensure the platter spins smoothly, and the speed is stable.
The idler wheel replacement process can be a rewarding experience, revitalizing your vintage turntable and ensuring its longevity for years to come. By paying attention to the signs of wear and promptly replacing the idler wheel, you can preserve the charm and musicality of your classic vinyl playback system. With proper care and maintenance, your vintage turntable will continue to provide the warm, analog sound that captivates the hearts of audiophiles and music lovers, keeping the legacy of vinyl alive and thriving.