
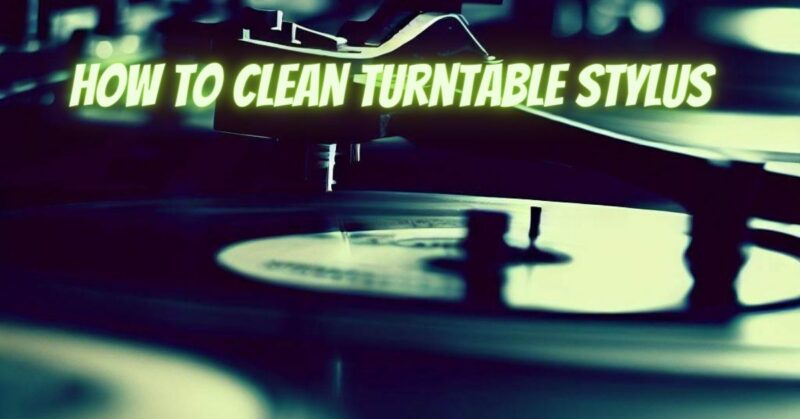
The stylus (also known as the needle) is a critical component of a turntable that comes into direct contact with your precious vinyl records. Over time, dust, debris, and residue from vinyl can accumulate on the stylus, affecting its performance and potentially causing damage to your records. Regularly cleaning the stylus is essential to ensure optimal sound quality and prolong the life of both the stylus and your vinyl collection. In this article, we’ll guide you through the steps to effectively clean the stylus of your turntable.
Tools Needed:
- Stylus brush or soft-bristled brush
- Isopropyl alcohol (90% or higher)
- Stylus cleaning solution (optional)
Step-by-Step Guide:
1. Turn Off the Turntable: Ensure that your turntable is turned off and the platter is not spinning before attempting to clean the stylus. This prevents any accidents or damage to the equipment.
2. Examine the Stylus: Use a magnifying glass or a stylus inspection microscope to get a clear view of the stylus. Check for any visible dirt, dust, or debris on the tip of the stylus.
3. Gently Brush the Stylus: Using a stylus brush or a soft-bristled brush, gently brush the stylus from back to front. Avoid brushing side to side, as this may damage the delicate stylus. The goal is to dislodge any loose particles without applying too much pressure.
4. Cleaning Solution (If Needed): If there is stubborn dirt or residue on the stylus, you can apply a tiny drop of stylus cleaning solution to a stylus brush or use a specially designed stylus cleaning liquid. Make sure the cleaning solution is suitable for your stylus type.
5. Use Isopropyl Alcohol (Optional): For more thorough cleaning, you can dip the stylus brush in a small amount of isopropyl alcohol (90% or higher) and gently brush the stylus. The alcohol helps to dissolve any residue and evaporates quickly without leaving any residue.
6. Brush Again: After using the cleaning solution or isopropyl alcohol, brush the stylus again with a dry stylus brush to remove any remaining debris or liquid.
7. Test the Stylus: Once the cleaning is complete, test the stylus by playing a clean record or using a stylus cleaning test track. Listen for any improvement in sound quality and ensure that the stylus tracks the grooves smoothly.
Maintenance Tips:
- Clean the stylus regularly, especially after playing dusty or dirty records.
- Avoid using excessive force when cleaning the stylus to prevent damage.
- Keep your records clean to minimize the transfer of dirt and debris to the stylus.
Effectively cleaning the stylus of your turntable is a simple yet crucial maintenance task to ensure optimal sound quality and preserve the life of your stylus and vinyl records. By following the steps outlined in this guide and adopting regular cleaning habits, you can enjoy a pristine listening experience and prolong the enjoyment of your cherished vinyl collection. Happy listening!
