
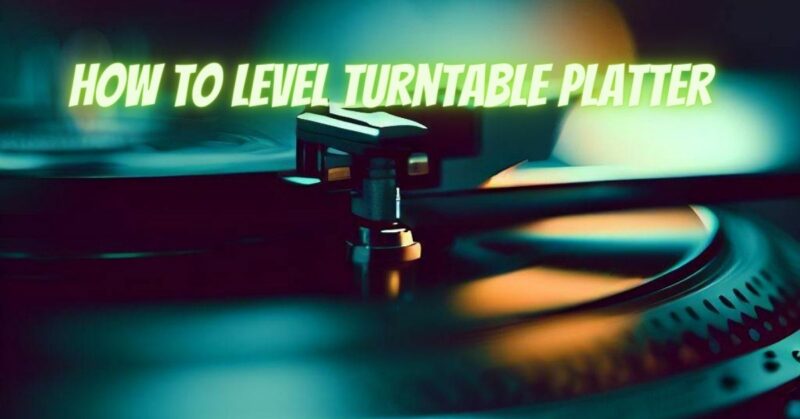
Leveling the turntable platter is a crucial step in ensuring accurate audio playback and preserving the sonic integrity of vinyl records. Proper leveling allows the tonearm and cartridge to maintain precise contact with the record grooves, delivering optimal sound quality and preventing unnecessary wear on both the stylus and vinyl. In this article, we provide a step-by-step guide on how to level a turntable platter, allowing you to embark on an audio journey that captures the true essence of analog music.
Tools Needed:
Before you begin, gather the following tools:
- Bubble Level: A small bubble level, preferably one that can fit on the turntable platter.
- Screwdriver (if needed): Some turntables have adjustable feet that can be leveled using a screwdriver.
- Spirit Level App (optional): If you don’t have a physical bubble level, you can download a spirit level app on your smartphone.
Step-by-Step Guide:
- Choose a Stable Surface: Place your turntable on a stable and flat surface, free from vibrations. Ensure that the surface is level itself, as placing a turntable on an uneven surface will defeat the purpose of leveling.
- Remove the Platter: If your turntable’s platter is removable, gently lift it off the spindle and set it aside.
- Check the Turntable Feet: Some turntables have adjustable feet that can be turned clockwise or counterclockwise to level the turntable. If your turntable has adjustable feet, check their current positions to see if any adjustments are necessary.
- Place the Bubble Level: Lay the bubble level on the turntable platter in both the front-to-back and side-to-side orientations. Observe the position of the bubble to determine if the platter is level.
- Adjust the Feet (if applicable): If your turntable has adjustable feet, make precise adjustments as needed to level the platter. Use the bubble level to guide you, and make small adjustments until the bubble is centered.
- Recheck and Fine-Tune: After making adjustments, double-check the level using the bubble level. Fine-tune the feet or make additional adjustments until the platter is perfectly level in both directions.
- Replace the Platter: Once the turntable platter is level, gently place it back onto the spindle. Be careful not to disturb the level during this process.
- Check Tonearm Balance: With the platter back in place, check the balance of the tonearm. Ensure that it hovers parallel to the record surface when it is not in use. Adjust the tonearm’s tracking force and anti-skate settings if needed for proper balance.
Advanced Leveling Techniques:
For enthusiasts seeking the utmost precision, consider these advanced techniques:
- Laser Level: Use a laser level for even greater accuracy during leveling. Laser levels project a straight line, making it easier to gauge the platter’s level.
- Vibration Isolation: Consider using vibration isolation platforms or specialized turntable feet to minimize external vibrations, further enhancing sound quality.
Regular Maintenance:
It’s essential to periodically check the level of your turntable platter. Over time, slight adjustments may be necessary due to factors like temperature changes or settling of the turntable on its surface. Regular maintenance will ensure that your turntable continues to deliver optimal sound quality and a captivating vinyl listening experience.
Leveling the turntable platter is a fundamental step in the setup and maintenance of a turntable. It ensures accurate tracking, consistent sound quality, and the longevity of both the turntable’s components and your vinyl records. By following the step-by-step guide and paying attention to the details, you can achieve perfect balance and embark on an audio journey that captures the true essence of analog music. So, take the time to level your turntable platter with precision, and let the music unfold in all its authentic glory. Happy listening!