
A turntable is a cherished piece of equipment for audiophiles and vinyl enthusiasts, providing a warm and authentic music listening experience. However, encountering a situation where the left channel of your turntable suddenly cuts out can be disheartening. This issue disrupts the stereo soundstage and can compromise your enjoyment of vinyl records. In this article, we’ll delve into the potential causes behind a left channel cut-out on a turntable, explore its impact, and offer guidance on troubleshooting and resolving the issue.
Possible Causes of Left Channel Cut-Out
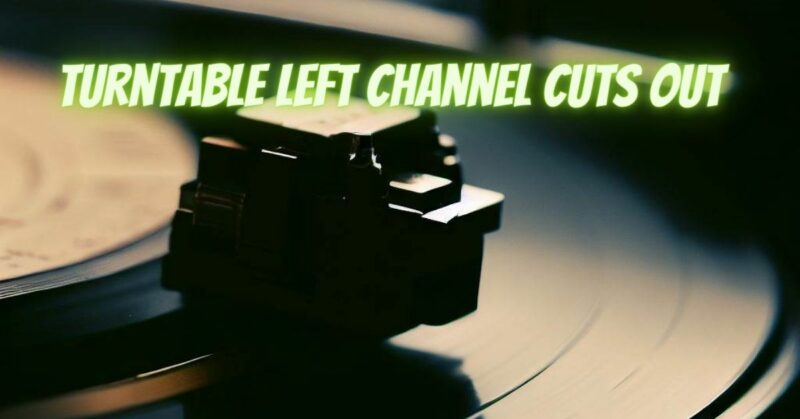
Phono Cartridge Issues: The phono cartridge is responsible for translating the grooves of the vinyl record into an electrical signal. A malfunctioning or misaligned cartridge can lead to audio dropouts in one channel.
Wiring Problems: Loose or damaged wires connecting the phono cartridge to the tonearm or the tonearm to the preamp can result in a loss of audio on one channel.
Faulty Preamp or Receiver: The preamp or receiver, which amplifies the weak phono signal, might have a problem in the left channel that leads to audio cut-outs.
Connection Problems: Loose or corroded connections at various points in the signal chain, such as RCA connectors or cables, can introduce channel dropouts.
Troubleshooting and Solutions
- Visual Inspection: Examine all cable connections, especially those associated with the left channel. Ensure they are securely plugged in and free from damage.
- Cartridge Alignment: If the phono cartridge is misaligned, it can affect tracking and lead to channel imbalances. Check the cartridge alignment according to your turntable’s manual.
- Cartridge Check: Test the phono cartridge by swapping it with a known working cartridge. If the issue shifts to the other channel, the problem lies with the cartridge.
- Wiring Examination: Carefully inspect the wires connected to the phono cartridge and tonearm. Look for signs of fraying or damage.
- Preamp Test: If you’re using a separate phono preamp, test the preamp with another source to verify if the issue is specific to the left channel.
- Receiver Check: If your turntable is connected to a receiver, try connecting it to a different input on the receiver to see if the issue persists.
- Professional Assistance: If the issue persists despite your troubleshooting efforts, consider seeking help from a qualified technician who specializes in turntable and audio equipment repair.
Preventing Channel Cut-Outs and Maintaining Quality
- Regular Maintenance: Keep your turntable’s components clean and well-maintained to prevent issues caused by dust or debris.
- Quality Cartridges: Use high-quality phono cartridges and ensure they are correctly aligned for optimal tracking.
- Wiring Care: Handle and manage cables with care to prevent stress on connectors and wires.
- Proper Setup: Ensure your turntable is set up according to the manufacturer’s guidelines to minimize tracking and alignment issues.
- Professional Calibration: Periodically have your turntable professionally calibrated to maintain accurate tracking and performance.
Experiencing a left channel cut-out on your turntable can be frustrating, but systematic troubleshooting and preventive measures can help identify and address the issue. By examining connections, testing cartridges, evaluating preamps and receivers, and considering internal turntable problems, you can identify the root cause and take steps to restore balanced and authentic stereo audio. Regular maintenance, attention to detail, and a commitment to preserving the quality of your turntable will ensure your vinyl listening experience remains enjoyable and uninterrupted.
