
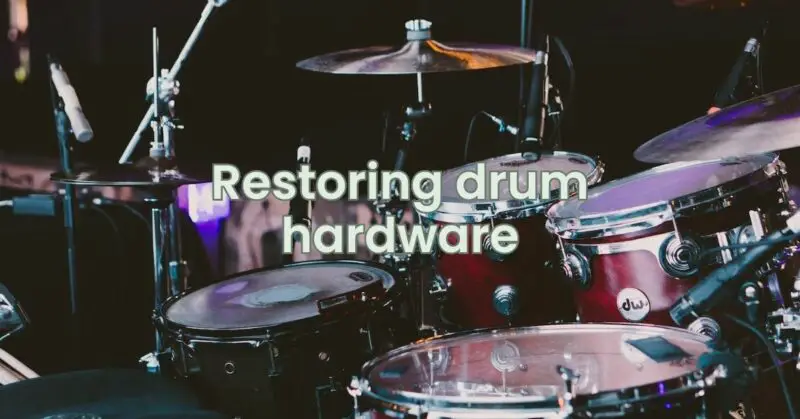
Drums are not only musical instruments but also cherished possessions with emotional and historical value. Over time, drum hardware can become tarnished, rusty, or worn, affecting the overall appearance and functionality of the kit. Restoring drum hardware is a rewarding endeavor that revitalizes the aesthetic appeal and performance of your drums. In this article, we’ll guide you through the step-by-step process of restoring drum hardware, allowing you to give your cherished drum kit a fresh lease on life.
Materials Needed
- Screwdriver and Allen Wrench Set: To remove hardware components from the drum kit.
- Soap and Water: For cleaning off dirt, grime, and surface contaminants.
- Rust Remover: To address rusted or corroded hardware.
- Steel Wool or Fine-Grit Sandpaper: For cleaning and polishing.
- Metal Cleaner or Polish: To restore the shine of metal parts.
- Degreaser: To remove old grease and lubricants.
- Painter’s Tape: For masking off areas you want to protect from cleaning and polishing.
- Soft Cloths and Towels: For wiping and drying.
- Clear Lacquer or Sealant: To protect restored metal parts from future oxidation.
- Rubber Gloves and Safety Glasses: For personal protection.
Step-by-Step Guide to Restoring Drum Hardware
- Disassembly:
- Carefully remove all hardware components from the drum kit using the appropriate screwdrivers and Allen wrenches.
- Cleaning:
- Clean the hardware with soap and water to remove surface dirt and grime. Dry thoroughly before moving on to the next step.
- Rust Removal:
- For rusted or corroded parts, apply rust remover as per the manufacturer’s instructions. Use steel wool or fine-grit sandpaper to gently scrub away the rust. Rinse and dry the parts afterward.
- Polishing:
- Use a metal cleaner or polish to restore the shine of the metal hardware. Apply the polish to a soft cloth and buff the hardware until it gleams. For intricate or hard-to-reach areas, consider using a toothbrush or cotton swab.
- Degreasing:
- Remove old grease and lubricants from moving parts like tension rods and lugs. Apply a degreaser and wipe away any residue.
- Masking Off:
- If necessary, use painter’s tape to mask off any areas you want to protect from cleaning agents or polishing compounds.
- Finishing Touches:
- Apply a clear lacquer or sealant to the restored metal parts to prevent future oxidation. Follow the manufacturer’s instructions for application and drying times.
- Reassembly:
- Once the lacquer or sealant is dry, reassemble the hardware components onto the drum kit.
- Final Inspection:
- Carefully inspect each hardware component to ensure it’s clean, polished, and functioning properly.
Conclusion
Restoring drum hardware is a labor of love that pays off in the form of a rejuvenated drum kit with enhanced aesthetic and functional qualities. By following the steps outlined in this guide, you’ll be able to breathe new life into tarnished or worn drum hardware, preserving the history and value of your instrument. Whether you’re aiming to showcase the gleam of metal parts or revive the performance of tension rods and lugs, the restoration process empowers you to maintain a drum kit that not only sounds great but also shines with a renewed splendor on stage and in your musical journey.
