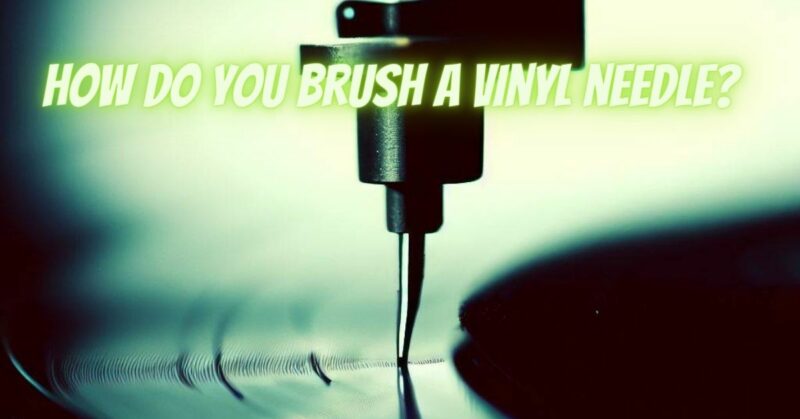
When it comes to vinyl records, ensuring that your equipment is properly maintained is crucial to preserving the integrity of your music collection. Cleaning and brushing the vinyl needle, also known as the stylus, is an essential step to maintain optimal sound quality and prevent buildup that can affect playback. In this article, we’ll guide you through the process of properly cleaning and brushing your vinyl needle to ensure a crisp and distortion-free listening experience.
Why Clean the Vinyl Needle?
The stylus comes into direct contact with the grooves of your vinyl records, picking up dust, debris, and residue over time. This accumulation can result in reduced sound quality, distortion, and potential damage to both the stylus and the records.
Tools You’ll Need:
- Stylus Brush: A small brush designed specifically for cleaning styluses. These brushes have soft bristles that gently remove dirt and debris without damaging the delicate stylus.
- Isopropyl Alcohol (Optional): If your stylus has stubborn residue, you can use a small amount of isopropyl alcohol applied to the brush. However, use alcohol sparingly and avoid excessive moisture.
Step-by-Step Guide:
- Turn Off Your Turntable: Before you begin cleaning the stylus, make sure your turntable is turned off to prevent any accidental movements or damage.
- Assess the Stylus: Examine the stylus closely under good lighting to identify any visible debris or residue.
- Gently Brush the Stylus: Hold the stylus brush at a slight angle and gently brush the stylus from back to front, following the shape of the stylus. Use light and controlled strokes to avoid applying excessive pressure.
- Use Isopropyl Alcohol (if necessary): If there’s stubborn residue, you can lightly dampen the brush with a small amount of isopropyl alcohol. Again, be cautious not to oversaturate the brush.
- Avoid Side-to-Side Movement: Never brush the stylus from side to side, as this can potentially damage the delicate cantilever and stylus assembly.
- Test and Listen: After brushing, play a clean record and listen for any improvements in sound quality. If you notice any persistent issues, you might need to repeat the cleaning process or explore other maintenance options.
Maintenance Tips:
- Regular Cleaning: Make stylus cleaning a regular part of your maintenance routine, especially after playing records with heavy dust or debris.
- Handle with Care: Always handle the stylus with care to avoid accidental damage.
- Avoid Harsh Chemicals: Avoid using harsh cleaning agents or excessive moisture, as they can damage the stylus and cartridge.
Properly cleaning and brushing your vinyl needle is an essential step in maintaining the sound quality and longevity of your vinyl records and equipment. By incorporating this simple yet effective cleaning process into your vinyl care routine, you can ensure that your vinyl collection continues to provide you with a high-quality listening experience for years to come.


