
Tuning a record player is a critical step in ensuring optimal sound quality, accurate playback, and the preservation of your valuable vinyl collection. Just as a finely-tuned instrument produces harmonious melodies, a well-calibrated record player extracts the full richness and authenticity of analog audio. In this article, we’ll delve into the art of tuning a record player, providing you with essential insights to unlock the full potential of your vinyl listening experience.
Understanding the Basics:
Tuning a record player involves adjusting various components to achieve precise playback parameters. These adjustments include:
- Tracking Force: The downward pressure exerted by the stylus on the record. Incorrect tracking force can lead to groove damage or poor sound quality.
- Anti-Skate: A mechanism that counteracts the inward force exerted on the tonearm by the groove, ensuring the stylus tracks evenly across the record.
- Vertical Tracking Angle (VTA): The angle at which the stylus contacts the record. Proper VTA ensures optimal groove engagement and sound quality.
- Tonearm Alignment: The alignment of the tonearm with respect to the grooves. Proper alignment prevents excessive stylus wear and distortion.
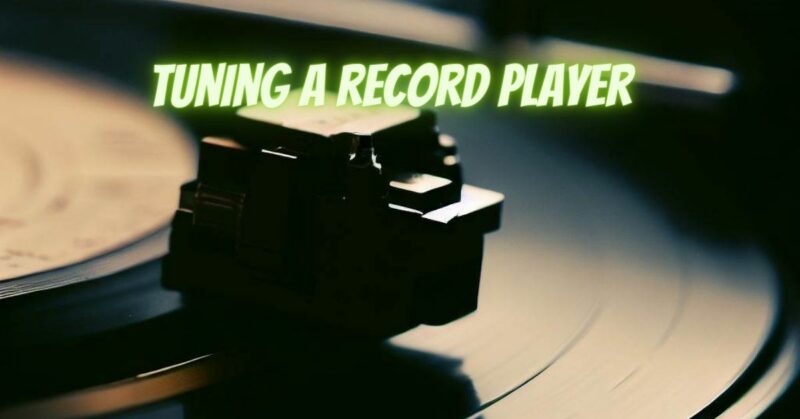
- Cartridge Alignment: Aligning the cartridge (containing the stylus) with the grooves for accurate tracking.
The Tuning Process:
- Gather Tools: You’ll need a tracking force gauge, anti-skate adjustment, protractor for alignment, and patience.
- Setting Tracking Force: Consult your cartridge’s manual for recommended tracking force. Use a tracking force gauge to achieve the specified weight.
- Adjusting Anti-Skate: Set anti-skate to match the tracking force. It counteracts inward pressure, ensuring balanced stylus engagement.
- Vertical Tracking Angle: If your turntable allows VTA adjustment, follow manufacturer guidelines to achieve proper alignment.
- Tonearm Alignment: Use a protractor to align the tonearm parallel to the grid on the protractor. Ensure equal overhang on both sides of the headshell.
- Cartridge Alignment: Align the cartridge so that the stylus is perfectly aligned with the grid on the protractor.
Fine-Tuning and Experimentation:
- Listening Test: After initial adjustments, play a record and listen critically. Adjustments might require fine-tuning based on auditory cues.
- Experimentation: Feel free to experiment within safe ranges of adjustment to find the perfect balance for your system and preferences.
Maintenance and Regular Checks:
- Cleanliness: Keep your turntable, stylus, and records clean to ensure optimal playback.
- Regular Checks: Over time, vibrations and adjustments might cause components to shift. Regularly check and fine-tune your setup as needed.
Tuning a record player is a rewarding endeavor that allows you to unlock the true potential of your vinyl collection. Each adjustment contributes to precise playback, accurate tracking, and a more immersive listening experience. By investing time and attention into properly tuning your record player, you’re paving the way for hours of analog enjoyment and preserving the integrity of your cherished vinyl records.
