
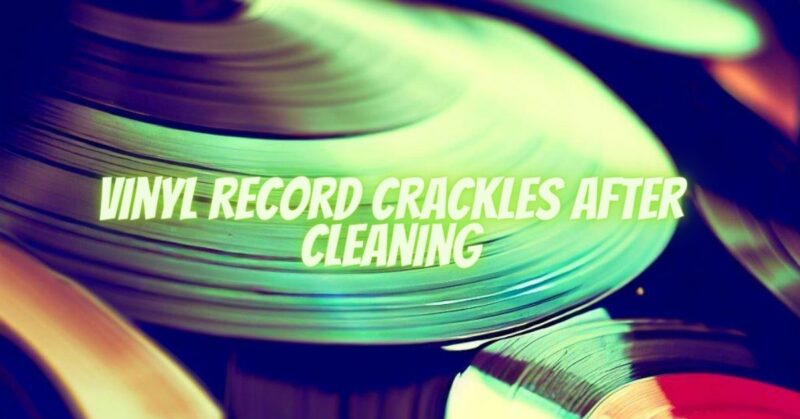
Vinyl records offer a timeless auditory experience, but crackles and pops can occasionally infiltrate the sound, even after a thorough cleaning. This phenomenon can be puzzling and frustrating for enthusiasts. In this article, we’ll explore the reasons behind vinyl record crackles that persist after cleaning and provide insights into how to address this issue effectively.
The Quest for Sonic Purity
Vinyl records are cherished for their warm sound and nostalgic appeal. Cleaning records is a fundamental practice to maintain their sonic integrity, but encountering crackles after cleaning can be disheartening. Understanding the potential culprits and adopting appropriate strategies can help resolve the issue and restore the true beauty of your vinyl collection.
Causes of Post-Cleaning Crackles
- Residual Debris: Cleaning methods might remove surface dirt, but microscopic debris or contaminants can remain lodged in the grooves, leading to persistent crackling noises.
- Static Electricity: Despite cleaning efforts, records can accumulate static charges, attracting airborne particles that cause crackling as the stylus traverses the grooves.
- Deep-seated Contaminants: Stubborn contaminants, such as oils, residues, or deeply embedded dirt, might not be fully removed by standard cleaning methods.
Strategies to Address Persistent Crackles
- Carbon Fiber Brush: Gently run a carbon fiber brush along the grooves before playing the record. This removes surface dust and can help minimize crackles caused by particles.
- Anti-Static Solutions: Apply an anti-static solution to the record’s surface and gently wipe it off using a microfiber cloth. This reduces static charge and prevents dust attraction.
- Record Cleaning Machine: Consider using a record cleaning machine that employs a combination of cleaning fluid and vacuum suction to deeply clean the grooves. These machines are effective at removing stubborn contaminants.
- Deep Cleaning Solutions: Explore advanced cleaning solutions that target deep-seated contaminants. Some solutions require a soaking process to loosen and dislodge persistent dirt.
Steps to Address Crackles
- Clean Environment: Handle records in a clean and dust-free environment. Wash your hands before touching records to prevent transferring oils and dirt.
- Carbon Fiber Brush: Use a carbon fiber brush to gently remove surface dust and debris from the grooves.
- Anti-Static Solution: Apply a few drops of anti-static solution and wipe the surface using a microfiber cloth. This helps mitigate static charge and reduces dust attraction.
- Record Cleaning Machine: If available, use a record cleaning machine to achieve a thorough clean. Follow the manufacturer’s instructions for proper usage.
- Deep Cleaning Solutions: For persistent crackles, experiment with deep cleaning solutions. Follow instructions carefully to avoid damaging the record.
Prevention and Maintenance
- Storage: Store records vertically in clean inner sleeves and outer sleeves to prevent dust accumulation.
- Regular Cleaning: Establish a routine cleaning schedule to prevent buildup of contaminants.
- Humidity Control: Maintain a suitable humidity level to minimize static charge and dust attraction.
Encountering crackles on vinyl records after cleaning can be perplexing, but it’s a common challenge faced by enthusiasts. By understanding the potential causes and employing strategies like carbon fiber brushes, anti-static solutions, record cleaning machines, and deep cleaning methods, you can effectively mitigate persistent crackles and restore the pure sonic experience of your vinyl collection. Preventive measures such as proper storage and routine cleaning are key to maintaining the pristine quality of your records over time.