
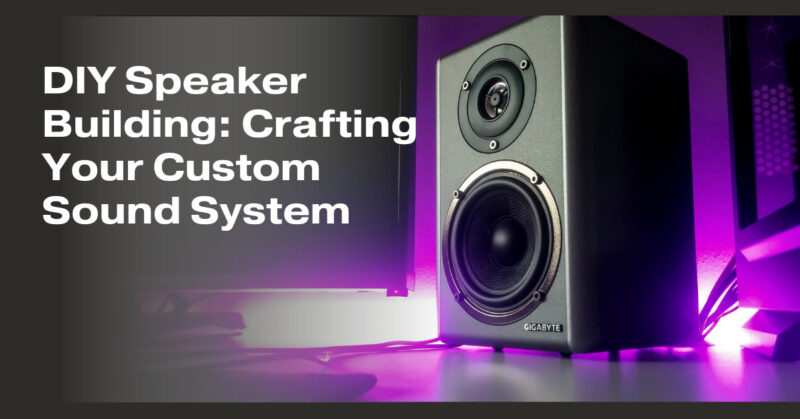
Building your own speakers can be a rewarding and creative endeavor, allowing you to design a custom sound system that perfectly suits your preferences and needs. Whether you’re an audio enthusiast, a hobbyist, or simply want a unique audio setup, DIY speaker building offers endless possibilities. In this guide, we’ll explore the basics of DIY speaker building to help you get started on your journey to crafting a custom sound system.
1. Planning Your DIY Speaker Project:
Before diving into speaker construction, it’s essential to plan your project thoroughly. Consider the following:
- Purpose: Determine the primary use of your speakers (e.g., home theater, music production, high-fidelity listening) to guide your design choices.
- Speaker Type: Decide on the type of speakers you want to build, such as bookshelf speakers, tower speakers, or subwoofers.
- Budget: Establish a budget for your project, including materials, components, and tools.
- Design: Research speaker designs, drivers, and enclosure types that align with your goals and available resources.
2. Selecting Speaker Components:
- Speaker Drivers: Choose high-quality drivers (woofers, tweeters, midrange) that match your desired sound profile. Consider driver specifications such as impedance, sensitivity, and frequency response.
- Crossover Networks: If you’re building multi-driver speakers, design or purchase crossover networks to divide and direct the audio signal appropriately.
- Enclosure Materials: Decide on the enclosure material, which can impact the speaker’s performance. Common materials include MDF (medium-density fiberboard), plywood, and solid wood.
3. Designing Your Speaker Enclosure:
- Enclosure Type: Determine the enclosure type based on your design goals, whether it’s sealed, ported, or a more complex design like a transmission line.
- Volume and Dimensions: Calculate the internal volume of your enclosure to match the drivers’ specifications and desired bass response.
- Speaker Placement: Plan for driver placement within the enclosure, considering factors like baffle width and driver orientation.
4. Building the Speaker Enclosure:
- Cutting and Assembly: Use precise measurements and cutting tools to construct the enclosure. Pay attention to details like internal bracing and dampening materials to minimize vibrations and resonances.
- Finishing: Apply the finish of your choice, such as paint, veneer, or laminate, to protect and enhance the appearance of your speaker.
5. Wiring and Electronics:
- Crossover Wiring: Connect the crossover network to the drivers and ensure proper phase alignment.
- Binding Posts: Install high-quality binding posts or connectors for easy connection to your audio source.
- Internal Wiring: Use quality internal wiring to minimize signal loss.
6. Testing and Tuning:
- Frequency Response: Use measurement tools and software to assess the speaker’s frequency response and make adjustments if necessary.
- Listening Tests: Conduct extensive listening tests to fine-tune the sound to your preferences.
7. Final Assembly:
- Sealing: Ensure all seams and joints are properly sealed to prevent air leaks.
- Driver Installation: Secure the drivers in place, making sure they are centered and aligned correctly.
8. Enjoying Your DIY Speakers:
Once your DIY speakers are complete, integrate them into your audio system and enjoy the custom sound you’ve crafted. Be prepared for the satisfaction of listening to music or movies through speakers you’ve designed and built yourself.
Remember that DIY speaker building can be a challenging but immensely rewarding project. It allows you to explore your creativity, learn about speaker design and acoustics, and, most importantly, create a sound system tailored to your unique tastes and requirements. Whether you’re a seasoned builder or a beginner, DIY speaker building is an exciting journey into the world of audio craftsmanship.
