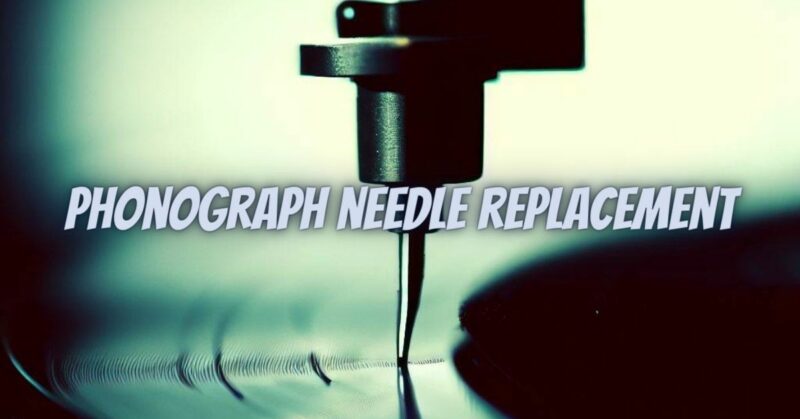
Your phonograph needle, also known as a stylus, is a critical component of your turntable setup, and its condition directly impacts the quality of sound produced by your vinyl records. Over time, phonograph needles wear down and need replacement to maintain optimal sound quality and protect your cherished vinyl collection. In this comprehensive guide, we will walk you through the process of replacing your phonograph needle, ensuring that you can continue enjoying the warmth and nostalgia of vinyl records.
Step 1: Identify the Needle Type
Before purchasing a replacement needle, it’s crucial to identify the specific type of needle your turntable requires. This information can often be found in your turntable’s user manual or on the manufacturer’s website. The needle type is typically categorized by the shape of the stylus (e.g., conical, elliptical, or microline) and the cartridge model. Selecting the right type ensures compatibility and optimal sound quality.
Step 2: Gather Necessary Tools
To replace your phonograph needle, you’ll need the following tools:
- Replacement phonograph needle
- Small screwdriver or Allen wrench (if necessary for your turntable)
- Cleaning supplies (soft brush, isopropyl alcohol, lint-free cloth)
- Steady surface with good lighting
Step 3: Prepare Your Workspace
Find a clean, well-lit workspace to work on your turntable. Ensure that the surface is stable and free of dust or debris to prevent contamination of the new needle.
Step 4: Power Off and Disconnect
Before starting the replacement process, turn off your turntable and unplug it from the power source. This ensures your safety and prevents any accidental damage.
Step 5: Remove the Old Needle
The method for removing the old needle can vary depending on your turntable’s design. In many cases:
- Gently grasp the headshell (the part that holds the cartridge) and locate the needle assembly.
- Carefully detach the old needle from the cartridge by either sliding it out or unscrewing it, depending on the design.
- Be cautious not to touch the delicate parts of the cartridge or the new needle to avoid contamination.
Step 6: Install the New Needle
Follow these steps to install the new needle:
- Carefully align the new needle with the cartridge. Ensure it fits securely and is oriented correctly (consult your user manual if necessary).
- Depending on your turntable’s design, you may need to slide the needle into place or gently screw it in.
- Make sure the new needle is secure but not overtightened, as this can damage the cartridge.
Step 7: Reconnect and Test
After installing the new needle:
- Reconnect any wires or plugs that were disconnected.
- Power on your turntable and gently lower the tonearm onto a clean and undamaged record.
- Listen for any distortion, skipping, or other irregularities in the sound. If everything sounds clear and balanced, your new needle is likely installed correctly.
Step 8: Cleaning and Maintenance
Regularly clean your stylus to ensure optimal performance and prevent record and stylus damage. Use a soft brush to remove dust and debris, and periodically clean the stylus with a lint-free cloth and isopropyl alcohol.
Step 9: Keep Records Clean
Maintaining clean records is essential to prolonging the life of your new needle and preserving your vinyl collection. Store records vertically, use inner sleeves, and handle them carefully to avoid contamination and scratches.
Replacing your phonograph needle is a straightforward process that can significantly impact your vinyl listening experience. By following this comprehensive guide and ensuring proper maintenance, you can enjoy the rich and nostalgic sound of vinyl records for years to come while protecting your valuable collection.

