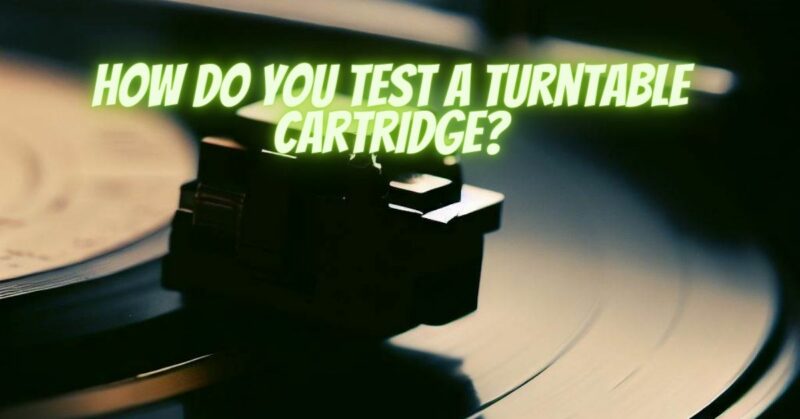
A turntable cartridge is a vital component in the world of vinyl records, responsible for translating the grooves on your vinyl into electrical signals that your amplifier can amplify and send to your speakers. To ensure that you’re getting the best audio quality from your vinyl collection, it’s essential to know how to assess and maintain your turntable cartridge properly. In this comprehensive guide, we’ll walk you through the steps to assess your turntable cartridge’s performance, troubleshoot common issues, and make necessary adjustments.
Understanding the Basics
Before we dive into the assessment process, let’s cover some essential cartridge basics:
Cartridge Types:
- Moving Magnet (MM): These cartridges are known for their affordability and ease of use. They generate a voltage by moving a magnet within the cartridge body.
- Moving Coil (MC): MC cartridges are known for their higher fidelity and lower output. They produce a voltage by moving a coil of wire within the cartridge.
Stylus Types:
- Spherical: Commonly found on entry-level cartridges, these styli have a spherical tip and are suitable for playing older, worn-out records.
- Elliptical: Elliptical styli have a more precise shape, providing better tracking and improved sound quality. They are commonly found on mid-range and high-end cartridges.
Tracking Force:
The tracking force is the downward pressure applied to the stylus as it tracks the record’s grooves. Proper tracking force is crucial for accurate playback and preventing record and stylus wear.
Assessing Your Cartridge
Now, let’s proceed with assessing your turntable cartridge:
1. Visual Inspection:
- Check the Stylus: Inspect the stylus under a magnifying glass or a strong light source. Look for signs of wear, damage, or debris. A damaged stylus can harm your records and affect sound quality.
- Inspect the Cartridge Body: Ensure the cartridge body is securely mounted to the tonearm and that there are no loose parts or visible damage.
2. Alignment:
- Proper Alignment: Cartridge alignment is crucial for accurate tracking. Use a protractor tool designed for your turntable model to ensure correct alignment.
3. Tracking Force:
- Check the Tracking Force: Use a tracking force gauge to measure and adjust the tracking force according to your cartridge’s specifications. Refer to your turntable’s manual for guidance on setting the correct tracking force.
4. Anti-Skating:
- Verify Anti-Skating: Anti-skating helps counteract the inward force exerted by the tonearm on the stylus. Ensure your anti-skating is properly adjusted to prevent uneven wear on your records.
5. Cartridge Connections:
- Inspect Wiring: Examine the cartridge’s wiring and connectors. Loose or damaged wires can cause audio issues. Make sure all connections are secure.
6. Test Playback:
- Test with a Record: Play a clean, high-quality record with known audio fidelity. Listen for any distortion, skipping, or uneven tracking. If you encounter issues, it may indicate a problem with your cartridge.
7. Sound Quality:
- Listen Carefully: Pay close attention to the sound quality. Look out for distortion, sibilance, or any other irregularities. Keep in mind that some surface noise is normal with vinyl records.
8. Frequency Response:
- Check Frequency Response: Use test records or audio test tracks designed for cartridge evaluation to assess the frequency response of your cartridge. Ensure that it reproduces a full range of frequencies accurately.
Troubleshooting and Maintenance
If you encounter issues during the assessment, here are some common troubleshooting steps:
- Stylus Replacement: If the stylus is worn or damaged, replace it with the appropriate stylus type for your cartridge.
- Alignment Adjustment: Recheck and adjust cartridge alignment if you experience tracking problems or sound quality issues.
- Cartridge Replacement: If your cartridge is old or damaged beyond repair, consider upgrading to a new one. Ensure it’s compatible with your turntable model.
- Cleaning: Regularly clean your stylus and records to prevent dust and debris buildup that can affect sound quality.
- Professional Service: If you’re unsure or encounter complex issues, consider seeking professional turntable and cartridge servicing.
Assessing your turntable cartridge is a crucial step in maintaining excellent audio quality and preserving your vinyl collection. Regular inspections, adjustments, and careful listening will help you identify and address potential issues. With proper care and maintenance, your turntable cartridge will continue to deliver the rich and warm sound that vinyl enthusiasts cherish.


