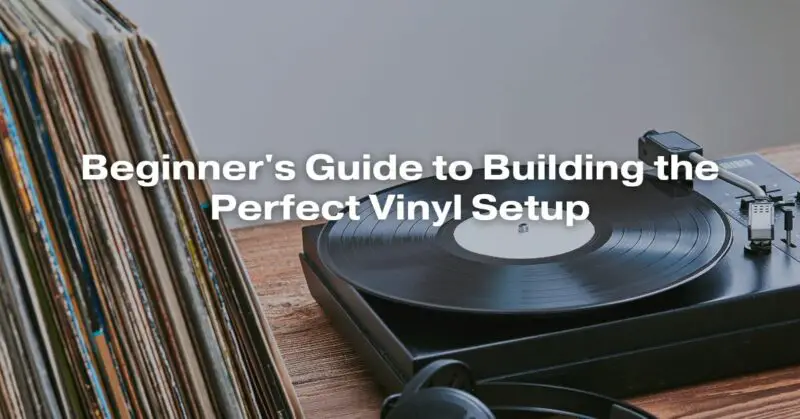
Vinyl records have experienced a remarkable resurgence in popularity in recent years. Audiophiles and music enthusiasts alike are rediscovering the warmth and depth of sound that vinyl offers, making it a satisfying and tangible way to enjoy music. If you’re new to vinyl or looking to create the perfect vinyl setup, this beginner’s guide will walk you through the essential components and steps to get started on your vinyl journey.
Understanding the Basics
Before diving into the details of building your vinyl setup, it’s crucial to understand the basic components of a vinyl system:
1. Turntable:
The turntable, also known as a record player, is the heart of your vinyl setup. It’s the component that spins the vinyl record and transforms the grooves into an analog audio signal. When selecting a turntable, consider factors like build quality, speed control, and compatibility with various cartridges.
2. Cartridge:
The cartridge is a crucial part of your turntable that houses the stylus (needle). It tracks the grooves on the vinyl and converts the physical movements into an electrical signal. Cartridges come in different types, including Moving Magnet (MM) and Moving Coil (MC), each offering unique sound characteristics.
3. Phono Preamp (Phonostage):
Vinyl records produce a lower-level signal than digital sources like CDs or streaming. A phono preamp, also called a phonostage, is necessary to boost this signal to a line-level that your amplifier or receiver can process. Some turntables have built-in preamps, but others require an external one.
4. Amplifier or Receiver:
The amplified signal from the phono preamp needs further amplification before reaching your speakers. An integrated amplifier or A/V receiver will do the job. Make sure it has a dedicated “phono” input, or you’ll need a separate phono preamp.
5. Speakers:
Speakers are where the sound finally comes to life. You can choose from bookshelf speakers, floor-standing speakers, or even powered speakers, depending on your space and budget. Good speakers are essential for capturing the nuances of vinyl audio.
6. Vinyl Records:
Of course, you’ll need vinyl records to play. Start with your favorite albums or explore the world of vinyl collecting. Vinyl comes in various sizes and speeds, with the most common being 12-inch LPs and 7-inch singles.
Step-by-Step Setup Guide
Now that you have a grasp of the essential components, let’s go through the steps to build your perfect vinyl setup:
1. Choose the Right Turntable:
Selecting the right turntable is crucial for a satisfying vinyl experience. Consider factors like your budget, the space available, and your personal preferences. Popular options for beginners include the Audio-Technica AT-LP120XUSB and the Pro-Ject Debut Carbon.
2. Set Up Your Turntable:
Once you have your turntable, follow the manufacturer’s instructions for assembly and calibration. Ensure that the turntable is placed on a stable, level surface to prevent vibrations that can affect sound quality.
3. Connect the Cartridge:
Mount the cartridge on the tonearm following the manufacturer’s guidelines. Proper alignment and tracking force adjustment are critical for optimal sound quality and record preservation.
4. Add a Phono Preamp:
If your turntable doesn’t have a built-in phono preamp, connect an external one to your amplifier or receiver. Adjust the settings as needed to match your cartridge’s specifications.
5. Connect to Your Amplifier or Receiver:
Use RCA cables to connect the turntable’s output to the “phono” input on your amplifier or receiver. Make sure the connections are secure.
6. Set Up Your Speakers:
Place your speakers in an ideal listening position, ensuring they’re at ear level and have proper spacing. Connect them to your amplifier or receiver using speaker wire or banana plugs.
7. Ground the Turntable (if required):
Some turntables have a grounding wire that should be connected to your amplifier or receiver to minimize unwanted hum or noise.
8. Start Spinning:
Now that everything is set up, it’s time to start playing your vinyl records. Gently place the stylus on the record’s surface, and let the music take you on a journey.
Maintenance and Care
To maintain the perfect vinyl setup, here are some essential tips:
- Keep Your Vinyl Clean: Regularly clean your records and stylus to ensure optimal sound quality and prolong the life of your vinyl collection.
- Check and Adjust Tracking Force: Periodically check and adjust the tracking force on your cartridge to prevent damage to your records and ensure proper playback.
- Replace Stylus and Cartridge: Over time, styluses wear out, and cartridges may need replacement. Keep an eye (or ear) out for any degradation in sound quality.
- Protect Your Vinyl: Store your vinyl records in a cool, dry place, and use anti-static sleeves to prevent dust and static buildup.
- Maintain Your Turntable: Clean the turntable platter, tonearm, and belt (if applicable) regularly to ensure smooth operation.
- Upgrade Gradually: As your vinyl journey progresses, consider upgrading components like the turntable, cartridge, or speakers to enhance your listening experience further.
Conclusion
Building the perfect vinyl setup is a rewarding endeavor that allows you to savor the rich and authentic sound of vinyl records. Whether you’re a seasoned audiophile or a newcomer to the world of analog music, following this beginner’s guide will help you create a vinyl setup that delivers the best possible listening experience. Remember that the joy of vinyl lies not just in the sound quality but also in the tactile and nostalgic connection it offers to music. Enjoy the journey!

