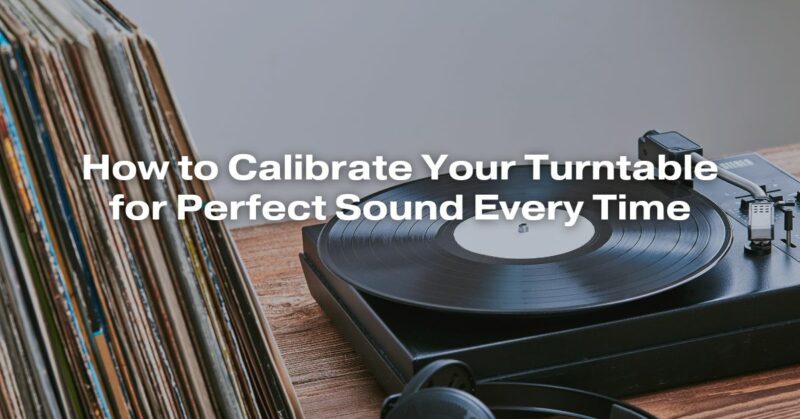
Vinyl records have experienced a resurgence in popularity in recent years, attracting both audiophiles and newcomers to the world of analog music. One of the key factors in enjoying the full potential of your vinyl collection is ensuring your turntable is correctly calibrated. Proper calibration can make the difference between a mediocre listening experience and a breathtaking one. In this comprehensive guide, we’ll walk you through the steps to calibrate your turntable for perfect sound every time.
Why Calibration Matters
Before diving into the calibration process, let’s understand why it’s so crucial. A well-calibrated turntable ensures that the stylus (needle) tracks the grooves of your vinyl record accurately, resulting in optimal sound quality. Poor calibration can lead to issues like distortion, skipping, or excessive wear and tear on your records. To ensure you’re getting the best possible sound from your vinyl, calibration is essential.
Tools and Materials You’ll Need
Before you begin the calibration process, gather the following tools and materials:
- Turntable
- Ensure your turntable is in good working condition.
- Level
- A bubble level or smartphone app for checking the turntable’s level.
- Tracking Force Gauge
- A tool to measure the vertical tracking force (VTF) of your tonearm.
- Anti-skate Adjustment Tool
- If your turntable has an anti-skate adjustment, you’ll need the appropriate tool.
- Stylus Force Scale
- A scale to measure the stylus tracking force.
- Alignment Protractor
- For aligning the cartridge and stylus.
- Phillips Screwdriver
- To adjust counterweight and other components.
Now that you have everything you need, let’s move on to the calibration process.
Step 1: Setting Up Your Turntable
- Placement: Place your turntable on a stable surface, away from speakers and other sources of vibration.
- Leveling: Use a bubble level or smartphone app to ensure the turntable is level both side-to-side and front-to-back. Adjust the turntable’s feet or use shims if necessary.
Step 2: Balancing the Tonearm
- Turn off: Make sure the turntable is turned off and the platter isn’t spinning.
- Balance: Raise the tonearm and set it parallel to the platter. Adjust the counterweight until the tonearm floats perfectly level, neither rising nor falling.
- Zeroing: Set the tracking force dial to zero or align the stylus force scale to zero.
Step 3: Adjusting Tracking Force
- Manufacturer’s Recommendations: Refer to your turntable and cartridge’s user manuals for the recommended tracking force. Typically, it falls between 1.5 and 2.5 grams.
- Setting Tracking Force: Gradually increase the tracking force using the counterweight until it matches the recommended value. Use a stylus force scale for precise measurement.
Step 4: Setting Anti-Skate
- Understanding Anti-Skate: Anti-skate counteracts the natural tendency of the tonearm to move towards the center of the record. It helps maintain even tracking across the grooves.
- Adjustment: If your turntable has an anti-skate adjustment, set it to match your tracking force. Use the anti-skate adjustment tool to fine-tune it.
Step 5: Aligning the Cartridge
- Using an Alignment Protractor: Place the alignment protractor on the platter and align the cartridge so that the stylus tip lines up with the grid lines on the protractor.
- Fine-Tuning: Make small adjustments to the cartridge’s alignment until it is perfectly aligned with the protractor’s grid.
Step 6: Fine-Tuning and Listening
- Final Checks: Double-check all settings, especially the tracking force, anti-skate, and cartridge alignment.
- Listening Test: Play a well-known record and listen for any distortion, skipping, or other issues. Make further adjustments if necessary.
Conclusion
Calibrating your turntable is a crucial step in achieving the best sound quality from your vinyl records. While the process may seem daunting at first, it becomes easier with practice, and the results are well worth the effort. Proper calibration not only ensures your records sound their best but also extends their lifespan by reducing wear and tear. With these steps and a little patience, you can enjoy perfect sound from your turntable every time you drop the needle. Happy listening!

